Showing posts with label Tim Holtz Fragments. Show all posts

Tuesday, April 22, 2014

Easy Mixed Media Wine Charms!

Good morning everyone :) This bonus project I created combines two of my favorite things: mixed media art and wine! These wineglass charms are so easy and fun to create. They also make great gifts (Mother's Day is just around the corner!) Let's get started.

To begin, I selected several of the Tim Holtz Fragments from the kit to work with. I covered this first one with some matte medium and the Alumidust powder. I swirled it around in the medium, adding in some of the gold ink from the kit. I used the end of a paintbrush to create the swirl texture, then set it aside to dry. I also added a word and a piece of scrap paper from my collage drawer.

I continued in this manner, using different bits of collage pieces from my stash and from previous kits (love that tissue paper from an older kit!)

When these were dry, I did some light stamping just to add some texture to the background and create a distressed look. The stamp I used had sheet music. Be sure to use StayZ On type ink if you do this. You don't want it to smear everywhere when you move on to the next step. I also went around the edges with some more of the gold ink from the kit.
Next, I mixed up a batch of Amazing Clear Cast Resin and added some Alumilite Metallic Gold powder. Then, using an old small brush, I very lightly coated each piece with the resin. The gold powder gave each piece a really cool aged look and made them all look like a set, even though I used different collage elements for each one. Make sure when you are working with the resin to work on top of a white plastic garbage bag. The resin won't stick to it, so if you over pour or spill a little it won't stick. Plus it makes for easy clean up! I use a paper plate under my trash bag so I can move my project around if I need to.

After allowing the pieces overnight, they were ready for the finishing touches. I found these wire stemware hoops at Hobby Lobby. They were pretty cheap. I also had some larger beads leftover from my Titanic Inspired Tin project. I'm not sure what I was thinking at first, but I just put the beads and the fragments right onto the stemware hoop. Then I realized that the fragment wouldn't lay flat (duh) so I went back and attached a jump ring to the fragment, then attached the fragment to the hoop. It worked perfect and now lays completely flat. Of course this was done after I had already taken my final pics so you won't see the jump rings in the pictures below.

Thursday, April 10, 2014

Fast and easy present idea from scraps


I made this little bracelet from tiny scraps I had left over from one of the April main kit´s tissue paper sheets. I might wrap this one and give it as a present to my mom for mothers day.

This is a really fast and easy little present idea you can create in a couple of minutes. It actually takes longer for the Glossy Accents to dry than it takes to finish this piece. In the above picture you can see what I have used for this piece of jewelry.
I first cut some of the pretty tissue paper that was in the April main kit into small squares that fit into the free areas of the bracelet. I then applied some Glossy Accents onto these areas and glued the tissue paper pieces down. 
 Next I randomly applied some Fragments over the paper squares. I just love the how the pearlized and blue fragments shimmer and shine when you move the bracelet (the blue fragments were in a Frog Dog Studio kit from last fall). They perfectly match the colors of the tissue paper I used, so I therefore used them here.
After that all I needed to do was to apply Glossy Accents over the Fragments and tissue paper areas to seal them and let the areas dry properly. Really fast and easy, isn´t it? 

Have fun creating!
Sanna

Friday, April 4, 2014

Mixed Media Photo Necklace


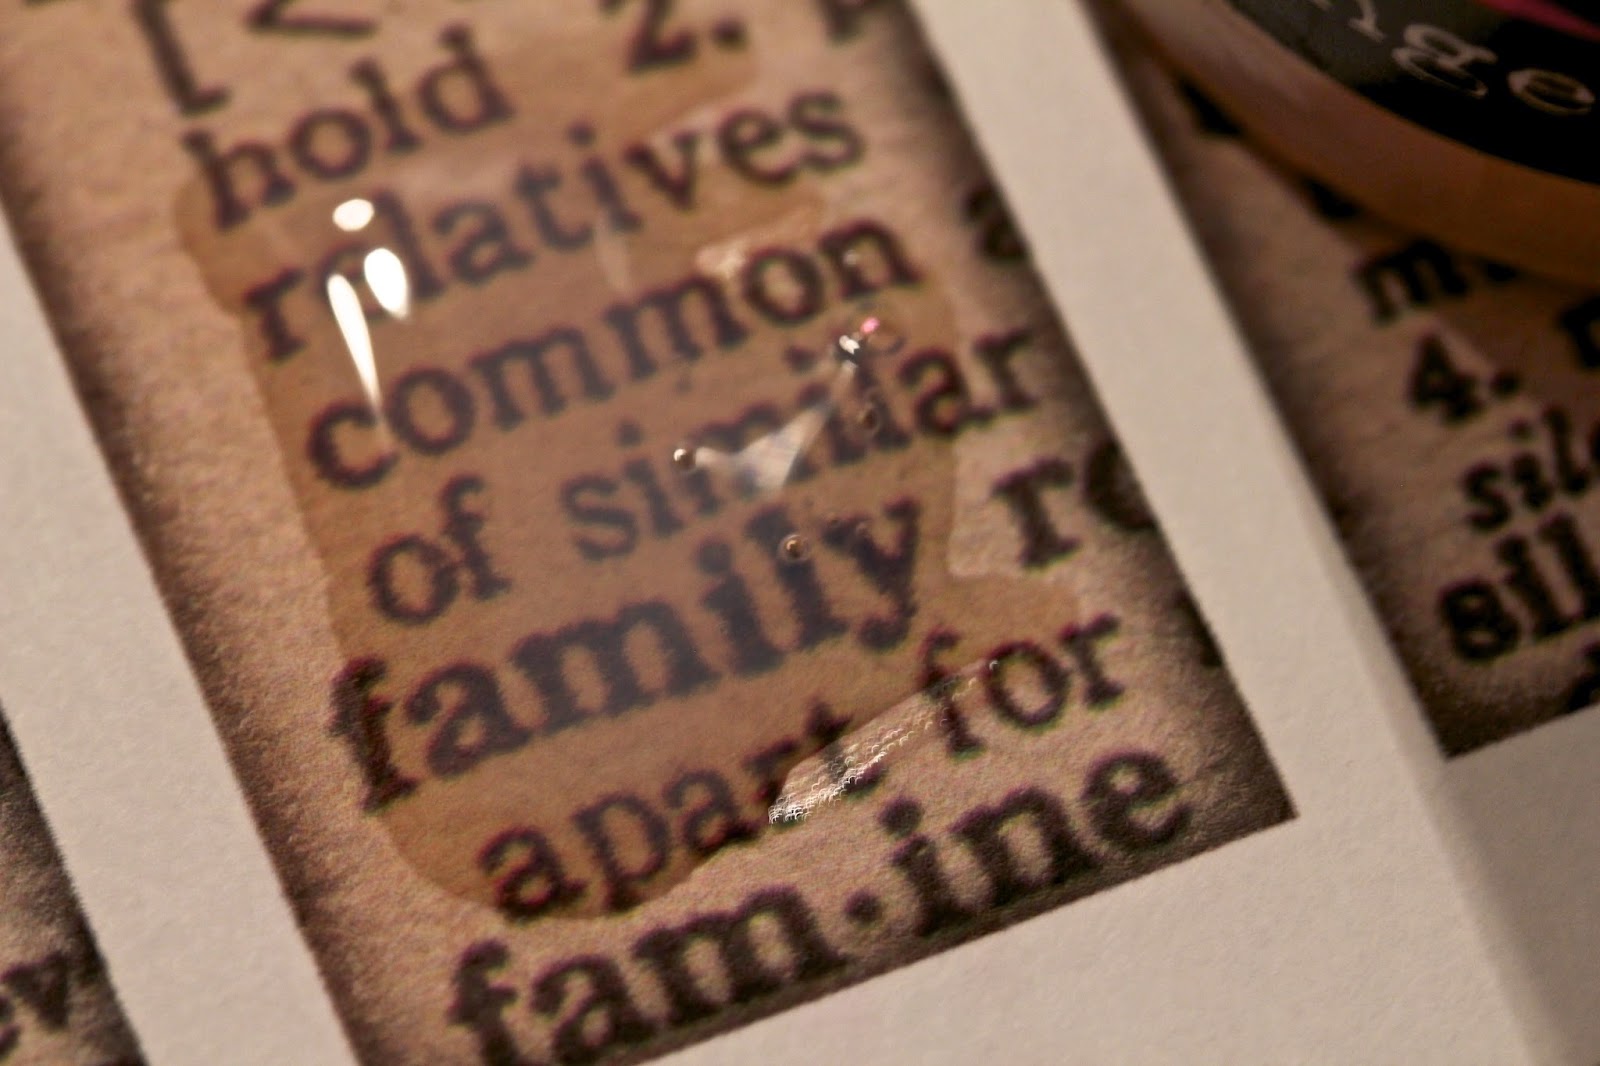
This project it just the "tip of the iceberg" when it comes to using all of the wonderful products found in our April Kit.  The main element in this vintage inspired necklace are the  Tim Holtz Fragments (included in this month's kit) along with my grandaughter of course:)


I first decided which fragment would best fit the photo I wanted to use. Using the photo software I have called Aperture, I was able to print the size I needed... 1.25" X 2" I also used the Sepia effect for the color tint.


Along with the photo charm I wanted to add some word charms.

I used a collection of dictionary words purchased and downloaded from etsy 
Click on above pic for source.

Once I found a few fragment sizes that worked well with the photo piece, I trimmed the dictionary words and adhered them to the fragments using glossy accents. (I had this from a former kit)

Thinly spread a bit of glossy accents onto the dictionary word, then gently press the fragment on top, allowing it some time to dry. (it doesn't take very long with a thin coat...15-20 min)


Once the fragment is adhered to the word page, and the glossy accent is dry, you can trim around the fragment with a pair of scissors.

I added an old book page to the back of each fragment, so that if it flips over while I'm wearing it, it will look finished on both sides.

I coated the backs with mod podge to keep them protected and sealed.

In the picture above, I wanted to show you the "bead cap" I added to the photo fragment 
to give it a bit more detail. (Vintaj brand) I used glossy accents again to attach.


You can see above, that I also added a few charms to each fragment.


To put it all together I used a piece of torn muslin and 2 different Vintaj chains.

For the muslin, I snipped an end of the muslin, about 1/4- 1/2 inch from the edge.
(see below)


Next, I just pulled, ripping it all the way off.


Make sure you have a long enough piece to allow the charms to hang where you want them to fall on your chest with enough to tie the pieces together.

I wanted to incorporate a little more brown into the necklace so I added wooden beads 
I had in my "stash."


12x4mm Earth Multi Wafer Wood Beads
sku# 930107
 Traditions
 Earth Multi
 12mm x 4mm
 40 Pieces
(these beads came from hobby lobby)

I spaced them out every few inches.

These are the chains used below.


To add the chain, I pulled the muslin through one jump ring, and then attached the finer gauged chain to that jump ring with another ring the same size.  
(placing the jump ring above the wooden bead holds it in place, keeping it from sliding)


I repeated this for both ends of the chain.


To add the heavier chain, I used a jump ring to attach it to the finer gauge chain, about 2 inches below the place where the smaller chain is attached to the muslin.  This created the look of 2 different lengths of chain even though they were both 24 inches long.  I wanted this necklace to hang quite low.


The last step was to attach each fragment piece and charm with a jump ring to the larger chain.


Thanks so much for reading!
Hope you feel inspired to create something beautiful with our Amazing April kit!

It's a joy to share with you,
sue