Showing posts with label August Kit. Show all posts

Thursday, August 29, 2013

August Guest Designer, Emilia van den Heuvel, Part Two!

Hello and Happy Thursday!

Our Guest Designer, Emilia van den Heuvel is back today with another amazing project!  We have loved her details and how she uses the kits in her mixed media layouts.


Let's get right to her projects!

Hello mixed media fans!


Emmy here with my second post as a Guest Designer for the Frog Dog Studio mixed media kit this month.

This time I decided to create a boy layout. I know that the ARTchix ephemera pictures are more about girls and shabby chic, but you can also create a perfect page for boy using them and the rest of the supplies from the August kit.


And here is a step-by-step tutorial on how I did it:

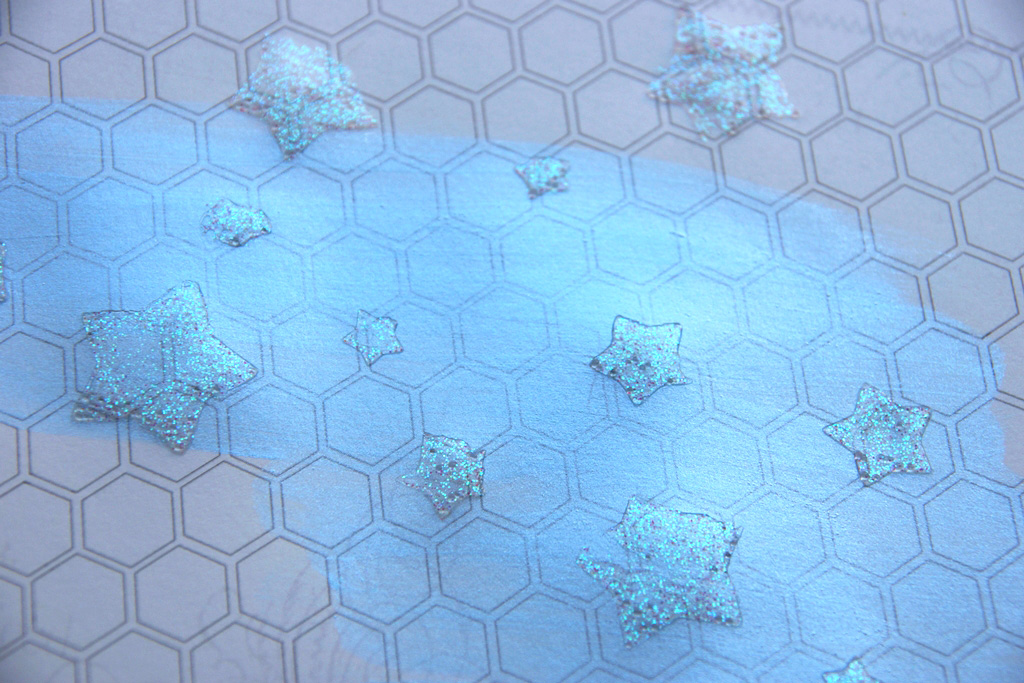
Step 1: Choose your picture and mark its place on the background paper. Add a blue {or any other color that will fit your design} metallic paint around it. After the paint is dry, using a masking template and VIVA Décor Glitter paste add some extra pattern to your background – I picked stars.


When the glitter paste is dry you can really see the 3d effect and it all glittery and sparkly.


Step 2: Prepare your picture. I added a silver frame around it using the VIVA Décor Inka Gold from the kit and a see-through layer with stars on top of it.


Step 3: Begin working on your embellishments. I decided to go with all things boy! I cut out one of the ephemera pictures and layered it on a piece of pattern paper.


I added washi paper and a button from the Button set from Clever Creations from the kit to embellish it.  I layered a piece of the newspaper strip on pattern paper and adhere it next to my picture.


The hot air balloons I die cut from pattern paper and added a layer of VIVA décor Inka Gold.


I tied one of the balloons to the ARTchix wooden anchors.

I really like the logo of the Frog Dog Studio and I managed to use the cute little doggy on my page. After all – every boy deserves a dog!


Step 4: The title – I used a cutting die and pattern paper.


I hope you enjoyed today’s post!

Come back tomorrow for more inspirational posts from the FDS designers!

hugs ‘n smiles,
Emmy

Thank you again Emmy for taking the time to share your talent and creativity with us this month!  Please be sure and stop by Emmy's Blog and see more of her amazing projects!

Thanks for stopping by!  Have a great day!


Tuesday, August 27, 2013

Playful Musing August - Anchor's Anthem

 
Lea here, with some Playful Fun for August!!  I am sooo in love with the August Kit - all the embellishments, the collage images, the Glitter Paste, Inka Gold, and the rest!!

I have decided to have you play along with me and not show you the finished project until the bottom.  If you want to play along, please do not scroll all the way down at first, scroll step by step and follow along.  Remember, your art doesn't have to be just like mine...these are ideas to help feed your Muse.

This month focuses on ATC's - Artist Trading Cards.  Creating a lot in a little space is a fun challenge!

Supplies:

August Kit: 
Anchor
ATC Blank
(Any parts you want to add)

Other Supplies:
Acrylic Paints (Mica Paint Used)
Piece of Sponge
Handmade paper
Soft Brush
Scrap of old artwork
Word Stamp (Be True, Viva Las Vegastamps)
Helmar 450 Quick Drying Adhesive
Mica Watercolors (or plain watercolors or thinned paint)
permanent black Ink
Chipboard (UmWow Studio)


Sponge gold acrylic paint over the surface of the ATC.  I used an acrylic with mica paint which makes the surface shimmery!


Sponge other colors over the gold acrylic.  Sponge the colors randomly, adding texture and depth over the gold.  Let dry.  Optional:  Blend colors into the gold for a smooth appearance.


Pink homemade paper or tissue paper - use a damp brush to go around an area of the paper, then rip it with your fingers.  The edge will be natural, with fibers around the edges.


Find a scrap of artwork you trimmed off and saved (Yes, I save scraps from artwork and my paper I used to protect my work surface.).  I have a stenciled piece of artwork, that I trimmed.  Adhere a piece of the pink paper, then adhere the scrap artwork on top.  A brayer was used to make sure there was tight contact to the surface.  Add more of the pink paper - use the damp brush if you need to rip off more paper.


Stamp a saying on paper. I liked the second stamping where it is over some blue left over from another project.


Color the words with marker of your choice - I used Copic Markers.  Cut out.


Adhere the red anchor from the kit onto the artwork.  Optional:  Chipboard pieces - 2 chevrons, paint and adhere to artwork.


The finished piece looks aged and antiqued, yet has pops of colors to make it modern.

I would LOVE to see what you create!!  Please post your finished art on the Facebook Frog Dog Studio Fan Page.  I can't wait to see!

Cre8tivelea Yours - Lea


Monday, August 26, 2013

Who says you can't use an ATC on an art journal page?

Hey there artsy peeps, Rita Barakat here!
What I love about art journals is anything goes! I had a lot of fun making this ATC then I added it to my journal page!
Here are some pictures in progress...
Gesso and Gelato color.
Made a mist with Gelato and water,
then used a brayer to spread it around.
I went back and drew this girl.
More gesso and Gelatos.
PITT Artist Pens really come in handy for outlines.
For the background on the ATC I added a little modeling paste.
Gelato and water.
 
Added the whale and fun confetti!
Then I put it back in the plastic
wrap and attatched it to my page!
So fun! I did the ATC card first and 
then built the page around it!
Like I said anything goes- what original things have you added
to your art journal pages?

Thursday, August 22, 2013

August Guest Designer - Emilia van den Heuvel!

Hello and Happy Thursday!  We are very excited today as we announce another fabulous Guest Designer for August, Emilia van den Heuvel!

Thank you Emmy for sharing your amazing talent and creativity with us!  Before we get to her first project (which you will love), let's get to know her a little better!


Short Bio:
My name is Emilia van den Heuvel. I’m a Bulgarian girl, living and working out of the Netherlands. I grew up in the beautiful capital of Bulgaria – Sofia and being a city girl is kind of in my blood. My mom filled our house with books and painting and art journals and she thought me to love all things crafty and artsy.
Before I moved to the Netherlands to be with my husband, I was working as a vet and now I’m a part-time translator, a full-time mommy to my amazing munchkins – Theo and Elise and a passionate crafter. In my spare time you will find me behind my crafty table, reading a book or visiting the next magical place with my family.
I started scrapbooking in 2004 after my first child was born. I think it is the perfect way of preserving our memories. Every single one of my pages is telling a story, which will always remind my children who they are and who we were as a family.
I'm so honored to be Guest designer for Frog Dog Studio kit in August and I want to thank Tina for giving me this amazing opportunity! 

Let's get to Emmy's first project!

Hello Frog Dog Studio friends!

This month I have the honor to be a Guest Designer for Tina’s AMAZING Mixed Media kit. The moment I saw the amazing product combination, that Tina put together, I knew exactly what I will do with every single item in the kit.

Today I would like to share my first project with you – ENJOY YOUR LIFE –


And here is how I did it:

I started with a white cardstock, metallic paint and a brush.


Using a metallic paint made my background pearly and shimmering, which was exactly what I needed, because I wanted to match the fantastic Glitter Paste from the kit.


After the blue paint was dry I began altering my background by adding extra dimension to it – with the glitter paste and The Crafter’s Workshop template included in the kit:


… and with the VIVA Inka Gold paste and the same mask:


Both products are easy to work with and the effect is amazing! You can use them as modeling paste to create dimension or as a covering medium to draw and color.

After the glitter and the Inka Gold were dry I added Silver Paint Dabber as a frame around my background. But because the color was too dark for my taste, I rubbed extra Viva Inka Gold Platinum on top.


Then I started working on my embellishments. I used the two book pages and a flower stencil to create my flowers.


I crumbled the petals and added a pearly brad in the middle to finish them off.


For the frame under my picture I used 4 ATCs {incl. in the kit}. I attached them together and rubbed their edges with VIVA Inka Gold.


When the paint was dry, I adhered my picture on top of the ATC frame and rubbed some more Inka Gold color to mask the edges.

For the small blue flowers I used the flower ribbon included in the kit.


I fussy cut some of the ephemera pictures and added them to my layout.


The wooden embellishments included in the kit are also fantastic! They can be used on any projects and because they are already painted and altered you can attach them just as they are.


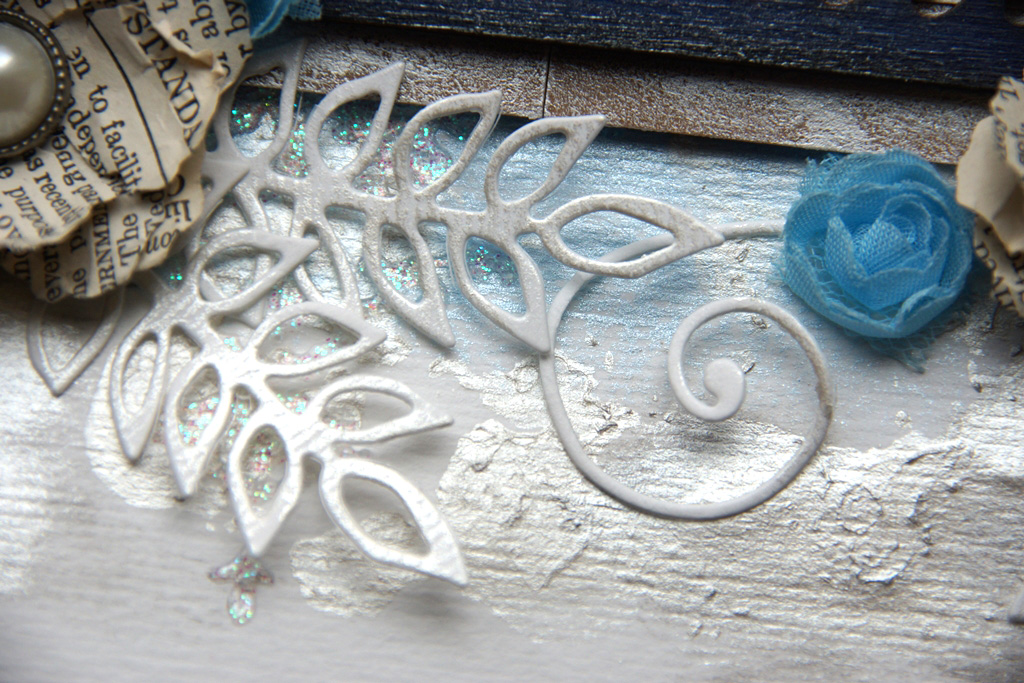
To decorate my flowers I die cut different sizes swirls and leaves from white cardstock. I rub them with Viva Inka Gold to give them a light silver shimmering layer.


For my title I used one of my favorite quotes. I printed the words on white cardstock, cut the lines out and distressed the edges with blue ink. Because the color was a bit darker than I expected I added a layer of Inka Gold on top.


As you can see the possibilities with the August Kit are endless. And I didn’t use even the half of the included materials!

I hope I managed to inspire you a little with today’s post!

Have a wonderful messy day!

Hugs ‘n smiles,
Emmy

What a stunning and beautiful layout Emmy!  Thank you! Be sure and stop back later in the month for another project from Emmy.  We can't wait!  Please stop by Emmy's Blog and say hi! 

Thanks for stopping by!


Wednesday, August 21, 2013

How to Create a Vintage Style Mixed Media Keepsake Box

Good morning! Today I have a quick, easy, and fun project using our August kit items. I will show you how to make a vintage style mixed media keepsake box.

I started out with a .99 little box from Hobby Lobby and painted it with magenta acrylic paint. Then I fussy cut out the vintage girl from the clip art sheet and adhered her to the lid.

In the next step, I added some of the iridescent Inka Gold to the rose in her hand and in her hair. Then, I went over the whole box and around the image with the Viva Glitter Paste to add some shimmer and shine :)


To complete the box, I added some blue bling trim around the edge of the lid that I had in my stash. I also added the little butterfly wings from the clip art to her back. Then I finished it off with a cute quote.


The finished product:


Thanks for stopping by!