Showing posts with label FDS July Kit. Show all posts

Tuesday, July 30, 2013

July Kit Journal Page


Hi everyone:)  If you haven't yet discovered our July Kit, I hope this page will inspire you to!! I just love having a kit to work with...no need for going on a "hunt" in my "stash" to find all my page elements because Tina does such a FABULOUS job of pulling products that work so well together!

I have to admit, that for 3 dimensional projects I usually have some sort of "plan"... 
I can't say that about my Journal pages...

I'm never quite sure what will come out on the page, as I explore color, texture, and layers.  Although I did have a direction for color, based on the adorable Ephemera sheet from ARTChixStudio


For the page background, I started with some acrylic paint from a previous project in a light teal along with a shade of mustard.


You can see in the picture above, that I "squirted" out the mustard color before I shook the bottle...am I the only one who does this???

I then used a Brayer, to lay down these colors. 


Next, I sprayed a bit of water on this scrap of burlap and pressed it into the still wet background paint.

*Notice my beautiful bright blue nails:)  My 2 yr. old granddaughter insisted we both have BLUE

When it was dry, I smeared a bit of the Distress Paint (peeled paint) onto the page with my fingers.


Before I got started on my Journal page, I made several background pages on my Gelli plate, using the Distress Paints (found in the kit)


1.) I "poured" out a bit of paint from both bottles of DISTRESS PAINT, found in the July Kit.

2.) I spread the paint on the gelli plate with my brayer.

3.)  I placed an alphabet stencil on top of the spread paint, and then placed a piece of white card stock on top of the stencil, and pressed with my hands.


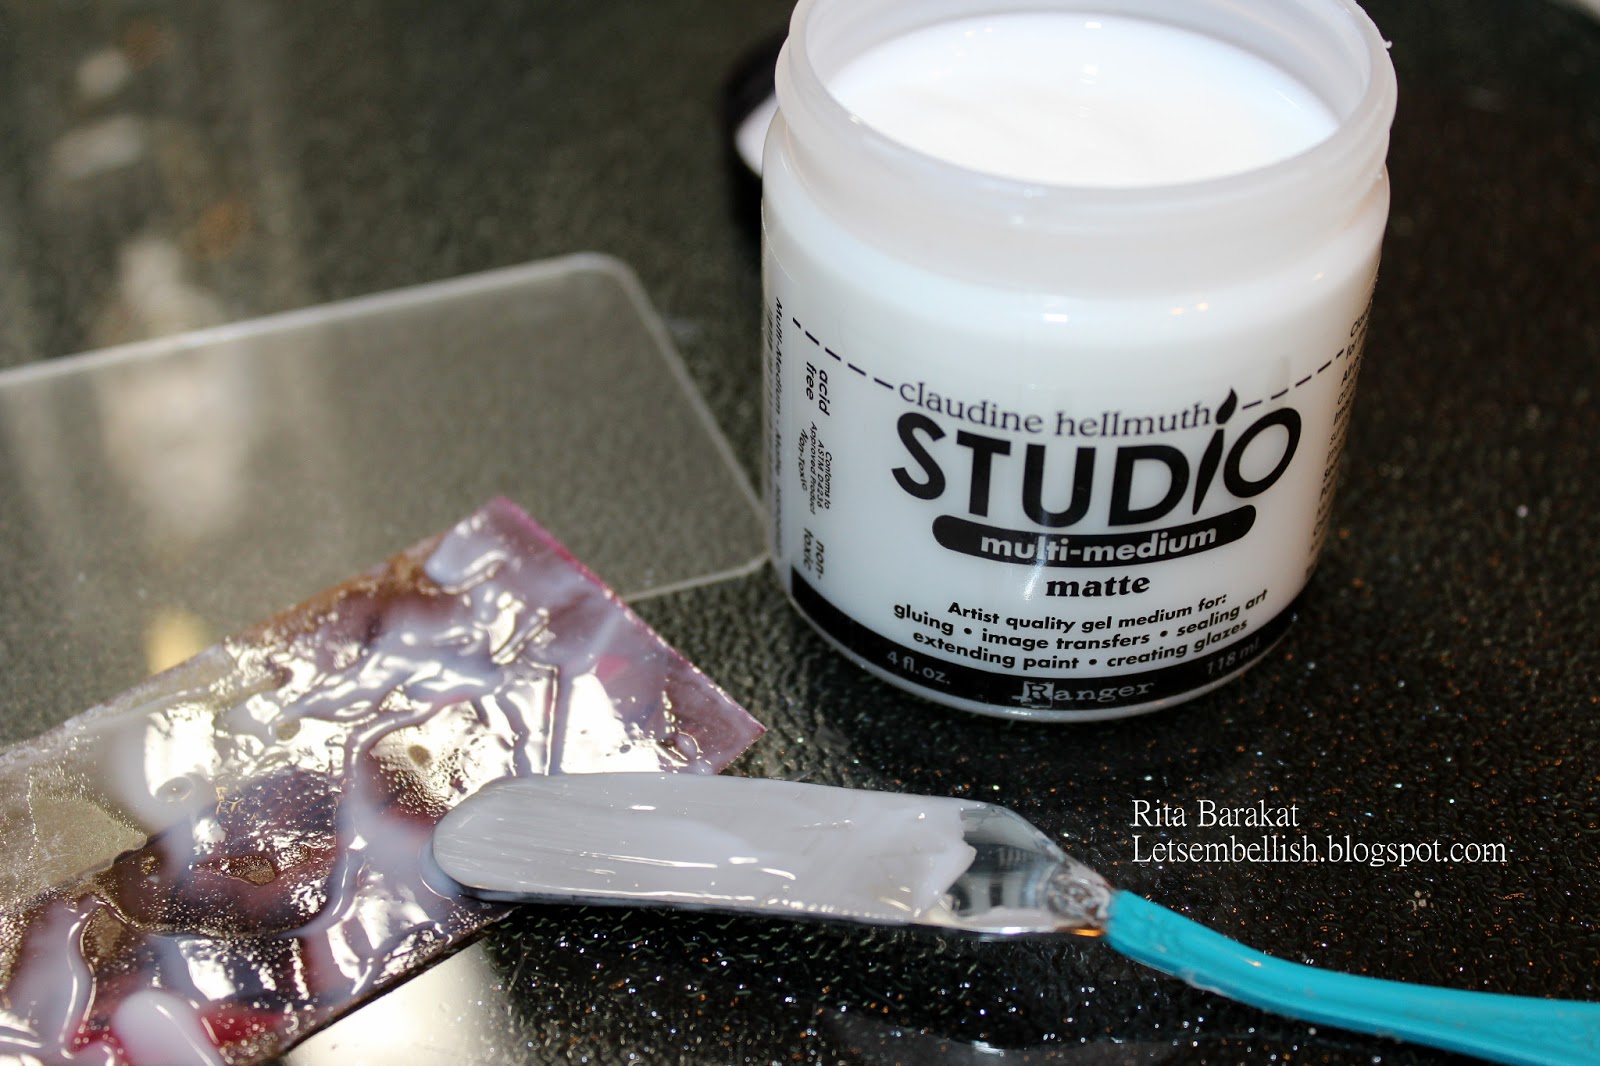
BELOW are some of these gelli plate backgrounds.  I tore them into pieces and then added them to my page using my NEW FAVORITE gel medium...Claudine Hellmuth Studio Multi Matte Medium.

( I did a few with the same mustard color I used for the page background)


I used the Antique Linen Distress Paint to add these "dots" on top of the ripped paper.

Once they were dry, I put a little of the Antique Linen on a scrap piece of paper, added a few spritz of water, and then rubbed the watered down paint onto my page. (making sure to go around the edges of the torn pieces I had adhered to the page)


Next, I decided to distress the Tim Holtz hinges ( I ended up using 1 not 2) with the Peeled Paint Distress Paint.  I also added it to some string I had in my "stash."  (Just looking for more textural elements & love finding ways to utilize the great products in our kits!)


I decided to add a bit more of the mustard color to the page, but this time I used another one of my favorite products...
                                             Caran d'Ache Neocolor II Artists' Crayons


These crayons can be used "dry" or you can spread out their color using water.
I first "drew" on my page with the crayon, and then went over it with a wet brush, spreading out the color.


I chose not to add water to the above lines on top of the distress paint "dot."


Another technique I like to use with these crayons is pulling color directly onto my brush from the crayon.  Wet your brush, and then "grab" the color from the tip.

I used this method to add color around the torn edges of the paper pieces I had added to the page.


Waiting in the wings (pun intended:) )  were some of the images from our kit's Ephemera sheet from ARTChix Studio. 


I cut out this cute card and added the Crackle Accents to the bird and some of the flowers.  I next added the word FLY from the same ARTChix sheet.  After all were dry, I stitched the card to a piece of textured brown card stock and distressed the edges with the Antique Linen Distress Paint. 

I began to add some of the last layers by adding a few "doodles" and by writing the sentiment using my Scarlet Lime Pen along with a Crimson Red Caran d'Ache Neocolor II Artists' Crayon. (I added the white on top of the red letters to make them "pop")


I also scribbled some of the red crayon on a piece of scrap paper, spritzed it with a little water, and then "dipped" this chevron stamp in it to add a little more red to the page.

(Michaels has a $1 bin with sets of 3 stamps on a page that this chevron was on...I LOVE a bargain!!)


The Sentiment reads..."In Our Dreams We Are Able to FLY and That is a Remembering of How We Were Meant to BE."  -Heleine L\'Engle


The little flower detail above is from the ARTChix sheet, with Crackle Accents added to it...I LOVE that stuff!!


I added a bit more detail using the below ink and stamp along with my Washi tape roll dipped in Antique Linen Distress Paint and then stamped on the page:) 


 As always, we would ALL LOVE to see your projects on our Facebook page!!!  
See you there!


Creatively yours,
Sue


Wednesday, July 24, 2013

Lets make a transfer project...

 Take some packing tape and place it over your image.
Burnish to rub out any bubbles. (Image from July's kit.)
 Flip it over, get it really wet. I used a mister but you can put it in a bowl of water.
Then start rubbing away the paper- take your time, dont rub too hard
so you wont ruin the image.
 Here is with most of the paper rubbed off.
 Once you are ready use matte medium (Julys kit) to attach it to the acrylic ATC.
 Perfect!
 Then I added a little modeling paste, made sure not.
I stamped the word love in the corner.
Tied a little jute around the card.
 Now some color...draw with Gelatos...
 Spread color with a little water.
 Add a little sparkle with Twinkling H2O's from June's kit.
 Up close...
Here is the finished project!
Have you tried transfers yet?


Wednesday, July 17, 2013

It's the little things...

Hey there bloggers Rita Barakat here!
This fun little house is only 6 inches tall and it was a
                                                  perfect project to use up some scraps!
Of course I had to add one of my girls in there!
See all the cool cracks?  I used a thick layer of  Ranger Crackle Accents (in the July kit!)
The crackle accents is also on the fence!
Here's a side view!
I hope your having a fun summer with lots of time for creativity!
Supplies:
 Faber-Castell Design Memory Craft®
Art GRIP® Color Pencils 151, 
Gelatos® Cotton Candy, Lavendar & Grape
Black PITT® Artist Pen
PITT® Pastel Pencil 1121-226
Stampers Big White Pen
White Stamper’s Big Brush Pen
 Art GRIP® Aquarelle Watercolor Pencils

Monday, July 15, 2013

From Maya Road Coasters to a Bird House

Hello...hello. Martha Richardson back with another project from the fabulous July Mixed Media Kit.  

For this project I used 6 of the 8 products offered...I love that these Frog Dog Studio kits work so well together!
The July Mixed Media Kit includes:
Maya Road 3" Vintage Memory Box with Coaster Album
 .5 oz Bottle of Crackle Accents

 Bottle of 'Peeled Paint' Distress Paint

Bottle of 'Antique Linen'  Distress Paint

4 oz Jar of Claudine Hellmuth Studio Multi-Medium
Roll of Prima Washi Tape (colors/design may vary)
Package Tim Holtz Hinges
'Pretty Bird Notes' Ephemera sheet from ARTChixStudio


MY BIRD HOUSE
For this mixed media project I used the coaster album that comes with the Maya Road Memory Box. When I create any project I literally lay out all the products I want to use and spend time, hours or days, walking by and looking at them while my idea comes clear in my mind's eye. I never have a plan until I can see it and how it will come together. Then I get to work...often my projects evolve through the process but they look pretty close to what I've intended them to be.


I love how I can match my metal hinges with my project using the DISTRESS Paint.


I'm thrilled with my Bird House...sometimes I need to encourage myself and this sits on my Art Journal desk as a reminder. I'll be back with a fun art journal page on Mon. 7/22...I hope you will check back to see what I've created. 


Friday, July 5, 2013

Create A Mixed Media WISH Box


Hello creative souls...Martha here with my 1st project from the incredible July kit! I had so much fun working with everything that is included. For this project I used 5 products from the kit.


The July Mixed Media Kit includes:
Maya Road 3" Vintage Memory Box with Coaster Album
 .5 oz Bottle of Crackle Accents
 Bottle of 'Peeled Paint' Distress Paint
Bottle of 'Antique Linen'  Distress Paint
4 oz Jar of Claudine Hellmuth Studio Multi-Medium
Roll of Prima Washi Tape (colors/design may vary)
Package Tim Holtz Hinges
'Pretty Bird Notes' Ephemera sheet from ARTChixStudio

Let's take a look at what I created:
Mixed Media WISH Box
{a place to store all my wishes and dreams}


FYI: I'm thrilled with the Ranger Tim Holtz Distress Paints because of all the applications it can be used for, used on multiple surfaces and a color range that coordinates with the Distress palette. It has been developed to be reactive with water. Although it comes with the convenient dabber top I like applying it with a paint brush. It can also be treated as a color wash, almost watercolor like, when water is added to it. 

An artist can change her mind...right? I originally was going for the ivory distress paint but was not pleased with the finished look so I went for the Peeled Paint green. 


Thanks for stopping by and spending a few minutes with me. I hope I have inspired you to try some of these products & techniques. I'll be back with another project on Mon. July 15th.