Showing posts with label art journal. Show all posts

Thursday, May 15, 2014

Art for a Journal

I'm thrilled to have this opportunity to talk shop (as they say) with you today. What great supplies we have to use from our kits (Tina has the best style)!!!

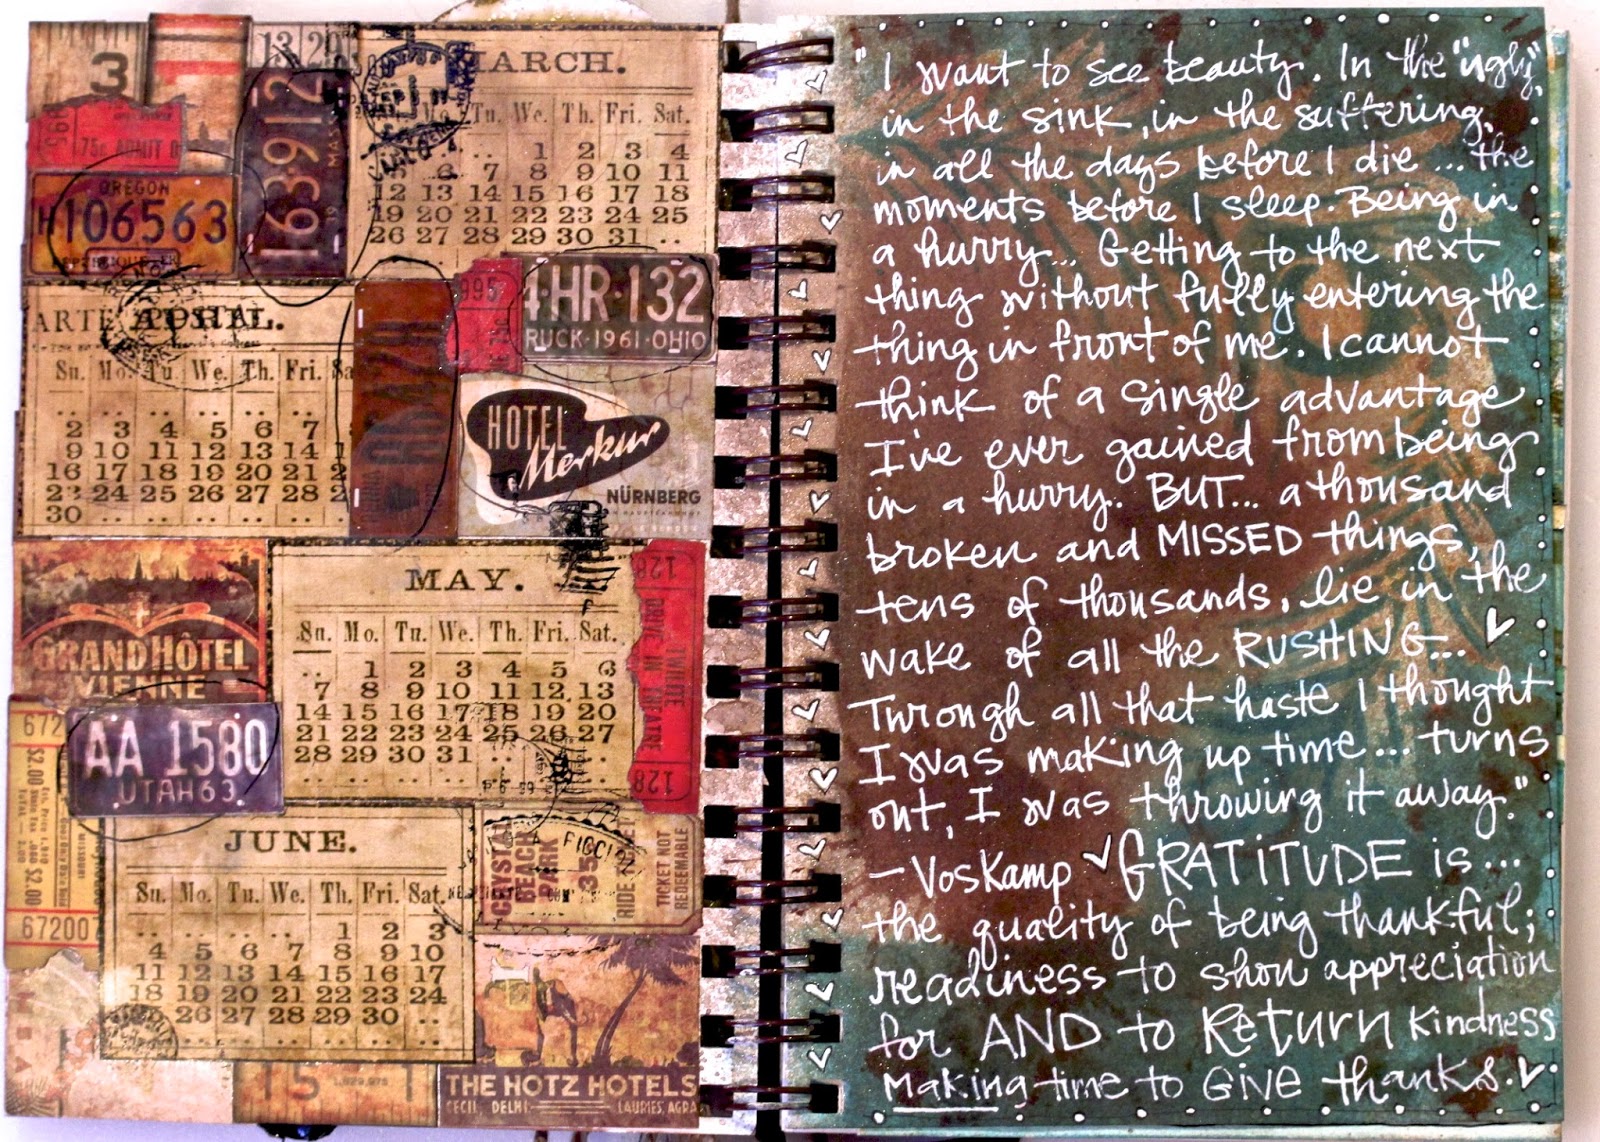
 Here is my true art love, a journal. Create without stress because you can keep it the way it is or come back to it forever.  Doesn't need to look good on the wall or become a gift for your mother-in-law. Just relax and create. 


 I have a journal that I've finished covering all the backgrounds with ink, paint and some texture using stencils. I chose a page that would really make the teal paint pop. 


Teal is opposite of magenta in terms of the color wheel, so it gives a great contrast. The teal paper strips are just the vellum pages painted with teal and a bit of the pumpkin to add depth. 


Once I chose my pages, I stamped some great texture with Natalie's stamps from the kit. 


 I love the giant circles because they really support focal points. 
 Just like my last post, I  used paper from Graphic 45's Coture collection. I liked repeated the girl image like she was in bubbles. I used the inks around the edges of the circles. 

 
  With the paper strips I made, I use a border cut out of patterned paper. 
 For really great layers, continue what patterns you started in the background in small amounts overlapping the new layers and the background. This convinces the eye that everything in unified. 


 It is also a good idea to put some of your new layer's color into the background. 

 Notice that I got a great effect from stamping with teal paint for a while then inking the dirty stamp and pressing hard! It was planned (nope I'm lying). 


 Make a cluster of collage to support the visual "weight" of your focal point. 
 The kit's embellishments are wonderful because they can be painted to go with almost any theme. 


 This is how I made my pages, and I hope it sparks some ideas for you! And notice, being different  is an ecellent idea. 


Art is like magic except the tricks are open to everyone. I welcome questions! 
-heather kindt


Sunday, March 23, 2014

"Journal Swap" Cover


I am having so much fun participating in a journal swap with a group of very talented artists!
It was organized just as I received my March kit, and I DEFINITELY 
wanted to use some of these fun new products!!  


I used the products above, along with Lindy's Magicals 
in the same Starburst shades that came in our March Limited Edition Kit.

Both sets are called  "Industrial Chic"


...and can be used interchangeably.


My first decision was to use a favorite "trinket" I purchased at a local design store.  
(It was the only cool thing I could afford at the time!)


Above is a photo of the purchased item, and next to it, the reproduction made with 
Amazing Crafting Products!

To make the mold...


TIP: To decide how much putty to use, start by using just one part (A or B) pressing it onto your piece to see how much it takes to cover, using enough to have a solid bottom...if it's too thin on the bottom it won't be sturdy. If I can almost thinly cover with one "side" (a or b) 

Then add the equal amount of the other side...mixing until incorporated.  
(1 min to mix, 1 min to mold)

Make sense?

Using equal parts A & B of Amazing Mold Putty, I pressed the putty over the top of the piece, then flipped it over to build up the sides.


Leave for about 10 minutes, and then your mold is ready!


I mixed up my Amazing Casting Resin (1 part A 1 part B) and added a few drops of 
Alumilite Brown Dye. (If I didn't add the dye, the cast would be white)

Wait 10-15 min. and your cast is done!

Once the cast was ready, I applied a little Super Heavy Gesso (from a previous kit)
 to the center of the heart.
I did this, because I wanted to give the center a slight red cast, and without the light coat of gesso, another color would not show up on the dark brown base.


Above, see the rough edges?  It was easy to trim these with scissors! Yet, it looks like metal!

Next, I added some barn red distress stain.  A bit of trial an error here...I'll know what I'm looking for when I see it! (later, I added some rusting powder)


Next, I covered my journal front cover with a collage of "ephemera" from our
Tim Holtz Salvage Stickers. 


Then I randomly "spritzed" and rubbed on the Lindy's Starburst Spray in Moon Shadow Mist.
It has this wonderful blend of shimmer, brown, and a hint of gold & silver.

I knew I wanted to add some chain I had in my stash to the piece that I cast.

I wrapped the chain around it, before I loaded the mod podge on to the back, in order to adhere it to the front of the journal.  This journal is going to be traveling, so I wanted it to stay on!


I added a few metal pieces I had on hand to the chain, along with the piece of metal screen with the word Grateful...the theme of my journal. (glued on with mod podge)

(Below)
In the top left hand corner I added the clock sticker (from the Salvage collection) and the Tim Holtz spinner. (also from our March kit) The almost rectangular piece under the spinner is actually a piece of mica, a layered mineral used to make Lindy's Stamp Gang products!

Also added..a bit of doodling at the binder's edge, and a few "postage" stamps applied at random.


As you can see above, I added a generous sprinkling of Dusty Attic's Rusting Powder.

*along with the red I had previously added to the heart's center...the rust gives it just the color I was after! yay!

I think we (the design team members) are all out of this wonderous dust and are begging Tina for more!
I've used it on every one of my projects this month!

To use the rusting powder:
1.) Apply liquid glue (craft glue, matte medium, mod podge, or even embossing liquid) to the areas you want to rust.  
2.) Sprinkle rusting powder over those areas, tapping off excess onto a piece of paper.
3.) Pour excess back into jar (you'll want to save every bit of this super cool product!!)
3.) Spray with a white vinegar.
4.) Let it dry for at least 30-60 min.  Rust deepens with time.

For the finishing touch...a few ribbons:)

A peak at the inside...


Look more Salvage stickers!!! There are tons!!

More Lindy's and Rust Powder below.


Hope you feel inspired by all of these wonderful products!

Go create!!

It's a joy sharing with you!

sue


Tuesday, March 4, 2014

"Make it colorful" : a journal cover

Hi everyone! Smitha here and I am so excited to share my "Make it colorful" series. For this month's "Make it colorful" idea I made a journal cover. Here is how the project came together...

Step one:
Open kit. I just love the smell of new craft goodies.

Step two:
Use paint dauber and doodle a bit.

Step 3:
Add a little of the mist powder onto page and paint with water.

Step 4:
Embellish page with stickers.


Step 5:
Make it colorful. Use some red paint (not shown here, part of my stash) and black ink (black is a color too!) to highlight areas of the page.

Step 6: 
Add some hand embroidery, rusting powder and journaling. Finish off cover with some metal embellishments.

Journaling reads:
sometimes, nothing can bring you peace but yourself. be yourself and you can be anything. the difference between who you are and who you want to be is what you do. be open to what ever comes next. 
I hope this gives you ideas to use your kit!
Thanks for stopping by today.

Smitha


Thursday, February 13, 2014

Frog Dog Teams with Sin City Stamps : A Letter Journal to my Daughter


Hello fellow mixed media lovers, I am up today with a project highlighting both our 


Sometimes I  create for the sake of creating...it's an outlet, relaxing and satisfying...but often, I try to create projects that are lasting and with specific purpose...this project is the latter.

A Letter Journal to my Daughter:)


I started with this great Butterfly Mini Chipboard Journal from Sin City Stamps.  It came with 2 pieces of chipboard and several white pages (sturdy mixed media paper)  to go inside.

I covered the front and back of my journal (chipboard pieces) with black gesso, to allow a nice contrast for the Pan Pastels I would add.


I "inked up" the large Butterfly stamp from the set with Versa Ink from our kit, and pressed it onto the front piece.  Next, I used a small sponge applicator (our kit came with some of these) to brush on the Pan Pastel color.  I actually blended a white and blue to achieve a slightly lighter shade.

Below, you can see how you can blend colors right in the "pots", and when you are finished, simply wipe the colors with a clean applicator and your color is back to it's true shade. 

*To clean applicator simply rub a few times across a paper towel.  You will see the color stop coming off the applicator, and then you know its clean)


Above, you can see where I added more color on top for a bit of contrast.
I actually used a small dry paint brush for this, wiping the brush on a paper towel in between colors.

When you are finished adding color with the Pan Pastels, you can "set" the color with water, a fixative spray or even hairspray, to prevent the "chalk" from rubbing off.

Next I added some detail with a uni-ball signo pen in white. (flowers, butterflies, and sentiment)


AND...I used the Faber Castell White Gelato from our kit, to accent the journal's outside edges.


In order to make this piece more beautiful and durable, I added Amazing Clear Cast Resin.

Follow the products simple directions.  (Mix part A & B, stir and pour!)


I used a very small amount (about 1 tsp. of each part A & B) careful to stop slightly short of the very edge to prevent the Resin from flowing off the piece.

I used an old clean paint brush to spread the resin across the butterfly. After I was finished, I rinsed the brush in warm soapy water and in the morning my brush was good as new:)

I let the piece set overnight. 

I created the pages inside just like I did the cover. (minus the resin)


Versa mark, Stamp, Pan Pastel.


I blended the blue with a bit of white for a lighter shade like I did with the cover.


Once I created the background color, I wrote the "letter to my daughter" using a Scarlet Lime pen.


I added an extra large jump ring to hold the journal together, then added a charm, a key, 
and a few pieces of ribbon.


I just love this Butterfly Stamp set and Chipboard Journal from Sin City!  
They were perfect for this project.  

The sentiment around the front cover is one that is very special to me...

"Wired into a creature who looks nothing like a Butterfly, 
is the complete identity of a Butterfly!"

(just like the lack luster caterpillar whose true identity is the miraculous Butterfly...so are we created for so much more!)

If you are interested, I share the letter on my blog:)  It is personal to me, but contains general sentiments that are meaningful for "any daughter."

Hope you are inspired to create your own Letter Journal using some of these great products:


As always, it is a joy to share with you!

Sue