Welcome to the Frog Dog
Studio and Splash of Color
Design Team Cross Promotion!
This week the teams are showcasing projects from the Frog Dog Studio December Mixed Media kit, featuring Luminarte Acrylic Silks and Viva Colour Modeling Creme. Both teams are excited to share their kit projects and show you how they were inspired.
Each day (December 9-11th), on the Frog Dog Studio and Splash of Color Blogs, we will be sharing Design Team projects with tips, how-to's, and Kit and Product shares. Be sure and visit both blogs for daily inspiration.
This week the teams are showcasing projects from the Frog Dog Studio December Mixed Media kit, featuring Luminarte Acrylic Silks and Viva Colour Modeling Creme. Both teams are excited to share their kit projects and show you how they were inspired.
Each day (December 9-11th), on the Frog Dog Studio and Splash of Color Blogs, we will be sharing Design Team projects with tips, how-to's, and Kit and Product shares. Be sure and visit both blogs for daily inspiration.
We love Frog Dog Studio kits and Splash of Color product so much, we are sharing them with you!
Visit the Frog Dog Studio blog and Splash of Color Blog each day and leave a comment for a chance to win the following:
1.
ONE winner will be selected to receive a Frog Dog Studio December Mixed
Media.
2.
ONE winner will be selected to receive a $25.00 Luminarte and Viva Colour
Prize Package!
Leave a comment each day on each
blog for more chances to win. You must
visit each blog and leave a comment on both blogs in order to qualify for a
chance to win.
Comments are due by midnight MST,
Wednesday, December11th to qualify for the drawing.
Winners will be announced shortly
after the end of the comment period, so be sure to check back to see if you've
won.
Let's see what the Frog Dog Studio team created today!
Design Team member Martha Richardson shares our first project share. Here's what she has to say!
I would like to share three journal pages that I created using the oh so fabulous Luminarte Silk Acrylic Glazes. I have to admit that I fell in love with these quite awhile ago and have several colors. I love working with them and the effect they create.
I would love to offer everyone a tip that I learned from several classes with Joanne Sharpe. Basically if you own many different colors in pens, markers, watercolors, SILKS, etc. you should create a tool that allows you to actually see the color on paper…great way to choose your colors and mix and match. It may seem like a lot of work but once completed it is much easier to match colors together.
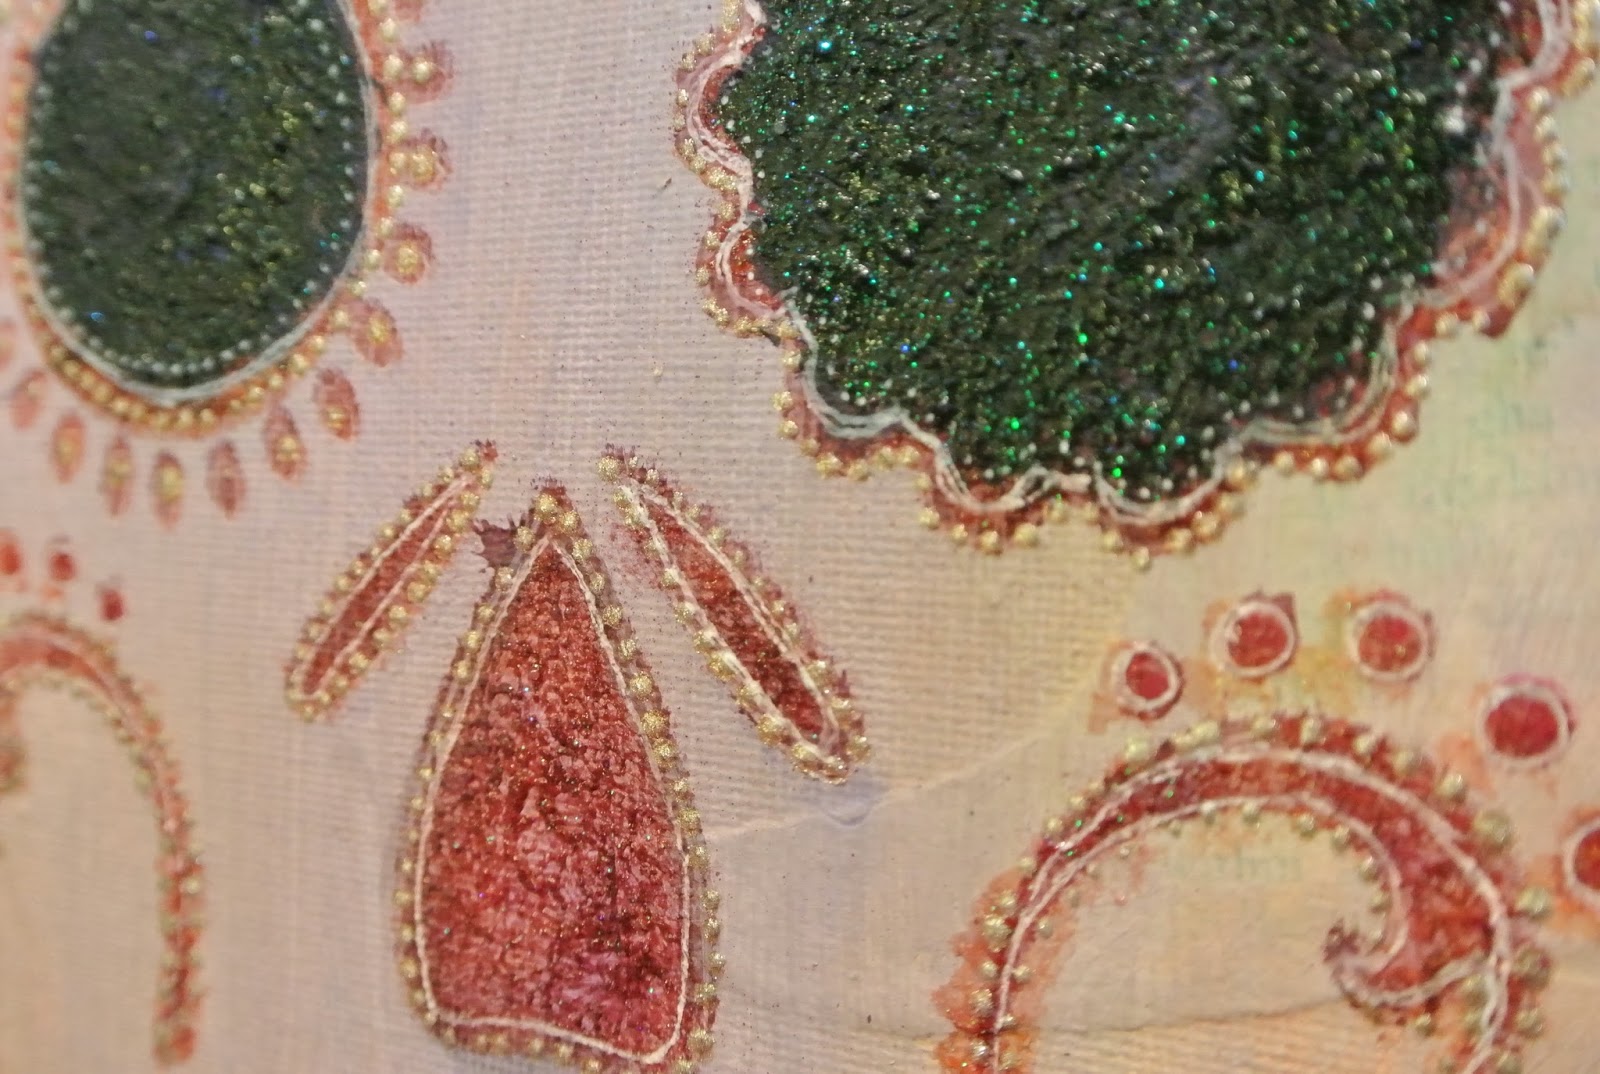
This 1st journal page is what I created to show all my colors of Luminarte Silk Acrylic Glaze. I created this doodle on Strathmore Watercolor paper and then I drew a grid of squares around it to use for my color samples. I noted on the back of this page what colors I used and where that color is. The center of the large circle uses the gorgeous AFRICAN JADE color. I wish that you could see the beautiful finish created but it just is so hard for a camera to pick of the glimmer.


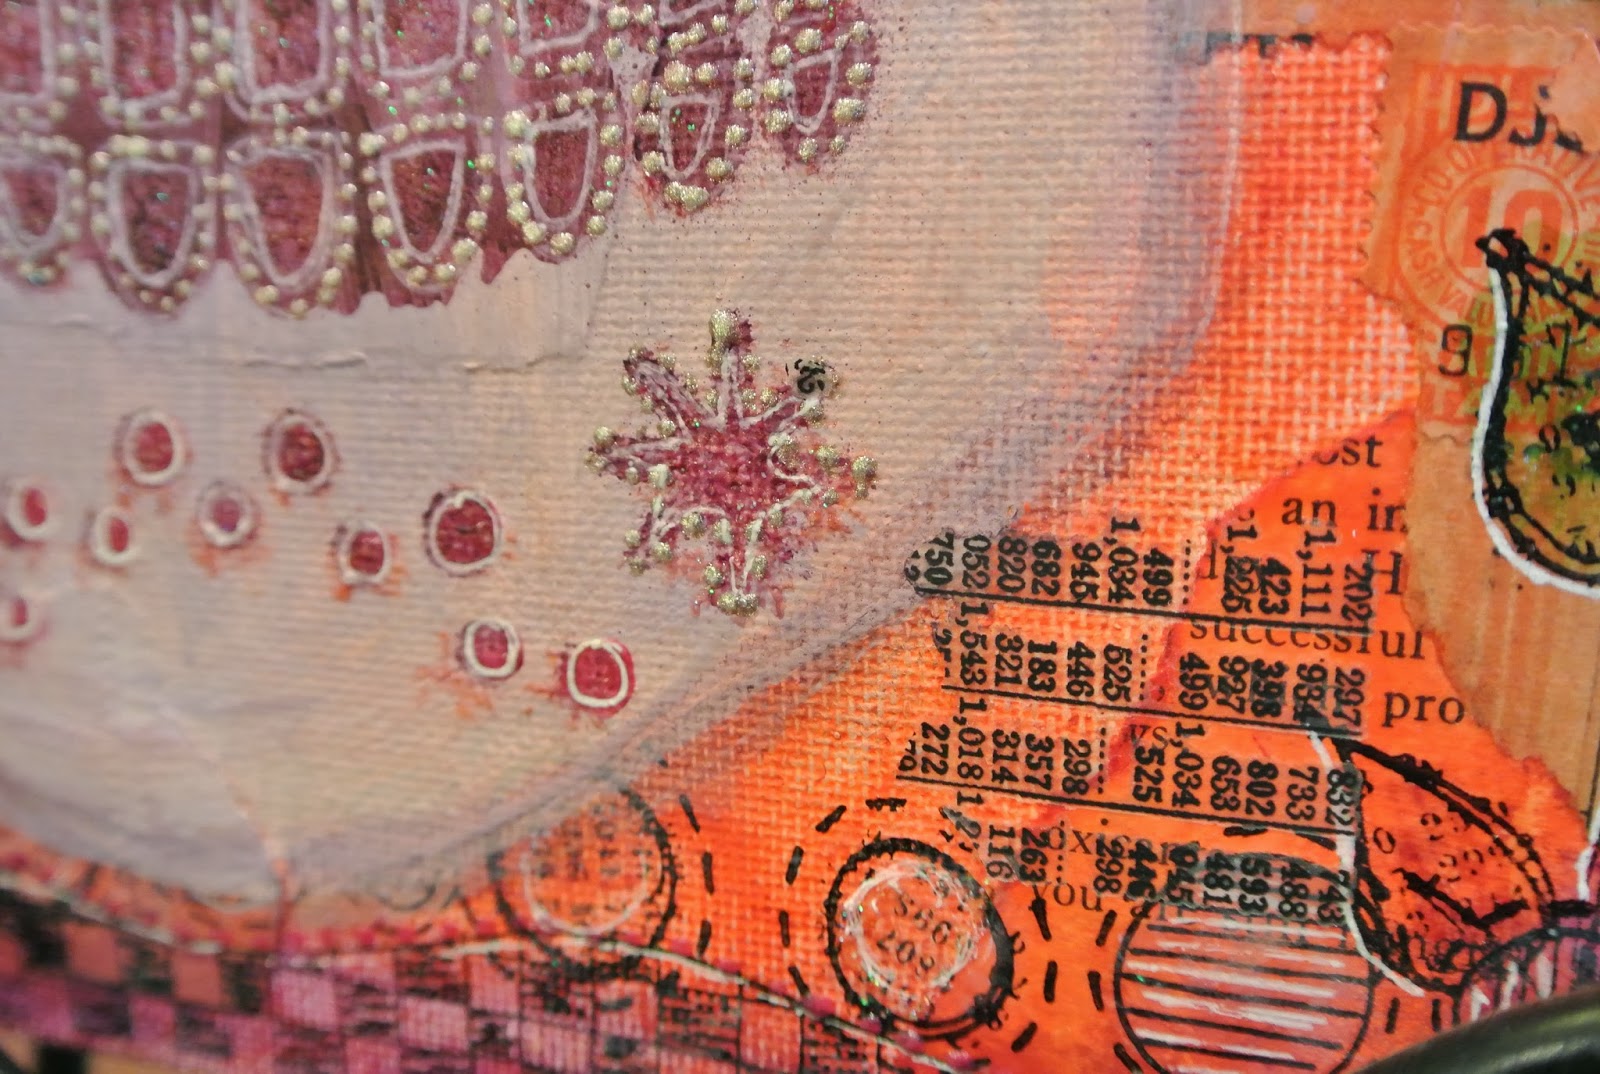
The 2nd journal page I used a beautiful stencil, Marrakesch, designed by Michele Ward to create a background around another doodle. Most of the page was done with the Luminarte Silks Acrylic Glazes. The background was painted 1st with AFRICAN JADE Silk and then the second is a mixture of FERN Silk and PRETTY PERIDOT Silk that was added for the frame. I used CARMINE from the kit for the doodle but toned it down slightly with EMPEROR'S GOLD Silk. I wish you could see the African Jade background but again I can't get the colors to read correctly in my photos without altering all the other colors.

My last journal page was another doodle that I had created but never finished and I used this as my jumping off point. I 1st used the Sakura White Glaze Pen from last months kit to write significant words on the background before I painted it with AFRICAN JADE. I purposely added more color to some of the areas to show how Silks can be layered over one another.

I will be back later this week with a regular post that goes into more depth about Luminarte Silks Acrylic Glazes and the Viva Colour Modeling Creme and how it can be used on wood.
Our next project share is by Design Team member Sue Carroll. She created an amazing Holiday Project you will simply love!

As a Frog Dog Studio Design Team Member, I have the privilege of receiving amazing mixed media products every month to create with...
This month, our December Kit included Viva Colour Modeling Cream, & several jars of LuminArte Silks Acrylic Glaze.
(along with MANY other goodies of course!)
These great products, along with Catherine Scanlon's Grid Stencil (introduced to me through FROG DOG)
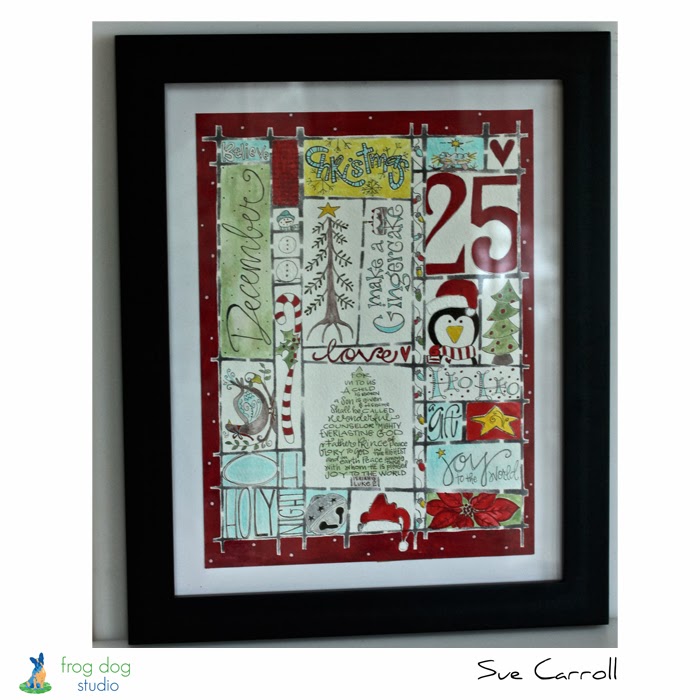
are what I used to create this framed Christmas piece.
I started this project by using black acrylic paint to stencil the "GRID" onto a piece of cold pressed, 140 Lb. Watercolor paper.

Next, I used a pencil to draw each element into the grid areas.
After that, I went over the pencil drawings with one of my favorite pens... Black Pitt multi-liner in XS.

Then, it was time to COLOR!

In the photo above, you can see a close up of the modeling cream added to the fur on the hat.
The red is LuminArte Silk in Carmen.
My photo doesn't do the modeling cream justice, really...below is a photo of the depth and texture you can achieve with this amazing product...

Below, I am sharing some close up shots of this piece, so that you can see the brilliance and intensity
of color that LUMINARTE SILKS provide!


The SILKS I used in this piece were...
African Jade, Fern, Carmen, & Sunflower.
ALONG WITH
Viva Colour's Pearl Modeling Creme
These amazing products can be found at SPLASH OF COLOR
Inspiration for this piece and more can be found at Frog Dog Studios
Amazing Project! And Amazing Product! You can tell that the team LOVES Luminarte Acrylic Silks and Viva Colour Modeling Creme. The used both perfectly.
Be sure and hop on over to the Splash of Color Blog to see what their Design Team is sharing today!
Remember to leave a comment on both the Frog Dog Studio blog and the Splash of Color blog each day for a chance to win! Stop by tomorrow for more projects from 2 more Designers.