Showing posts with label Viva Decor. Show all posts

Wednesday, January 8, 2014

Photo Booth Fanatic!

Good morning everyone! Today I wanted to share with you my take on the fabulously fun Photo Booth wooden album from Genuinely Jane in this month's Frog Dog Studio Kit.

To begin, I took the album apart to make it easier to work on each block at a time. On the main block (the front of the album) I began by coloring the entire piece with the Liquitex acrylic ink in the kit. I also did some distressing with the black mixed media ink pad also found in the kit. Then I set it aside to dry.


Moving on to the second piece, I colored that one with the blue acrylic ink from the kit. Then I used a stencil, a palette knife, and the modeling creme from last month's kit to create a very textured background.


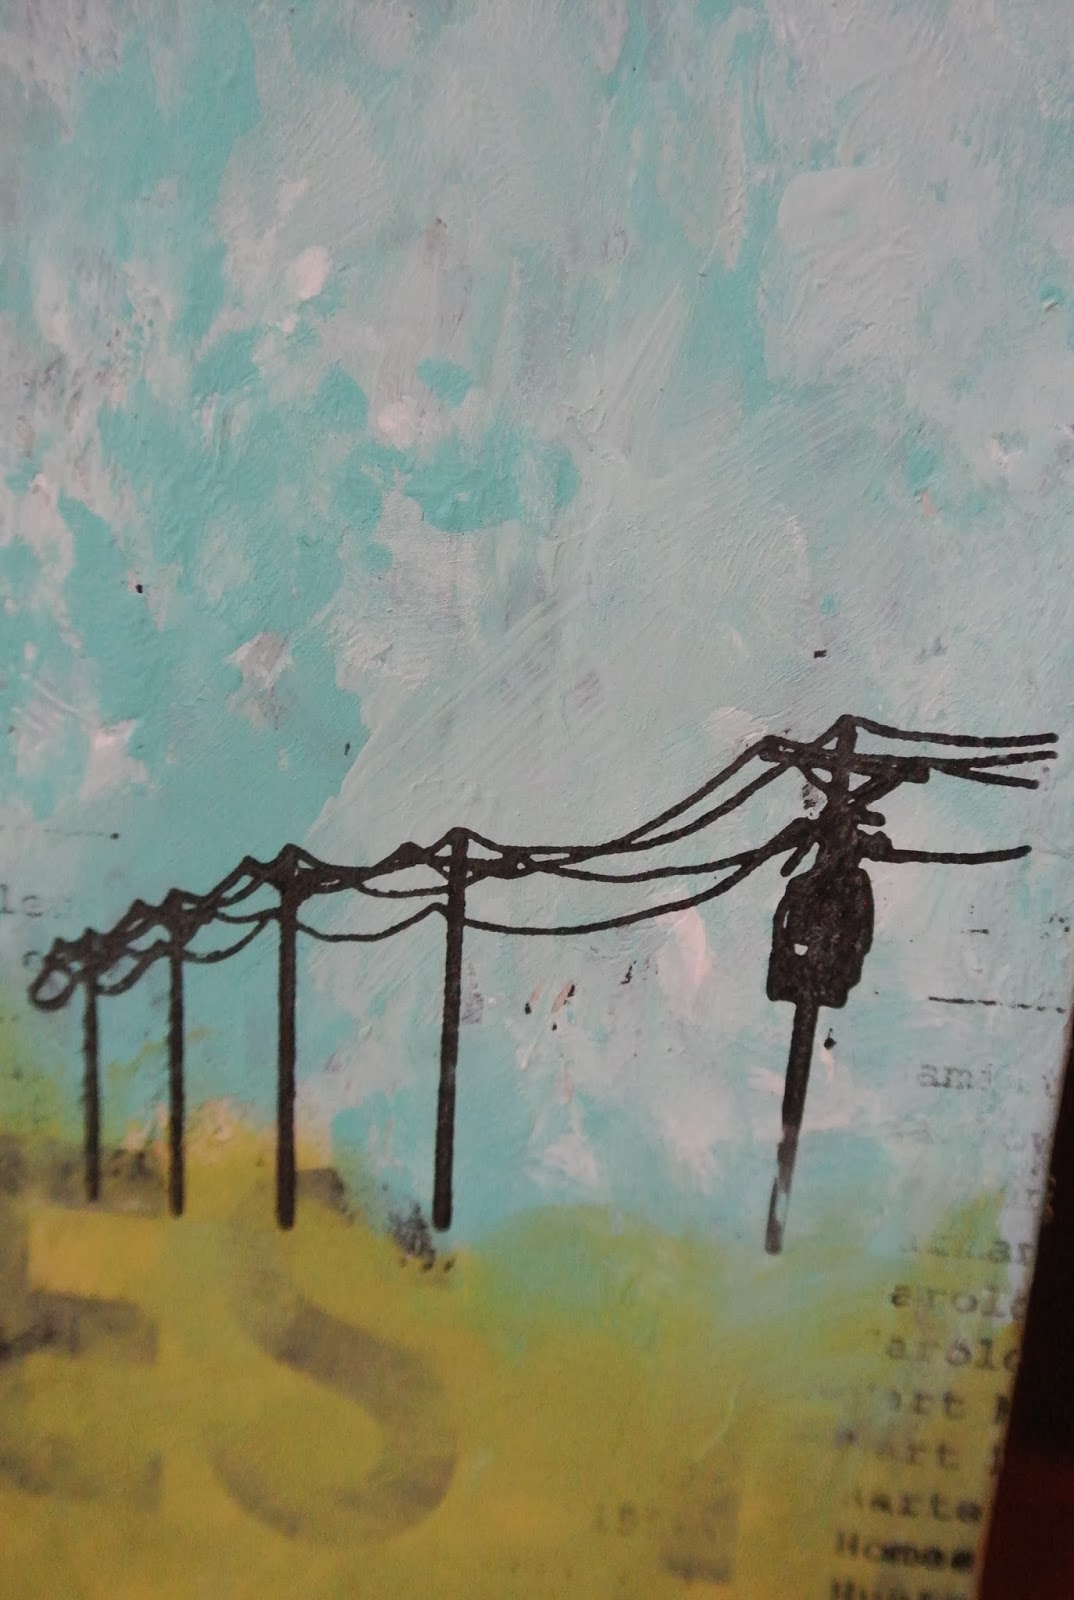
Moving on to the next piece, I covered the entire background with the tissue paper in the kit and some matte medium. Then I added acrylic paint to create the background. When that was dry, I used the telephone wire stamp and the black mixed media ink to create my focal point. I also did some light stamping in the background using the phone directory stamp (which is now one of my favorite stamps for adding texture and interest to a background!)

For the final block of the album, I used some of the goodies from the ephemera pack in the kit to create the background. I also used two of the new Tim Holtz layering tag stencils (found in the Frog Dog Studio store) and some acrylic paint to add layers and interest. At this point this is how all of my blocks looked with the backgrounds done:


I kind of got lost in my process at this point and didn't take many more pics. What I did was add a strip of the accordion book paper behind the booth "window", as well as a poker chip, a key, and some more stamping. I also found some clip art to use for two of the pieces and attached those with matte medium.

Here are pics and some close ups of the final product:

Friday, December 20, 2013

'A Blank Canvas' December Edition

Hello and Happy Friday!

Tina here today with my 'A Blank Canvas' series.  Each month, I share my creative process on how I transform a blank sheet of chipboard into a Mixed Media layout, using the current month's kit supplies!

Let's take a peek at my layout.
 

The festive, bold colors of the December kit were perfect for a vintage Mixed Media layout!  Green and Red are always a go-to color combination.

Let me walk you through my creative process.

Step One:  Paint Sticky Back canvas with Gesso.


Step Two:  Apply Modeling Creme to canvas with Tim Holtz Stencil.


Step Three:  Apply a 'wash' of Silks to canvas.  Modeling Creme acts as a resist.


Step Four:  Age canvas with Distress Ink.


Step Five:  Cut up canvas into randomly sized rectangles.  Set aside.

Step Six:  Apply Gesso to chipboard and create 'stripes' with plastic fork.  Apply your favorite spray and/or Ink.  I used Lindy's Stamp Gang Moonshadow Inks, Magicals, and Starburst Sprays.  Dry.


Step Seven:  Peel backing from Sticky Back Canvas and adhere to background.


Step Eight:  Paint chipboard letters with Silks and while wet, sprinkle with Embossing Powder.  Heat emboss.


Step Nine:  Spray top of chipboard with Spray Mist and let it drip down. 
Cut randomly sized circles from Tim Holtz fabric and adhere to background. 
Adhere small metal findings to background.
Using technique in Step Eight, apply Silks to edge of layout and around fabric circles and sprinkle embossing powder.  Heat emboss.

Step Ten:  Using Charcoal Soft Pastels, edge around canvas rectangles, chipboard alphas, and edge of layout.  (this is my latest obsession.  I MUST apply Charcoal to everything HA!)


Step Eleven:  Add more Spray Mist and paint to areas of layout.  The close-ups really show all of the fabulous detail, color and texture.


Doodle a bit around the metal embellishments and fabric circles and you have a finished layout!

I hope you enjoyed this month's 'A Blank Canvas'.  Thank you for stopping by!


Monday, December 2, 2013

Love is the flower you've have to let grow....

Hello and Happy Monday!

Tina here today with the first December project share!

Before we get to my projects, let's take a peek at the December Mixed Media kit again!

There are so many options when creating with this kit, I wasn't sure where to start.  I was really drawn to the Tim Holtz Eclectic Elements, so I thought I start there.


I pulled out a 12x12 Flat Panel canvas that I had been playing with and several squares of the Tim Holtz fabric.  I thought I'd create a flower canvas, using the fabric as the base for my flowers.

I drew several flower shapes on a piece of paper, then cut them out to use as a template.


I placed the flower shapes on my canvas, then adhered them using matte medium.


Once they were dry, I used Distress Paint, (in Picket Fence) and covered up the background.  Since Distress Paints are transparent, the create color and texture that was previously added to my canvas is still visible through the white paint. 


Using Faber Castell Big Brush Pens, I added texture and more color to each flower and throughout my background.


I cut several leaf shapes from the fabric and de-constructed the Maya Road ribbon from the kit to create stems for my flowers.  I adhered them to the canvas with Matte Medium.


I wanted my flowers to have a bit more POP of color, so using water downed Distress Paint, I painted each flower, leaves, and stems in bright, colorful tones.


To add more texture and dimension, I outlines each element with Oil Pastels.  I love how these look on my mixed media canvases.


I finished my canvas off with a sentiment!


Once I got going with this canvas, I created several additional Home Decor projects.


I mixed the Modeling Creme with Lindy's Magicals to create the texture on this project.  I also used Viva Decor Inka Gold to accent the texture.


I bought this metal shrine on a recent trip and covered it with layers of gesso and Modeling Creme.  I simply LOVE how this turned out!  Lots of Distress Glitter, Alcohol Ink, and Distress Ink to create the vintage look.


That is all for today.  I hope you stop back each day this month for more amazing Design Team projects, tips, and tutorials!

Thanks for stopping by!  Have a great one!


Friday, October 18, 2013

The Witching Hour--October Limited Edition Kit

Welcome, friends!! Today I have another spooky project for you using the October Limited Edition Kit. For this project I used the 5 x 7 canvas board, ephemera, Lindy's sprays and Magicals, and the Dylusions stamps. Let's get started!

To begin, I laid down a background of the Lindy's Magicals combined with the spray ink. I also worked in a bit of the Viva Decor Glitter paste because I just can't get enough of that stuff!


I wanted to create a quirky, funky little Halloween house so I de-constructed the viewfinder and it's envelope. I cut the envelope into a house shape, and the stamp sheet into a roof. I cut up the viewfinder and tried to use the little negatives as windows, but they wouldn't stick so I ended up using the frames they were housed in instead. I also cut the club off of the playing card and stuck it on top like a weather vane. Then, I used one of the Dylusions border stamps to create a little eave to attach under the roof. I also attached one of the bingo pieces on the front door.


At this point I thought the bingo piece didn't really fit in too much so I painted it with the Lindy's. I also added some rub ons and stamping to the piece, as well as an older Tim Holtz sticker that I had in my stash.


This piece sat for a couple of weeks like it is. I wasn't totally happy with it, but couldn't figure out what was wrong. I just knew that it felt "off" somehow. So I gave it some thought. In the meantime I added some white Magicals because I thought I would be adding something else to it and wanted to lighten up the background a little bit.

In the end I ended up removing the Spooky sticker and the bingo piece. I then downloaded some free vintage clip art and added that instead. I found the cute sentiment and added that as well. While browsing around at Hobby Lobby I found the perfect frame (which happened to be 50% off!) and once I made those changes I was a lot happier with the piece overall. I think that this is why I struggle with making videos. I change so many things around and go back and forth and let things sit for so long while I mull them over!


I'd love to hear your thoughts on what you do when you get stuck on a piece that doesn't feel right. Any suggestions on how you push through a creative block? Thanks for stopping by :)