Showing posts with label Glitter Paste. Show all posts

Friday, October 18, 2013

The Witching Hour--October Limited Edition Kit

Welcome, friends!! Today I have another spooky project for you using the October Limited Edition Kit. For this project I used the 5 x 7 canvas board, ephemera, Lindy's sprays and Magicals, and the Dylusions stamps. Let's get started!

To begin, I laid down a background of the Lindy's Magicals combined with the spray ink. I also worked in a bit of the Viva Decor Glitter paste because I just can't get enough of that stuff!


I wanted to create a quirky, funky little Halloween house so I de-constructed the viewfinder and it's envelope. I cut the envelope into a house shape, and the stamp sheet into a roof. I cut up the viewfinder and tried to use the little negatives as windows, but they wouldn't stick so I ended up using the frames they were housed in instead. I also cut the club off of the playing card and stuck it on top like a weather vane. Then, I used one of the Dylusions border stamps to create a little eave to attach under the roof. I also attached one of the bingo pieces on the front door.


At this point I thought the bingo piece didn't really fit in too much so I painted it with the Lindy's. I also added some rub ons and stamping to the piece, as well as an older Tim Holtz sticker that I had in my stash.


This piece sat for a couple of weeks like it is. I wasn't totally happy with it, but couldn't figure out what was wrong. I just knew that it felt "off" somehow. So I gave it some thought. In the meantime I added some white Magicals because I thought I would be adding something else to it and wanted to lighten up the background a little bit.

In the end I ended up removing the Spooky sticker and the bingo piece. I then downloaded some free vintage clip art and added that instead. I found the cute sentiment and added that as well. While browsing around at Hobby Lobby I found the perfect frame (which happened to be 50% off!) and once I made those changes I was a lot happier with the piece overall. I think that this is why I struggle with making videos. I change so many things around and go back and forth and let things sit for so long while I mull them over!


I'd love to hear your thoughts on what you do when you get stuck on a piece that doesn't feel right. Any suggestions on how you push through a creative block? Thanks for stopping by :)

Thursday, October 3, 2013

Beauty in Imperfection....

Hello and Happy Thursday!

Tina here again today with an Art Journal I created using the Exclusive Frog Dog Studio stencil in the Limited Edition Kit.


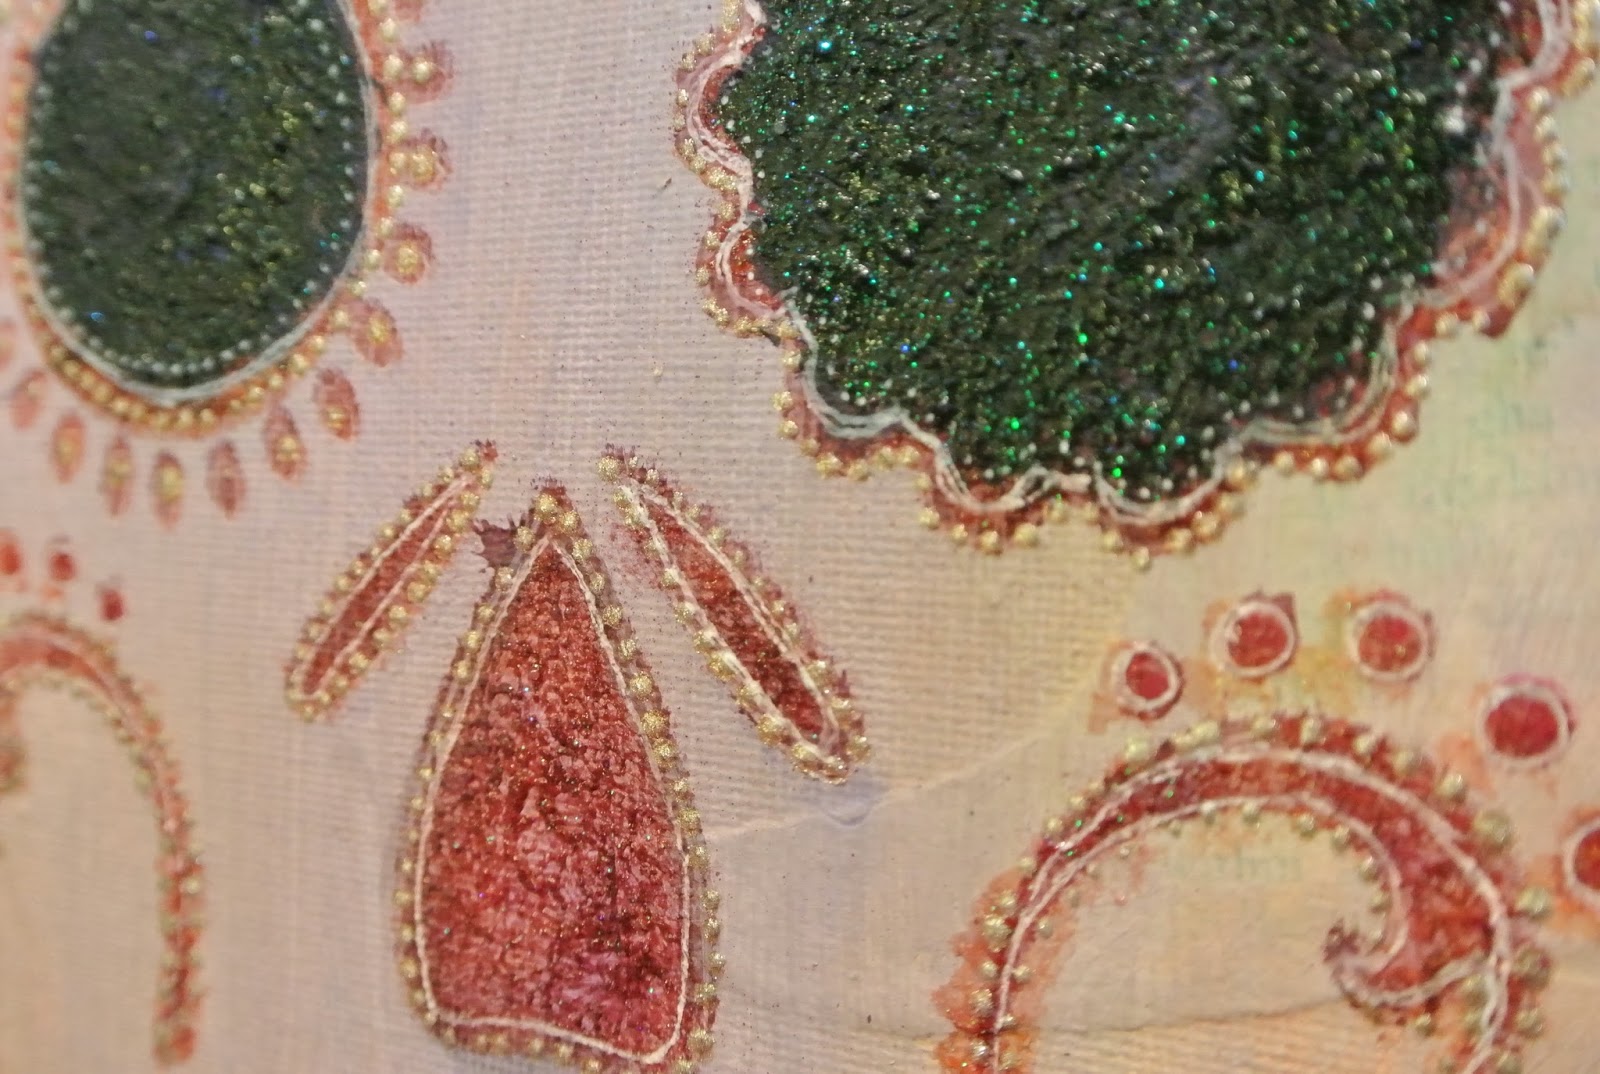
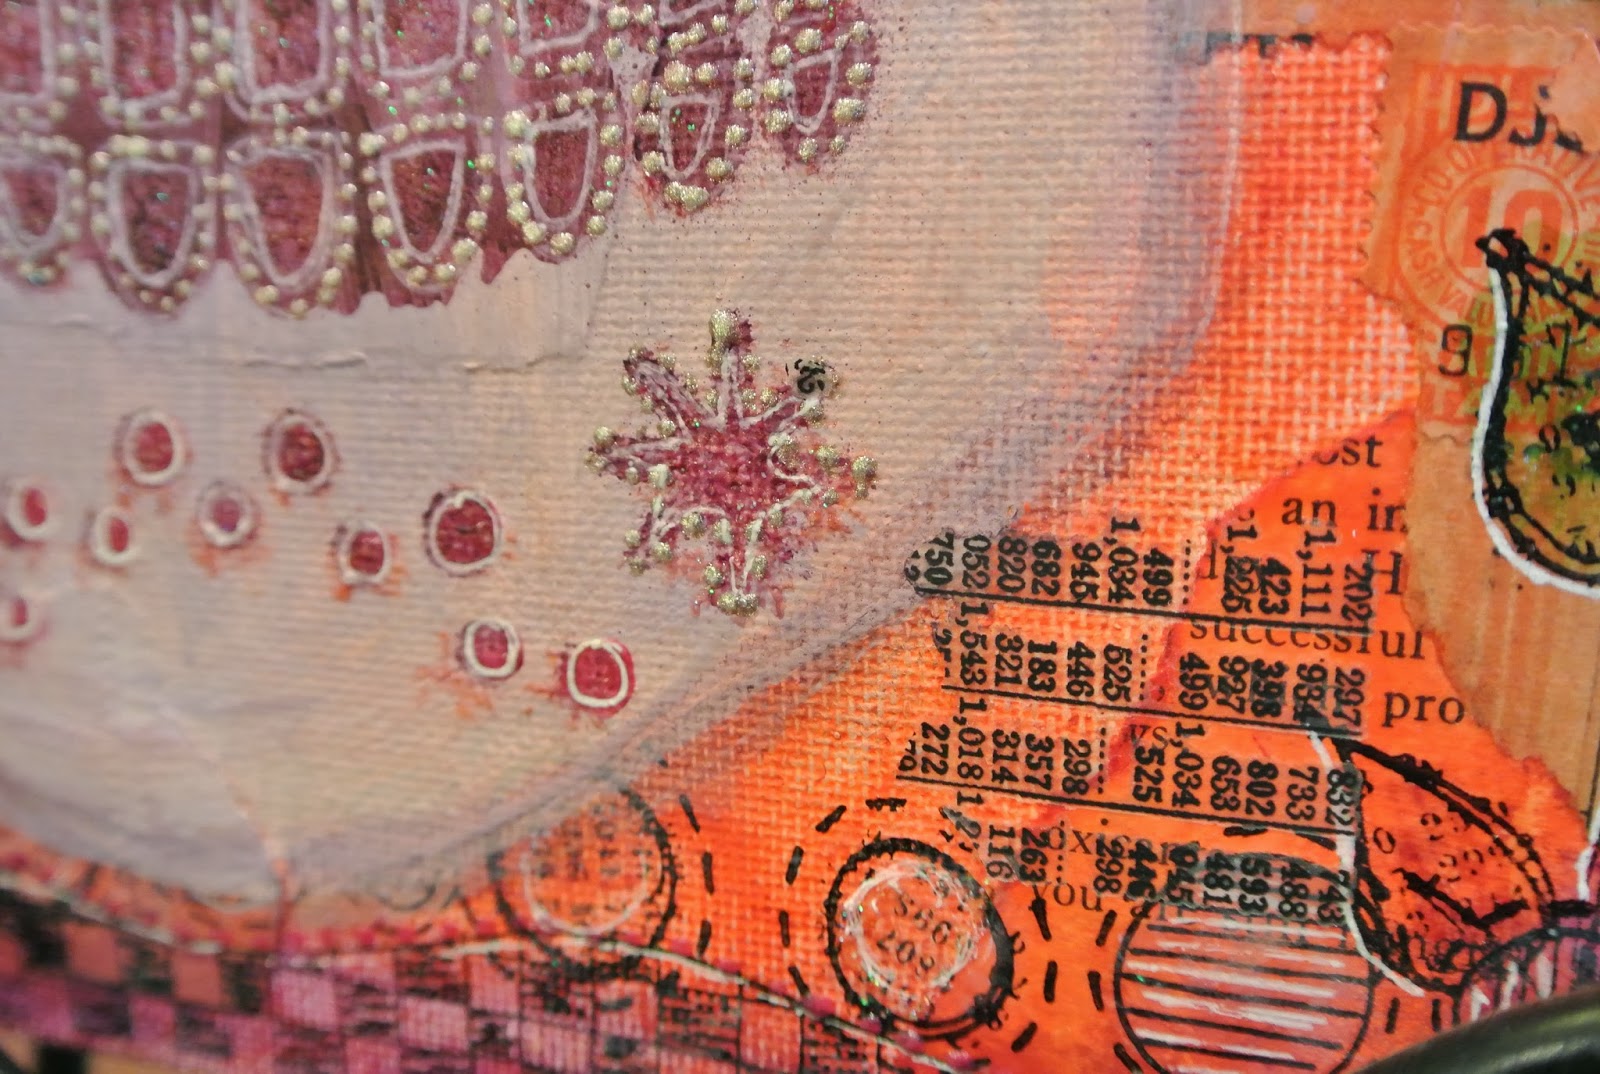
I love the beauty in Sugar Skulls.  I love the bright colors, the floral designs, and the delicate details.  When I created this stencil, I envisioned Beauty, in Imperfection.

I thought this stencil would make for a wonderful Art Journal spread.  I used the negative space to create detail and used bright and bold colors!

Before we get to my video tutorial today, let me share several close-ups.


And my video...


For my second project, I wanted to create another project with the Exclusive stencil, so I used the 9x12 canvas included in the Limited Edition kit and created a simple canvas full of texture, color, and lots of Lindy's Stamp Gang product.


I started creating texture by adding Glitter Paste to my canvas with a flower TCW stencil I had in my stash.  I let it dry completely before adding color.

I layered several Lindy's Moonshadow Inks, Lindy's Sprays, and some sprays from my stash to create the background.  I love how the Glitter paste peeks through the inks and sprays.


Once I was happy with my background, I outlined the stencil using a Embossing Pen.  I added the embossing powder from the Main kit and melted.  I am so happy with how this turned out.


I had never used Lindy's embossing powder before this kit, but I must say I'm addicted.  I have added several additional colors to my personal stash and have fell in love with embossing all over again.

What product have you used lately that you love?  Have you re-discovered a product.  We'd love to know.

Thank you for stopping by today!  I hope you have a great week!


Wednesday, October 2, 2013

Texture Tips with Melissa-Using the October Limited Edition Kit

Good morning, Melissa here with this month's texture tip and project using the super fun October Limited Edition Kit. When I first saw the kit goodies, I was really excited. I love making Halloween projects!! One of my favorite things in this kit is the Day of the Dead stencil. Living in San Antonio you see a lot of this type of artwork and I always enjoy it's different interpretations. For this project I used a majority of the kit supplies including the stencil, the 9 x 12 canvas board, Lindy's Magicals, Lindy's spray ink, Dylusions stamps, Tim Holtz rub ons, and ephemera.

I started by collaging some of the book paper onto the canvas board and covering it with the orange Magicals and Lindy's spray ink. I also went around the edges of the board with the purple Magicals. Then I added the borders with the Dylusions stamps and black Stayz On ink.


In the next step, I used the stencil to create a mask. I laid the stencil down on white paper and traced around the edge, then cut the image out and laid it down on the canvas board and traced around it with a white gel pen. I did this so that I could paint the entire skull white, then use the stencil on top of it later.


I painted the skull area with the white Magicals, then laid down the stencil and loosely painted in the details with the purple. I also added the green Magicals to the Dylusion stamp border.


I added some detail and texture here by mixing up the orange Magicals with some Viva Glitter paste. I also used a white gel pen to outline some of the areas.


I wanted the piece to have some more dimension, so I added some shading using Distress Ink and a gray Copic marker (which by the way is my go-to for subtle shading--it works really great!)


At this point, I realized the piece felt a bit off so I decided to paint the eyes with the black Magicals. I also mixed up some of the Viva Glitter paste and added it in because really, who doesn't like a blinged out skull? :) This is also where more texture comes into play. I used a silver Viva Decor Pearl Pen to add these tiny little raised detail dots all around the features of the skull.


For the last step, I added the Tim Holtz rubons all over the edges of the piece. I love how rubons add texture and interest to the background.


And here is the finished product:


And a few close ups:


Thanks for stopping by!

Tuesday, September 24, 2013

September Expanding Your Options - Keri

Hi everyone, it's time again for my monthly series, Expanding Your Options!

This month, I've layered products from all of my past Frog Dog kits to create a fun DIY suncatcher for my kitchen window.
The idea for the design came from this great Joann's tutorial by Mark Montano. Cool, right?
Here's how I created the suncatcher:


Here's how the finished product looks:


And here's a close-up of how awesome the crackle/alcohol ink combo looks, with the sun shining in through the window:


Love this look, and can't wait to experiment even more with crackle+alcohol ink on transparent surfaces!
Thanks so much for joining me.

~Keri

Friday, August 23, 2013

More ATC Card Fun!

Have you been having fun with this monthly kit...Martha Richardson here with another look at creating ATC Cards. They are such fun...little miniature pieces of art.


Let's take a look at how I start my creative process.

 I keep a scrap box of leftovers scraps from other projects...I throw the scraps in a box knowing that someday something will be perfect for some project. I play around with what I've chosen to work with and arrange and re-arrange until I'm happy with the composition. This is an evolving process & I don't rush it. I leave it out and as I walk by I look...I change...I look...I re-arrange. When I'm pleased I move onto the next step!

You will see in the next photos how I put one of the ATC cards together.


Once started it is hard to stop creating these fun cards. I find that ATC cards are great stash busters. I keep referring to this but I know that we all have paper issues {LOL} and I'm also finding a way to break that stash up!

Thanks for stopping by. Lots more this month so make sure you stop back and see what the other Design Team members are up to!!!