Showing posts with label Alumilite Metallic Gold Powder. Show all posts

Tuesday, April 22, 2014

Easy Mixed Media Wine Charms!

Good morning everyone :) This bonus project I created combines two of my favorite things: mixed media art and wine! These wineglass charms are so easy and fun to create. They also make great gifts (Mother's Day is just around the corner!) Let's get started.

To begin, I selected several of the Tim Holtz Fragments from the kit to work with. I covered this first one with some matte medium and the Alumidust powder. I swirled it around in the medium, adding in some of the gold ink from the kit. I used the end of a paintbrush to create the swirl texture, then set it aside to dry. I also added a word and a piece of scrap paper from my collage drawer.

I continued in this manner, using different bits of collage pieces from my stash and from previous kits (love that tissue paper from an older kit!)

When these were dry, I did some light stamping just to add some texture to the background and create a distressed look. The stamp I used had sheet music. Be sure to use StayZ On type ink if you do this. You don't want it to smear everywhere when you move on to the next step. I also went around the edges with some more of the gold ink from the kit.
Next, I mixed up a batch of Amazing Clear Cast Resin and added some Alumilite Metallic Gold powder. Then, using an old small brush, I very lightly coated each piece with the resin. The gold powder gave each piece a really cool aged look and made them all look like a set, even though I used different collage elements for each one. Make sure when you are working with the resin to work on top of a white plastic garbage bag. The resin won't stick to it, so if you over pour or spill a little it won't stick. Plus it makes for easy clean up! I use a paper plate under my trash bag so I can move my project around if I need to.

After allowing the pieces overnight, they were ready for the finishing touches. I found these wire stemware hoops at Hobby Lobby. They were pretty cheap. I also had some larger beads leftover from my Titanic Inspired Tin project. I'm not sure what I was thinking at first, but I just put the beads and the fragments right onto the stemware hoop. Then I realized that the fragment wouldn't lay flat (duh) so I went back and attached a jump ring to the fragment, then attached the fragment to the hoop. It worked perfect and now lays completely flat. Of course this was done after I had already taken my final pics so you won't see the jump rings in the pictures below.

Friday, April 11, 2014

'A Blank Canvas' April Edition.

Hello and Happy Friday!

Tina here today with my April Edition of 'A Blank Canvas'.   Each month, I share my creative process on how I transform a blank sheet of chipboard into a Mixed Media layout, using the current month's kit supplies!

Let's take a peek at my layout.


I completely fell in love with Alumidust,  an Amazing Crafting Products, support product.  It's original intended use, is for Fishing Lures, etc., but that never stopped a crafter!  No way!

I used several shades of Alumidust and Metallic Powders on my layout to create AMAZING texture and color!

Here's several close-ups before we get to the Video Tutorial!


I hope you enjoy my creative process.


We would love to see what you've created with the April Kit(s).  Please share them on our Facebook page.

Thanks for stopping by!  Have a great day!

Friday, March 7, 2014

Titanic Inspired Mixed Media Art Tin

Good morning everyone! Today I am sharing with you my first project for this month, a Titanic inspired mixed media art tin.

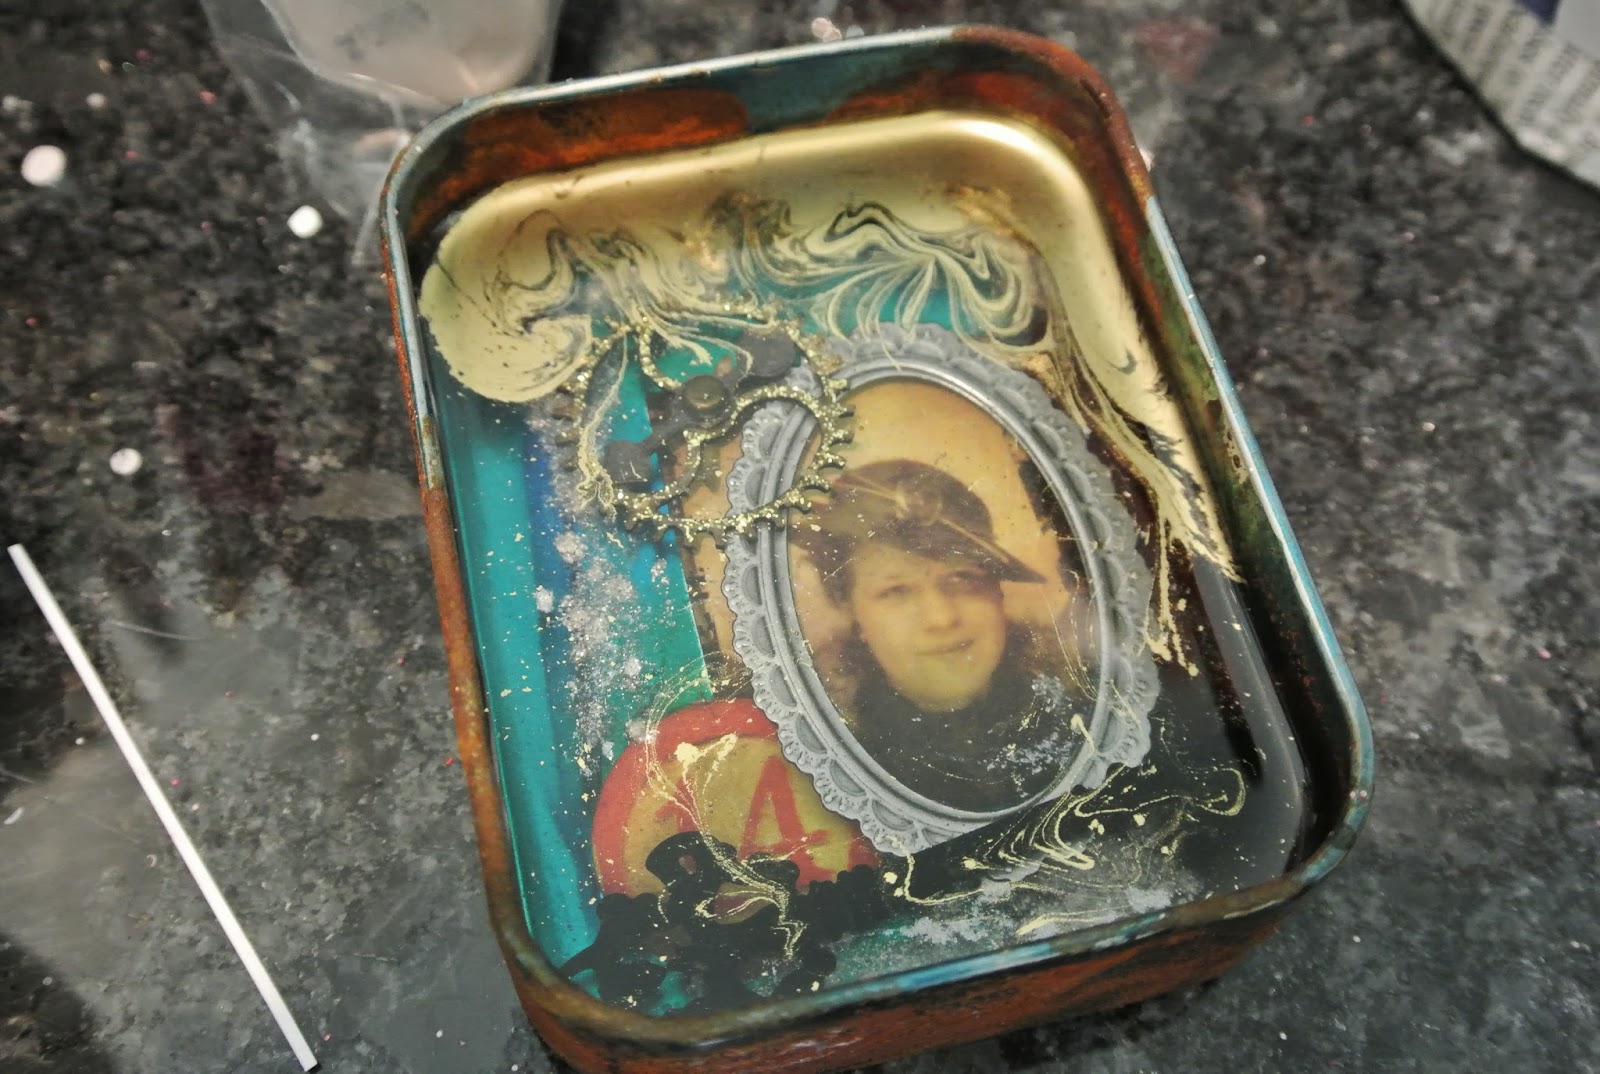
OK, so let me just start by saying that this kit has definitely been one of my favorites!! There was so much inspiration here--Tina really outdid herself! I started by covering the tin in alcohol inks. Then, I used the Dusty Attic rusting powder (which I'm going to tell you is AMAZING!!!) to go over certain areas of the tin to give it that really old, vintage look.


I added a couple of the vintage style sticker pieces from the Tim Holtz collection in the kit, then used equal parts of the Amazing Crafts clear resin and hardener to create the first layer of the piece. At this point I was thinking of the tin as a giant bezel. I also added some of the Alumilite Pearlescent Powder and swirled it around a bit with the tip of the mixing stick.


After allowing that layer to dry overnight, I continued on the next day. I covered one of the chipboard gears with gold Stickles and added that, as well as a key to the next layer. A "metal" frame from Tim Holtz was also added around the pic. I poured in another layer of the Amazing Crafting Products Clear resin and added some of the Alumilite metallic gold powder. I used another stick to create a swirl pattern, then allowed that to dry overnight.


This is how it looked when it was all dry:


For the final touch, I drilled holes in the top and bottom and added some teal wire and beads.


And here is the finished product. The layers created with the resin are really amazing. It was funny, because while I was creating this project I began to feel a story behind the piece. With the rusted metals and the vintage photo it seemed to have a Titanic sort of vibe. When I showed it to one of my teenage daugthers (when it was complete) the first thing she said was "it looks like something from the Titanic". My thoughts exactly!! :)