

I first cut a piece of corrugated cardboard to match the lid size.

Next I sprayed with the "Silhouette Silver" and the "Golden Doublooms" mists (Lindy´s Stamp Gang) over the paper and the let surface dry.

After that I dabbed some acrylic paint (Pebble) here and there for additional grungy effect.

And finally added some rusting powder here and let it do it´s magic.


After that I started decoration the box. The chipboard elements got a layer of mist and acrylic paint over them.

When that layer was dry I applied some black ink droplets here and there (Mantilla black).

After the chipboard pieces were all dry, I added some metal clockwork pieces and a little piece of dry embossed, with alcohol inks treated foil cardstock.
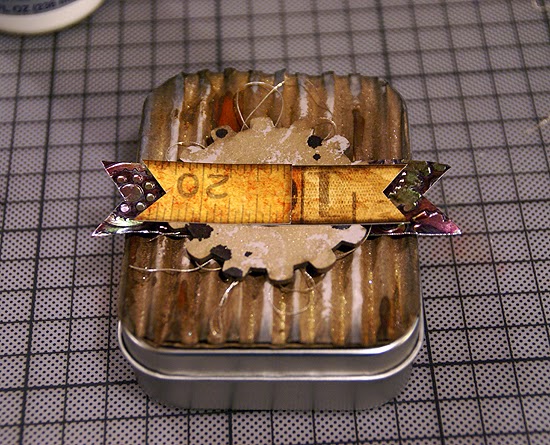
I layered various pieces over each other (also some stickers from the sticker sheet book that was in the kit).

After finishing the lid decoration, I swapped over to the bottom part of the box and taped a washi tape around the box for additional interest.
After finishing the box I wanted to create a little DIY notebook to go with it and made it the size to fit into the box. For the notebook I cut a piece of kraft carstock, rounded the edges and folded it in the middle. Then I took some notebook paper, cut it to match the book cover size and using a stapled the pages to the cover.


Next I just decorated the notebook cover with corrugated cardboard, foil tape and some Golden Doublooms mist.

I also added some sticker elements and a small chipboard piece on top.

This is what the book loos like after it was finished.

And here is the complete finished set.

I hope you have enjoyed this little project idea!
xoxo, Sanna
xoxo, Sanna


