Showing posts with label tim holtz stencils. Show all posts

Monday, January 27, 2014

Mixed Media Scrapping with the January Kit

Good morning!

Before I got into mixed media, I was a die hard scrapbooker. I did lots and lots of traditional layouts. When Tina and I were at CHA earlier this month we were talking about our "styles" and how hard it is for both of us to define exactly what ours are. I feel like I am all over the place as far as style, although one thing always carries over in my work--I like to use bright and happy colors. I also noticed that my mixed media style and my scrapbooking style do not blend. My scrapbook layouts never utilize mixed media techniques. They exist completely separate from each other. In this project, I wanted to try and blend the two worlds. I haven't done a true scrapbook page in probably about a year. I was feeling a little blocked this morning and I thought maybe trying something new would help.

To start this page, I chose a sheet of 12 x 12 scrapbook paper that had a collage feel to it. Then I used the tissue from the kit and some matte medium to create another layer of background.


Next, I used a Tim Holtz tag stencil and some metallic paint to add some color to the background. I also brushed on a light wash of gesso to tone down the words on the tissue paper. I added some stamping with the exclusive stamp from the kit and sepia archival ink.


I had to use the new Tim Holtz airbrush tool that I got in his class at CHA. This is the coolest tool ever! I think Tina has plans to carry them in the store as soon as they are available. This thing is a MUST HAVE!!! It's a great way to use your markers and add some light texture in your backgrounds.


I added some layers of paper and distressed the edges with the sepia ink and the new Tim Holtz mini applicator. I used a strip of the accordion paper from the kit in the layers, a playing card from the ephemera pack, and washi tape (from my stash). I also added some details like fussy cut butterflies, a chipboard bird and bead from my stash, and a stamped banner using the new Tim Holtz hashtag stamp set (another "must have").

And here is the finished layout of my daughter :)

Wednesday, January 8, 2014

Photo Booth Fanatic!

Good morning everyone! Today I wanted to share with you my take on the fabulously fun Photo Booth wooden album from Genuinely Jane in this month's Frog Dog Studio Kit.

To begin, I took the album apart to make it easier to work on each block at a time. On the main block (the front of the album) I began by coloring the entire piece with the Liquitex acrylic ink in the kit. I also did some distressing with the black mixed media ink pad also found in the kit. Then I set it aside to dry.


Moving on to the second piece, I colored that one with the blue acrylic ink from the kit. Then I used a stencil, a palette knife, and the modeling creme from last month's kit to create a very textured background.


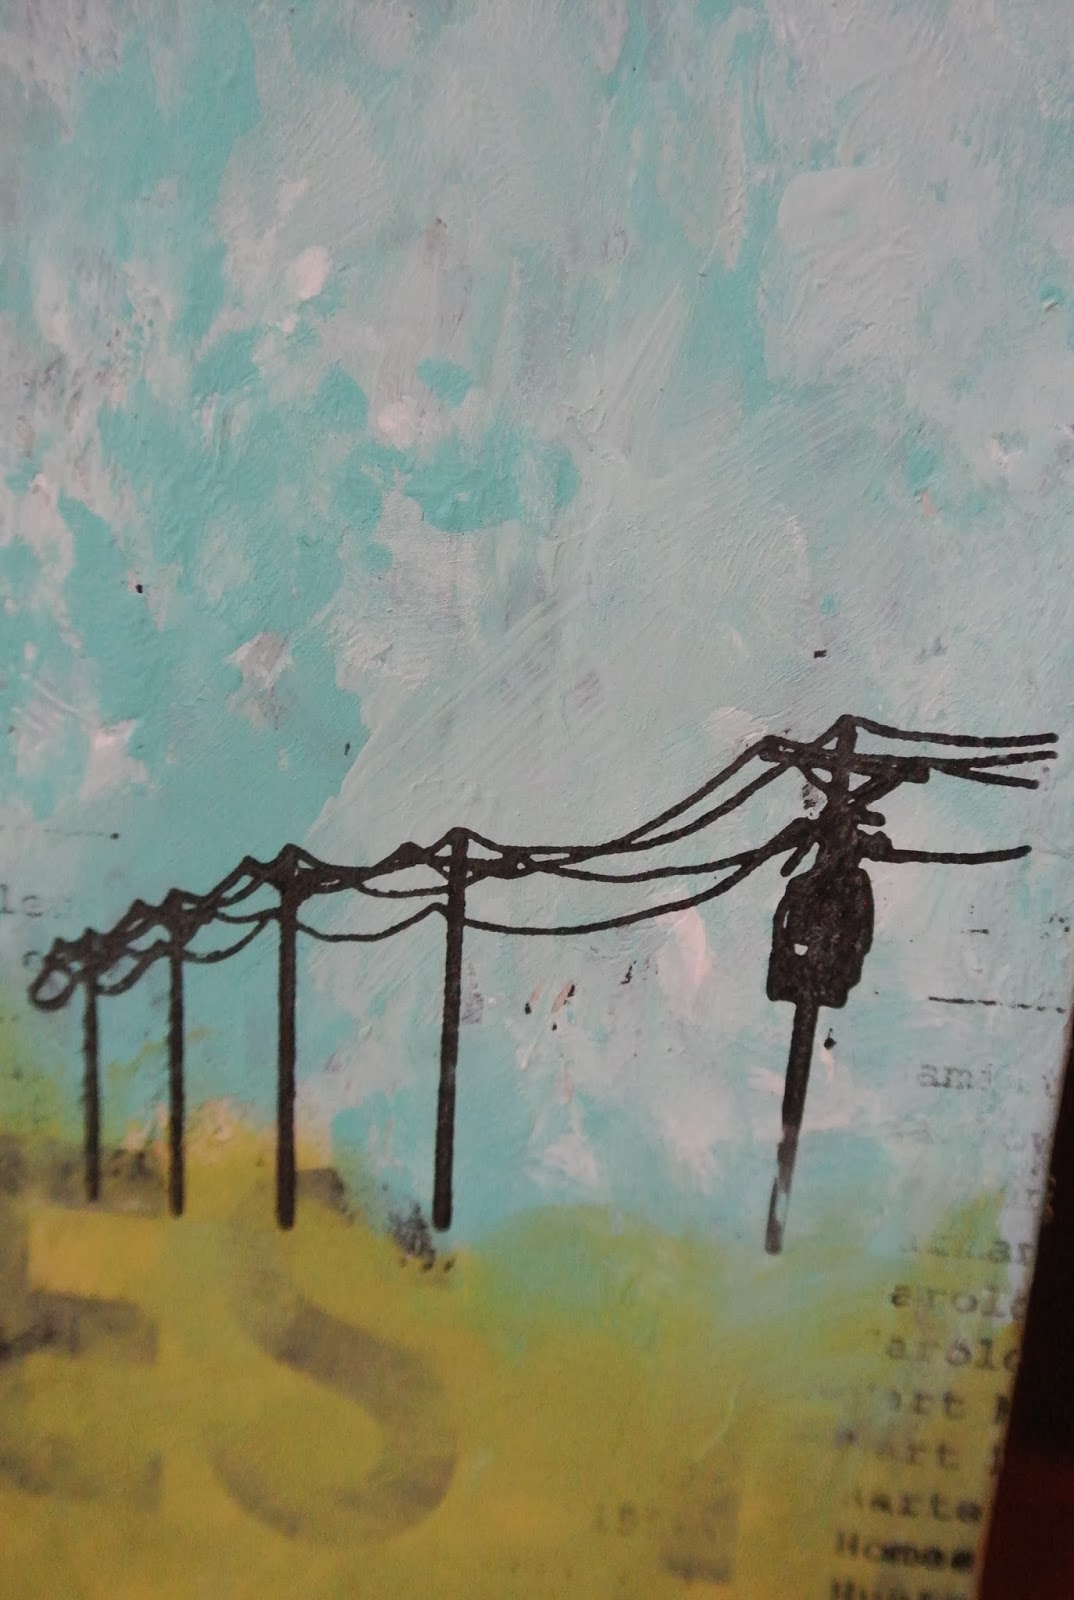
Moving on to the next piece, I covered the entire background with the tissue paper in the kit and some matte medium. Then I added acrylic paint to create the background. When that was dry, I used the telephone wire stamp and the black mixed media ink to create my focal point. I also did some light stamping in the background using the phone directory stamp (which is now one of my favorite stamps for adding texture and interest to a background!)


For the final block of the album, I used some of the goodies from the ephemera pack in the kit to create the background. I also used two of the new Tim Holtz layering tag stencils (found in the Frog Dog Studio store) and some acrylic paint to add layers and interest. At this point this is how all of my blocks looked with the backgrounds done:


I kind of got lost in my process at this point and didn't take many more pics. What I did was add a strip of the accordion book paper behind the booth "window", as well as a poker chip, a key, and some more stamping. I also found some clip art to use for two of the pieces and attached those with matte medium.

Here are pics and some close ups of the final product:

Friday, December 6, 2013

Texture Tips with Melissa-A Christmas Shadow Box

Good morning everyone! First off let me say that this month's Frog Dog Studio kit is awesome and one of my favorites so far. I was so inspired when I opened the box. I knew right away I wanted to make all of my projects in a Christmas theme since this is my favorite time of the year. I also knew I wanted to use as much of the kit on this particular project, since there were so many creative options. This month's texture tip involves the modeling cream, which is much smoother than modeling paste. I also love the pearly-ness of it :)

Let's get started!

The first thing I did was prep my main pieces, which were the bristle brush tree and the Tim Holtz Configurations box (I removed the smaller boxes that fit inside to use in a later project). I painted the tree with a mixture of the blue and green Silks. I used the gorgeous red on the box--I put on two coats to make it darker.


TEXTURE TIP: Using the modeling cream and the stencil, apply using a flat edge. Gently scrape it on. I was very generous with mine because I wanted a definite raised texture. Another cool thing I discovered is that when I hit the areas that had the modeling creme with the heat gun, it created a sort of crackle finish. I also added texture by brushing the snowflake stamp with some modeling creme and randomly stamped around the box. I also stamped it with black StayZ on ink and the checkerboard stamp.


Next, I selected a piece of the Tim Holtz fabric and cut it down to fit inside of the box. I adhered it using matte medium.


I wanted to give the box a little bit of a distress finish, so I rubbed it all over with Tim Holtz Distress Stain. It really highlighted the areas with the modeling creme and blended it all together nicely.


Now for the fun part--to decorate the tree! I love the little details like this :) To begin, I wrapped the bottom of the tree with the burlap ribbon in the kit and attached using the hot glue gun. Then, I wound the tinsel around the tree and attached the little metal gears with hot glue. I found some poinsettia paper flowers from last year in my stash and attached those as well.


I fussy cut one of the little girls from the clip art in the kit, and also found another die cut girl from my stash to use. I attached them using hot glue.


Since everything is better with glitter (not to mention that I am totally addicted to the Viva Glitter paste from one of the previous kits), I brushed it all over the sides of the box, as well as the tree and the girls.


To finish, I made a little banner out of washi tape and twine and ran it along the top--attaching with hot glue.

And here is the finished project! I hope you enjoy :)

Thursday, December 5, 2013

The Greatest Gift : a Christmas Canvas Tutorial


Created with our December Kit


Once again, I find myself digging into our monthly kit, finding it hard to quit, because there is SOOO much in it!  Many items in our kits can be used indefinitely...like the stencils and stamps this month.  Others products like the Modeling Cream and Silks can be used over and over again! 

Our hope is that we stir your creative juices each month, as you expand your "learned techniques" and product knowledge as well as your own "stash" of mixed media supplies.

This project starts with a 10 x 10 Canvas.

I used a plastic card to "smear" the Luminarte Silks in Carmen and Fern onto the canvas.
Silks go on smooth and vibrant, adding a rich dimension of "glimmer." Once dry, they are permanent, and maintain their rich colors.


Next, I added Distress Paint (china blue).  The bottle has a sponge applicator, so I just rubbed on the color right out of the bottle.


Below, you can see the yellow added (Distress Paint in wild honey)
along with the letter stencil. ( Tim Holtz cargo)


To apply design, use black acrylic paint, loaded onto a sponge make-up applicator. 
(found at the drug store)
Dip the sponge into the paint, wipe excess off on a paper towel so that the paint is more dry than wet.
"blot" the stencil with an up and down "stamping" motion. 


In the above photo, I wanted you to see the additional black paint "smears" along with the yellow circles. (which were easy to achieve with the round sponge applicator on the top of the Distress Paint)


Tis the season for BUBBLE WRAP! A fun way to apply paint to achieve texture...simply brush on paint and press onto the canvas.


The heart was given added dimension and depth using a black Caran D'ache watercolor crayon.
Outline, then smear with your finger or add water (with a wet brush) for a darker "crisper" line.


I added a few pieces of the  cool "woven" ribbon that came in our kit with a little mod podge.
Above, you can see how the glimmer in the silks comes right through the white painted bubble wrap dots...Silks are amazing....I wonder how they make them?!  We should ask Martha:)


Using a stencil I had, I added more black.


With a "sea" sponge, I blotted on more white.

Above, you can get a closer look at the black Caran D'ache watercolor crayon outline.
I used the same crayon around the edge of the canvas, along with more Carmen Silks.


Above is a photo of the wild honey Distress Paint.  The top left corner of the canvas shows the marks I made with the sponge applicator as I "dabbed" it across the canvas corner.

Added to the heart, are some old Christmas Postage Stamps along with a few more stenciled dots using the fern Silks.


I drew an abstract "Tree" on the right side of the canvas using the black Caran D'Ache watercolor crayon. I took the tree around the edges of the canvas. On top of the black outline, I added my favorite white pen (uni-ball signo) which I also used to write some of the words. Adding white to the "tree line" helps it stand out among all the dark colors.


Above, you can see the "loose" circles, added with the white uni-ball signo pen.


 The Signo and the Scarlet Lime (black) are used in the lettering above and below.  
The yellow "boxes" for the letters are made with the wild honey Distress Paint.

I will often search for fonts online to "mimic."  I liked this one below, and used it as a guide for drawing my letters.


I found this font here.


Our kit came with so many beautiful ephemera images. I cut them out and added a bit of color/aging to the edges using black StazOn ink applied with a drug store make-up sponge.


I glued them on with matte medium, then colored around each one with the Caran D'Ache watercolor crayon...this adds depth, and helps each piece stand out.

Last but not least, I used the Stamp from our kit ( Prima Vintage Vanity Checkered Stamp) to randomly add a little more texture, using the black StazOn ink pad.

I took the color and the stamp"over the edge"


Hope you feel inspired to create your own Canvas Project with our December Kit!

It is a joy to create and share with you,

sue