Showing posts with label Jan. 2014 Kit. Show all posts

Monday, January 27, 2014

Mixed Media Scrapping with the January Kit

Good morning!

Before I got into mixed media, I was a die hard scrapbooker. I did lots and lots of traditional layouts. When Tina and I were at CHA earlier this month we were talking about our "styles" and how hard it is for both of us to define exactly what ours are. I feel like I am all over the place as far as style, although one thing always carries over in my work--I like to use bright and happy colors. I also noticed that my mixed media style and my scrapbooking style do not blend. My scrapbook layouts never utilize mixed media techniques. They exist completely separate from each other. In this project, I wanted to try and blend the two worlds. I haven't done a true scrapbook page in probably about a year. I was feeling a little blocked this morning and I thought maybe trying something new would help.

To start this page, I chose a sheet of 12 x 12 scrapbook paper that had a collage feel to it. Then I used the tissue from the kit and some matte medium to create another layer of background.


Next, I used a Tim Holtz tag stencil and some metallic paint to add some color to the background. I also brushed on a light wash of gesso to tone down the words on the tissue paper. I added some stamping with the exclusive stamp from the kit and sepia archival ink.


I had to use the new Tim Holtz airbrush tool that I got in his class at CHA. This is the coolest tool ever! I think Tina has plans to carry them in the store as soon as they are available. This thing is a MUST HAVE!!! It's a great way to use your markers and add some light texture in your backgrounds.


I added some layers of paper and distressed the edges with the sepia ink and the new Tim Holtz mini applicator. I used a strip of the accordion paper from the kit in the layers, a playing card from the ephemera pack, and washi tape (from my stash). I also added some details like fussy cut butterflies, a chipboard bird and bead from my stash, and a stamped banner using the new Tim Holtz hashtag stamp set (another "must have").

And here is the finished layout of my daughter :)

Wednesday, January 8, 2014

Photo Booth Fanatic!

Good morning everyone! Today I wanted to share with you my take on the fabulously fun Photo Booth wooden album from Genuinely Jane in this month's Frog Dog Studio Kit.

To begin, I took the album apart to make it easier to work on each block at a time. On the main block (the front of the album) I began by coloring the entire piece with the Liquitex acrylic ink in the kit. I also did some distressing with the black mixed media ink pad also found in the kit. Then I set it aside to dry.


Moving on to the second piece, I colored that one with the blue acrylic ink from the kit. Then I used a stencil, a palette knife, and the modeling creme from last month's kit to create a very textured background.


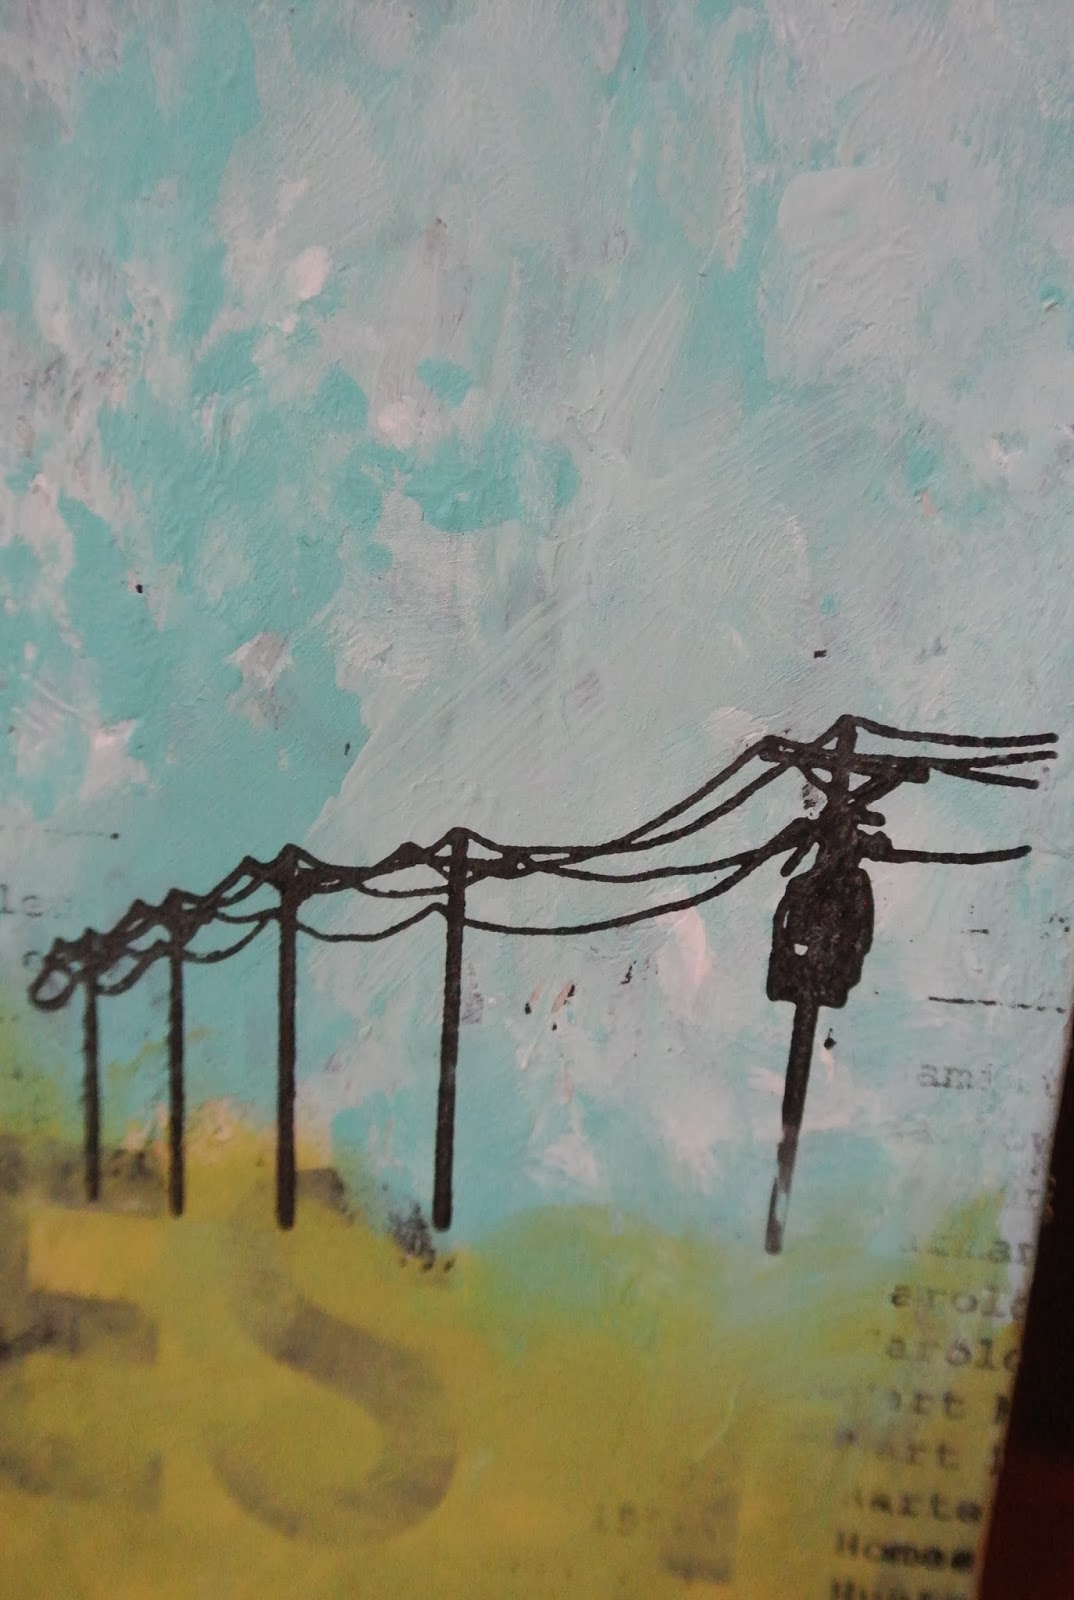
Moving on to the next piece, I covered the entire background with the tissue paper in the kit and some matte medium. Then I added acrylic paint to create the background. When that was dry, I used the telephone wire stamp and the black mixed media ink to create my focal point. I also did some light stamping in the background using the phone directory stamp (which is now one of my favorite stamps for adding texture and interest to a background!)


For the final block of the album, I used some of the goodies from the ephemera pack in the kit to create the background. I also used two of the new Tim Holtz layering tag stencils (found in the Frog Dog Studio store) and some acrylic paint to add layers and interest. At this point this is how all of my blocks looked with the backgrounds done:


I kind of got lost in my process at this point and didn't take many more pics. What I did was add a strip of the accordion book paper behind the booth "window", as well as a poker chip, a key, and some more stamping. I also found some clip art to use for two of the pieces and attached those with matte medium.

Here are pics and some close ups of the final product:

Friday, January 3, 2014

Phone Booth Fun with Genuinely Jane Board Books!


It's 2014!!!  Happy New Years!!!  Time to step out of the creative box and try some new mix media techniques.  I love Frog Dog Studios because the kits give me everything to play with!

This month Subscribers get a special stamp image!  Check out Frog Dog Studio's webpage for more information.

Frog Dog has partnered with Genuinely Jane Studios this month.  There will be a blog hop starting on January 23rd, so be watching!!


I am designing with the phone booth (Ala' Dr. Who) from this month's kit.  Most time I like to work with GJS (Genuinely Jane Studios) wood books without applying Gesso.  The board is smooth and I like the texture showing through.  But for this particular work, I've used Gesso so I can ink the surface easily.
Last year I had a couple design projects with their wood books and loved the outcome.  I will post some ideas on the 15th.


Light and dark ink as well as the red ink in the kit was used to set up a base for the phone booth.  I used a palette to add ink to.


Next I used a ring stamp and added blotches.  The words were stamps from the kit.


Lastly, I added the little 7 chip from the kit sort of like a doorknob to open the phone booth!!

The picture shows the painted box and lines as purple, it is red as a contrast with the chip.

One page done!  A few more to go.  On the 15th, I will showcase the next page using the freebie stamp that is given to members.  Members get special perks throughout the year from Frog Dog and have first chances at each month kits.  Many sell out quickly!!!


Till the 15th, Happy New Years!!!

Cre8tivelea Yours - Lea