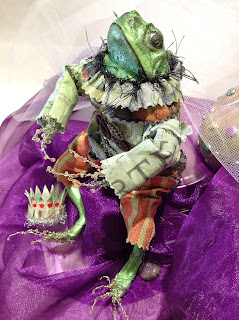
Hello! Sandra Strait visiting here from the Amazing Crafting Products Creative Team today and I'm sharing a project I made with the May Frog Dog Studio Kit and Amazing Crafting Products.

(1) Stampendous, n*studio stamp set, Wired
(1) Stencil Girl, n*studio, 6x6 stencil
(1) Clearprint, 6x8 Clear Vellum Field Book
(1) PaperArtsy Fresco Finish Paint, Pumpkin Soup
(1) PaperArtsy, Fresco Finish Paint, Beach Hut
(1) Imagine Crafts Fireworks Spray Mist, New Sprout
(1) Royal Langnickel Oil Pastel 12 piece set
(1) Prima Marketing Chalk Edger Ink, Pastel Peach
(1) Prima Marketing Chalk Edger Ink, Pastel Green
(3) Maya Road Metal Clips (random)
(3) Prima Wood Embellishments (random)
Valued at over $45
Amazing Crafting Products:
Amazing Mold Putty
Amazing Casting Resin
Alumilite Alumidust Powders - Orange, Copper, Lt. Green, Bright Blue
Alumilite Mold Release
From Origami to Art Doll

I was playing around with an origami doll kit that I bought while traveling. As I was making the folds, it occurred to me that the vellum paper from May Frog Dog kit would probably fold nicely.
I tried it. It did.
And from there I used a hybrid of Origami, paper-folding and toilet-paper-mache to make an art doll.
Origami how-tos are an art of their own. Rather than recreate the origami wheel, I've included a link to a video that shows the basic folds I used, from someone who does them much better than I.

To start with, I needed a 4 x 8 inch square piece of vellum, a 4 x 4, and two sheets of 2 x 2. I removed the sheets of vellum from the Clearprint book, and tore them to size, using a ruler.

I used a kimono folding pattern, but left it open to make a dress instead. Then I folded the collar and the coat. For the head, what I had in mind was a French bulldog. None of the folds for dogs, cats or foxes quite gave me the look I wanted, so I made up my own.

I cut out a circle and a strip from the promotional
Paper Artsy Postcard included in the May kit.

I glued the circle to the front of the head, and the strip to the back. Then I inserted the strip into the collar and glued it down.

The collar fit into the kimono, and the kimono fit into the coat. I glued them all together. I cut two popsicle sticks in half, dragged them through some PVA glue and stuck them on for arms and legs.

When it was all assembled I had a strange cat-like art doll. I know. I said French bulldog, but as you saw above, it worked as both. The paint job made all the difference.

Molding the Doll
Now I started preparing the doll for molding. I applied glue everywhere. When you use Amazing Mold Rubber, it is in a liquid state at first, and it will seep under and around all the nooks and crannies. Some overhang is okay, but you if they are too deep, your mold may tear because it's caught in a hole.
I used a brush and a toothpick and covered every bit with PVA glue. I let the glue dry, and then went back looking for little holes and gaps, until I was satisfied that my doll was solid. (Amazing Clear Cast Resin might be a better choice for this. I would have used it, but I was away from home, and PVA glue was what I had.)

I smeared glue on back and pasted it down on a piece of art board.

Then guess what? I had made the doll with degrees of depth – one leg in front of the other, etc. so there was distance between parts of the doll and the board. More nooks for the Amazing Mold Rubber to catch on. These had to be filled in. (NOTE: I could have gone at this a different way. I could have put the art doll into a can that was slightly larger than the doll, figured out a way to keep it standing, and poured mold rubber all around it. I would have got a truer shape mold, both front and back, but I also would have used a LOT more mold rubber. I might consider trying it this way next time.)
I hauled out a roll of toilet paper, and began tearing off small bits, and used a toothpick and popsicle stick to push it in to fill the gaps.

When I'd filled everything in, I added more glue, wiping away excess as I went.


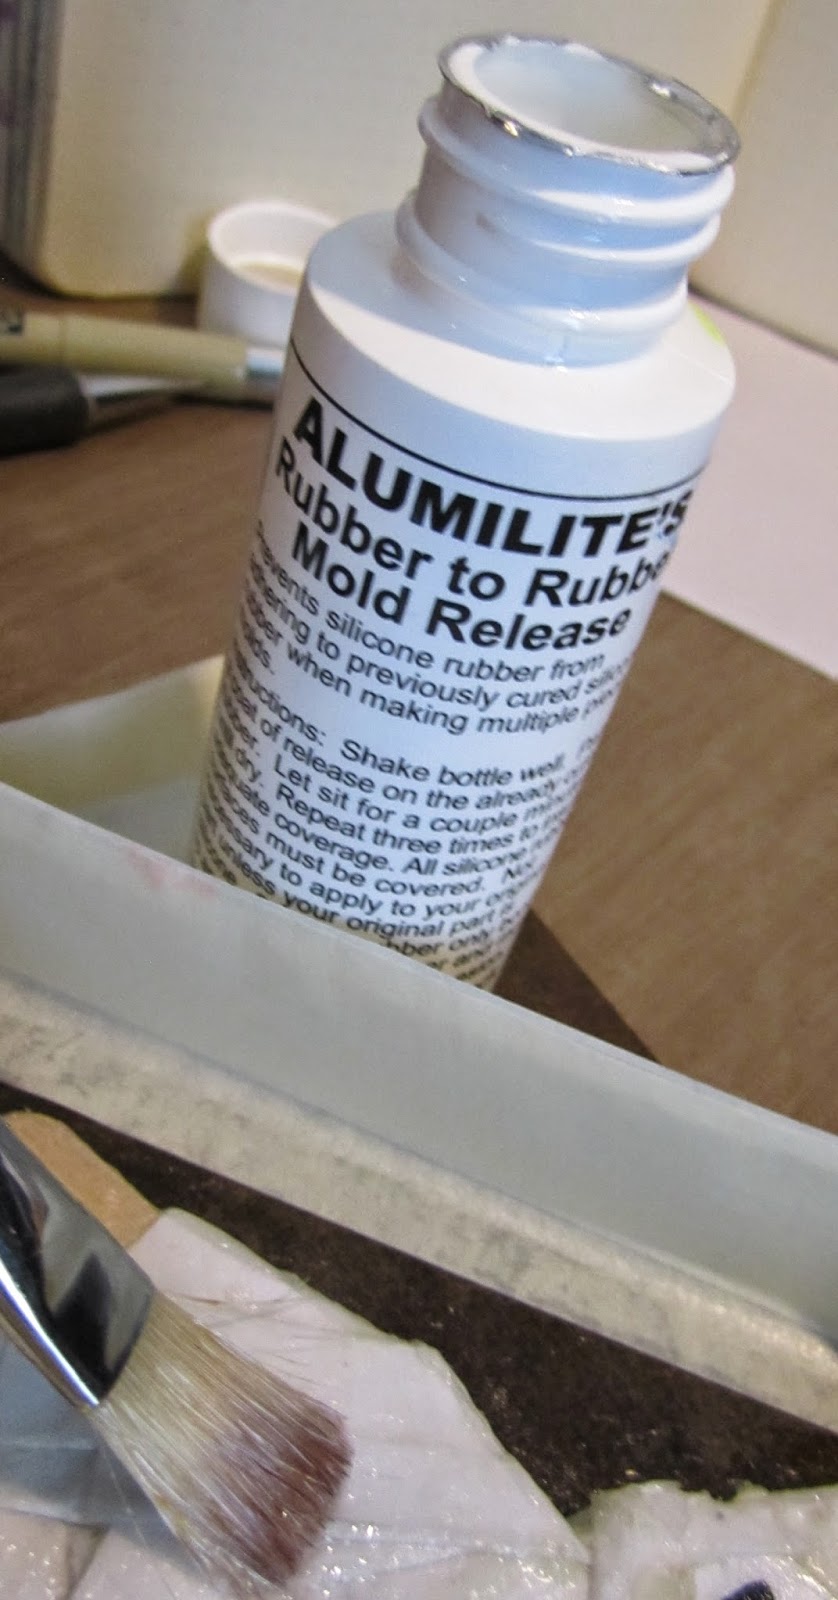
Since my doll was made of mostly PVA glue and paper, there was a good chance it would stick to the mold rubber and tear. So I painted on three coats of Alumilite's Mold Release, covering the doll and the board thoroughly.
When I had my container ready, I mixed up my Amazing Mold Rubber. I used about half of both the 'A' and 'B' parts. You mix 1 scoop of the pink catalyst to each plastic cup of the thicker white goop in a separate container, until the whole magilla is a pale pink.

Then you pour it into your prepared container and let it set for several hours. I poured mine just before going to bed, and it was ready the next morning. Amazing Mold Rubber cures in 4 hours, but it can take even longer though, depending on the temperature and humidity.

Casting the Doll
I cast my doll with Amazing Casting Resin. As with the mold rubber, you mix equal amounts of Parts "A" & "B", and then stir them together until all swirls are gone, about 2-3 minutes.

I cast my first doll without adding anything
to the mold, because I knew I'd be painting it.

Before

After!
But I decided I wanted to try the Alumidust for the second doll. I brushed in Orange and Copper for Kitty's fur, and dressed her in Bright Blue and Lt. Green.

Painting the Dolls
For my Bulldog's face, I used the Jacquard Piñata 'Mantilla Black' from the March Frog Dog kit. I started out by painting the entire face, then once dry I used a white gel ink pen and a black sharpie to draw the eyes. Gel ink won't stick to resin, but it will stick to ink or paint, so it works as long as you paint first.

I painted her fashionable outfit in Beach Hut, Pumpkin Soup, and a mix of the Pumpkin Soup with the New Sprout Fireworks spray.


...folding and pouncing one across the skirt...

...and the other on the edge of the coat, so it looked like fancy stitching.


And what self-respecting dog goes out with smashing accessories? I glued on the wire heart shape from the May Kit to give my bulldog a fashionable harness.


I decided I want to stay with a slimming minimalist look for her outfit, but it needed some definition, so I added a coat of Beach Hut to the coat lapel, and a mix of all three colors to outline the folds of the blouse.

Here is a video by Winsome Yuen that shows how to fold the collar, the kimono and the haori coat.
List of tools used:
- PVA glue
- Make-up sponge
- Popsicle Sticks
- Foam Brush
- Paint Brush
- White Gel Ink Pen
- Black Sharpie
I lurve my art dolls. Hope you do as well!
For more of my work in Amazing Mold Putty, Zentangle-inspired art, and daily links to tangles, tutorials, and giveaways please visit my "Life Imitates Doodles" blog.
Thanks for stopping by and have a great day!
...........................................
Join us each Monday on the Amazing Crafting Products Blog for Mold Rubber Mondays – where we share projects and inspiration using this fabulous product!