Showing posts with label Viva Decor Modeling Paste. Show all posts

Friday, December 27, 2013

Gelli Prints + Viva Modeling Creme= Happy Holidays!!

Good morning! Today I wanted to share my tutorial on how to make a piece of holiday home decor using products from the December Frog Dog Studio kit.

To begin this project, I prepped the 6 x 6 sticky backed canvas from the kit using Silks, spray ink with a stencil, and alcohol inks.


Since I got my Gelli plate a few months ago, I've been addicted to making prints and hoarding them. For this project, I thought it would be fun to use them with a holiday spin. I selected a few prints and cut them into strips to form a Christmas tree. I attached them to the canvas with matte medium.


Since it's the holidays, I thought I would add some sparkle by covering the Gelli print Christmas tree with Viva Decor Glitter paste. When that was done, I did some shading around the tree with a grey Copic marker and then used some letter stamps and StayZ on ink to add the sentiment.


The next step was to create the larger canvas background. Using a 12 x 12 canvas board (which I really recommend for mixed media, as it's a harder surface and is easier to work on than a stretched canvas), I laid down a Heidi Swapp sunburst stencil and gently applied the pearlescent Viva Modeling Creme. The effect was really beautiful!


To finish the piece, I peeled off the sticky backed canvas with the Christmas tree and stuck it to the larger canvas in the middle of the sunburst. I also added some fun metallic sequin type embellishments to the tree for ornaments. They really shine!


And the finished product:

Wednesday, December 18, 2013

Frog Dog Studio Holiday Ornament


Loving the December kit!!!  I will be using the Tim Holtz Eclectic Elements Fabric, the Prima Marketing stamps, the collage image of the girl, the Viva Decor Modeling Paste, and Luminarte's Silk Paints.


I adore the vintage look of the collage image girl, and chose to use her as the focal point of this ornament.

Adhere the Tim Holtz fabric to the ornament blank.  Glaze/paint with the Silk paints as the beginning of the background.


Stamp the background with the squares.  Add modeling paste to the hat and muff, as well as the evergreens.  Lightly add the the paste to the hat and muff (coat too).  Add the paste heavier on the evergreens to show heavy snow on the branches.  

The Silk paint is great for adding a shadow to the muff, hat and the girl's clothes.


Past kits always gives me more media to use!  Here I am using the Lindy's spray from the October Kit, and I am spraying the woven edging that is in the December kit.  Once dried, I glue it around the ornament.

For the finished art, I stamped more squares, splashed more Silk paints, enhanced the word Merry Christmas, added gold with the Sakura Gelly Roll Pen.  Painted a wood tree with Silks and added that and finished with a bow on the top.

Anyone would love to hang an ornament like this!  The time and love put into it will touch anyone who receives it.  Ok, so I am putting this one on my tree, but will be making more to give!!!

HAPPY HOLIDAYS, MERRY CHRISTMAS, PEACE ON EARTH


Cre8tivelea Yours - Lea

Tuesday, December 3, 2013

The Splendor of the Holidays


Tis the Season to be Merry!!!


Once again Frog Dog Studio has come up with a killer, jam packed kit!!!  Enough product to make so many projects.  The Fabric from Tim Holtz, the modeling paste, and Silks are divine!!!  The other products are perfect for a focal point or accent.

Start out by creating your background.  Stamp, paint, Distressed Stains.......

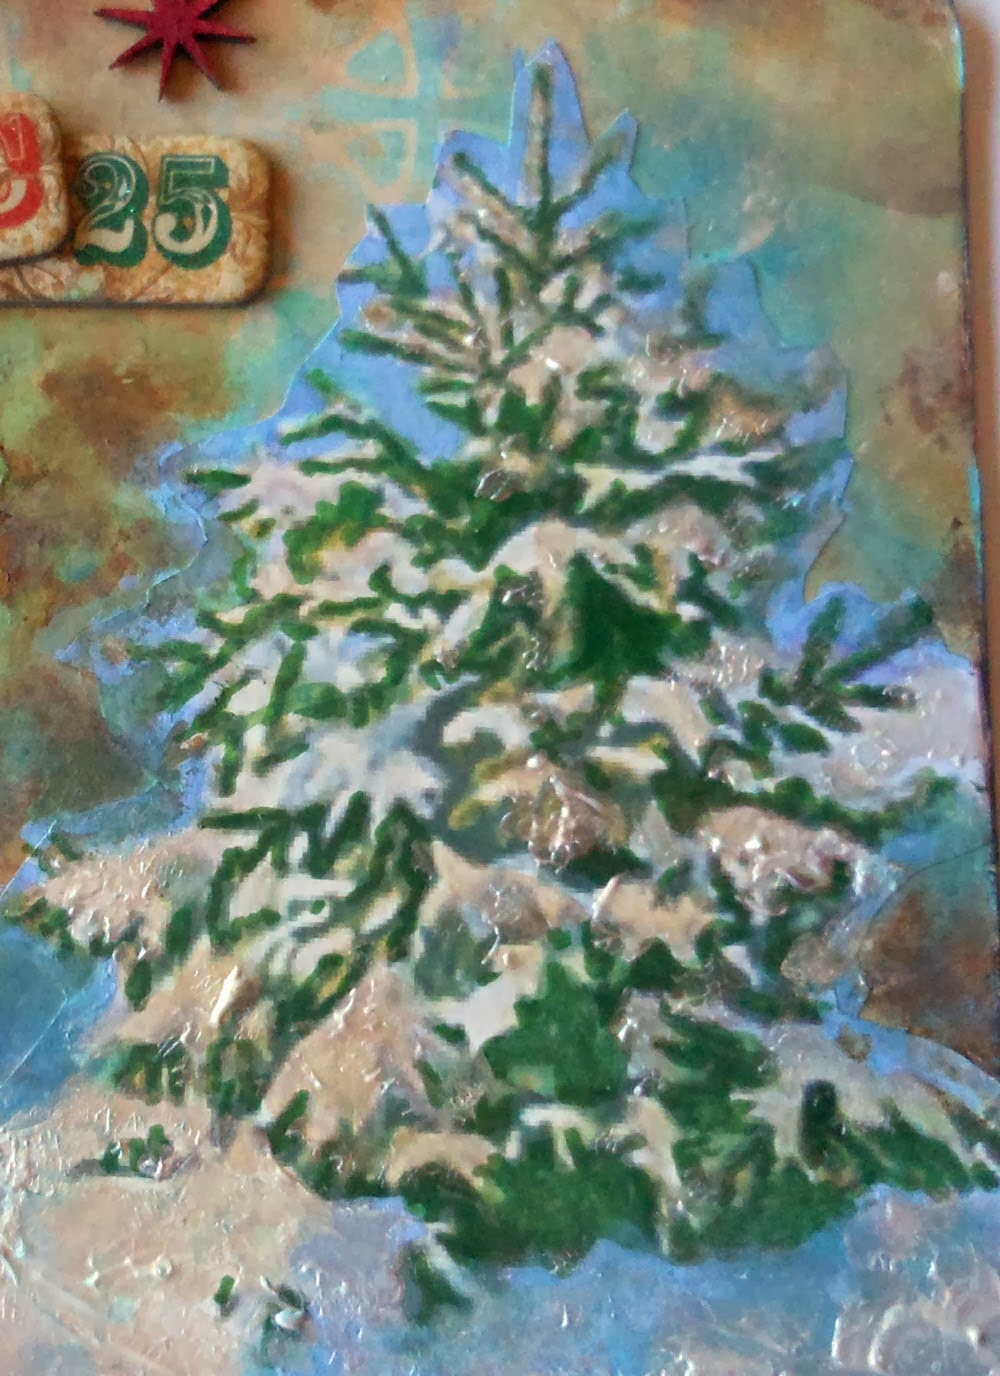
I sketched a tree, cut it out and mounted it to the background.  I started to paint the tree, around the tree, and more on the background.  Silk paints are sheer and glisten with magic!!  You can achieve a little more opaque look by adding a thicker application of color.  But it is not totally opaque.  I used a combination of Clearsnap Colobox original pigment ink along with the Silks.  I like floating the silks on top.  The tree I painted with an olive paint but used the Silks to highlight areas and add extra glimmer.

I used an old brush to add the modeling paste as snow to the tree.  I didn't want the tree to have too much snow, so the old brush helps me control how much paste I apply.  The paste is perfect for stencils, dimension, and painting on top of!  I believe the term is Impasto, where Impressionist artists painted on dry plaster.  This can be done too, even collaging on dried paste.

 The mound of snow is deeper and more concentrated, so I used a palette knife to spread the modeling paste.  Sort of like icing, but with areas of extra texture to look like snow.

Here is a close up of the snow.  It has some smooth areas, blots of paste for texture.  Look and see how the Silks help to shade the snow in some areas.

Here is the whole tree with the snow finished and the shading/highlights.  When I first studied art, other than drawing people and cartoons, I loved realistic nature.  A tree in winter is so beautiful!


Here I have some little wood stars.  I painted the Silks on top.  I did 2 coats so it is semi-opaque, but the wood grain still shows through.  Love it!

Add the stars, and use an embellishment from one of Bo Bunny's holiday collections to finish the art.  A ribbon is added for more contrast.  

A perfect gift to give, display on an easel, add holes on top and add matching ribbon to hang on your tree or wall!

Cre8tivelea Yours - Lea