Good morning everyone! Today I am sharing a tutorial with you on how to create an art journal page using your Gelli plate and some of the fun May Frog Dog kit items.
To begin, I put down some of the paint from the kit onto my Gelli plate and spread it around with my brayer onto a sheet of the vellum from the notebook found in the kit. I added a few other complimentary shades of paint from my stash.
Next, I laid down the super cute typewriter stencil from the kit and brayered the blue paint from the kit over the top.
I added a little bit of the liquid chalk from the kit to the page. This stuff is seriously cool!!
I found this cute little quote stamp in my stash and stamped that on with black StayZ On ink.
Next I added some of the spray ink to the page and let it run and drip.
While that was drying I began to prep a page in my art journal using some stencils and paints to create a few layers.
I added some stamping to the vellum page and the journal background page using the Nat Kalbach stamps from the kit. I also added some pink Ranger Distress Paint to add some more color. I really like the pastel colors in the kit.
Finally, I glued the vellum sheet to the art journal page. Then, I added some journaling to the side. Here is the finished page:
Showing posts with label Gelli Arts. Show all posts
Wednesday, May 7, 2014
Tuesday, October 22, 2013
Cozy Up With This Day of the Dead Pillow!--Using the October Limited Edition Kit
Good day, friends! I wanted to share with you another idea on how to use some of the materials from the October Limited Edition kit. I have to tell ya'll that I have had a blast creating with this kit :) Now I'm not much of a seamstress, or sewing person, or whatever you would call that, but every once in a while I get the strong urge to sew something. So I thought it would be fun to create a pillow using the super cool Day of the Dead stencil from the kit.
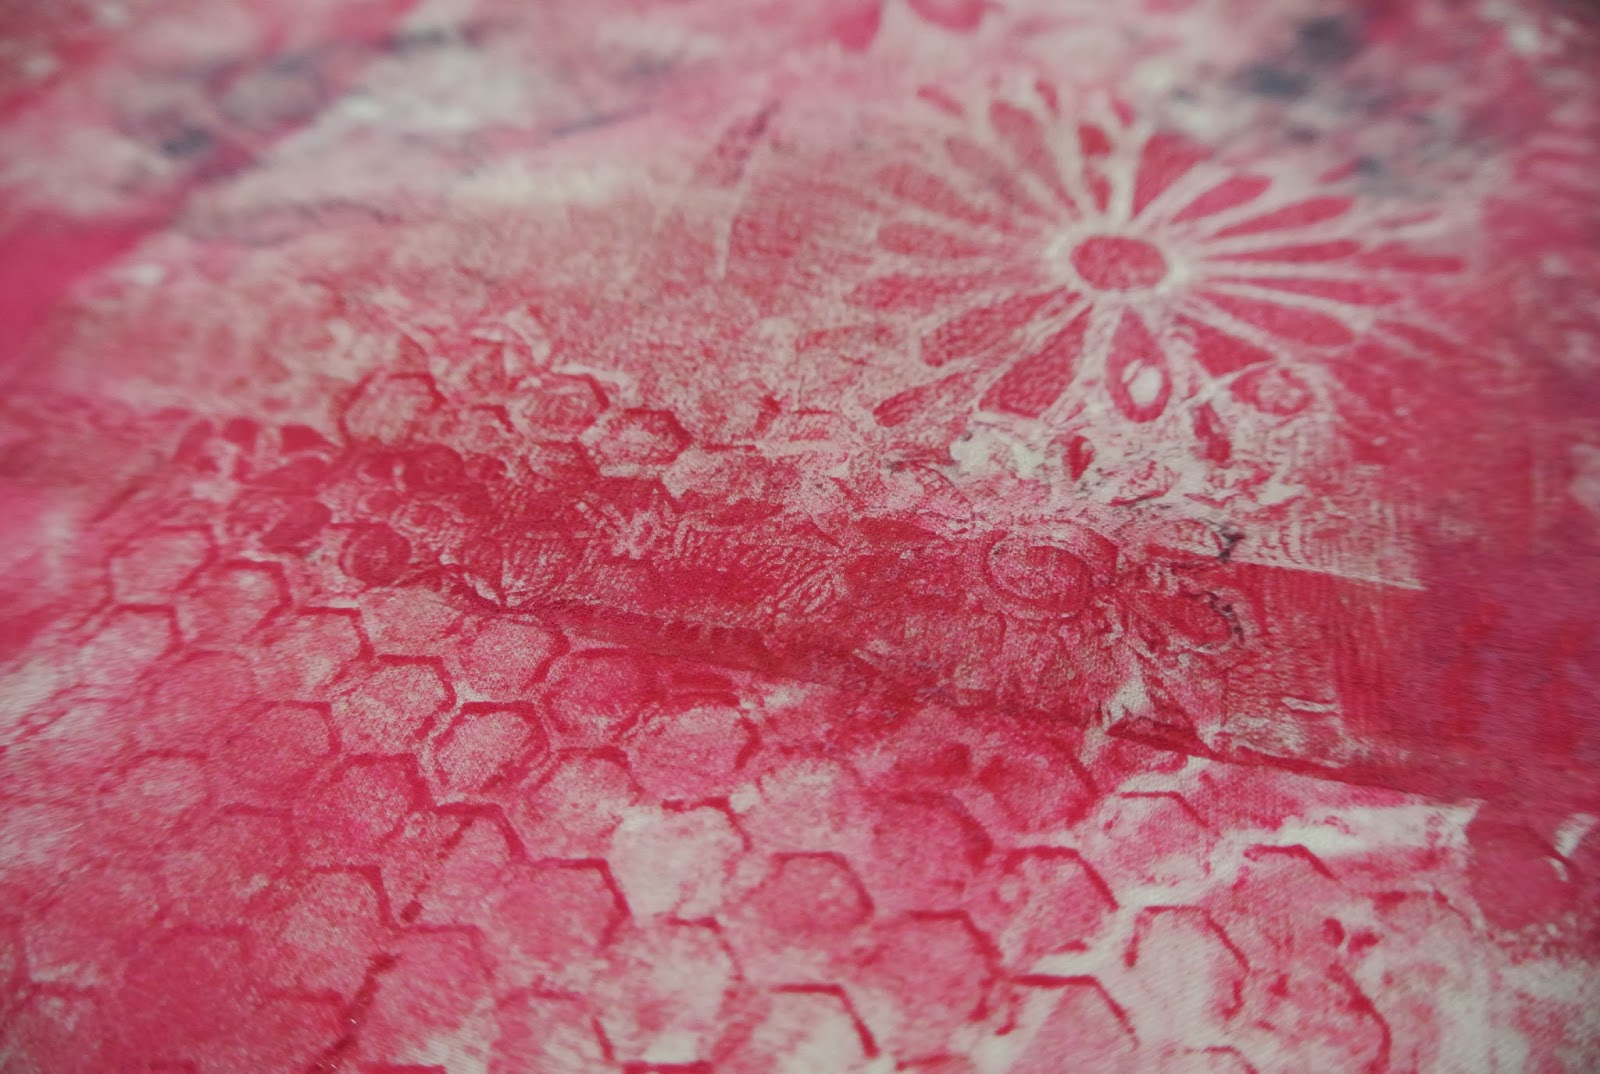
The first thing I did was cut down a piece of muslin, and using my beloved Gelli plate (from last month's kit) I went to work monoprinting a background design. I don't like "scary" Halloween type of stuff so I thought it would be neat to make this sort of girly and colorful. I used bright colors like Quinacrodone Magenta and other shades of pink, as well as a variety of stencils and Catalyst tools. When I was finished printing the muslin looked like this.


It's important for me to say here that I just used regular acrylic paint on the muslin. I later learned about GAC 900, which when mixed with acrylic paints and heat set makes it very easy to work with on fabric, as well as makes it washable. (Thanks, Martha for the helpful tips!) So this pillow is only for decoration. When the fabric was all dry, I laid down the stencil on the fabric and traced the design with a white fabric pen. However, I quickly realized that the pen wasn't standing out enough on the design so I had to head back to the drawing board on that one!
So after digging around in my stash (and not finding any other colored fabric pens) I decided to stencil the design on instead using black paint. So I grabbed one of the dabbers from the kit and some paint and went to work. I was liking where this was going....

Now to really get to work! I wanted this to have a special touch, so I decided to hand embroider some of the details using colorful threads. I did find this very relaxing and was able to work on it while hanging out with the kids one evening. I really need to get a thimble or something....
Everything was all embroidered and it was time for another crazy trip to Hobby Lobby to find some coordinating fabric. Have I mentioned how unpleasant it is taking a 2 year old and 5 year old fabric shopping? LOL Anyway, I found this really cute fabric.
I won't share with you the epic disaster pics of me sewing the wrong fabric sides together (it's hard to focus when your kids are climbing all over you and pulling on the fabric you're trying to sew!--note to self: wait until bedtime before attempting another sewing project!) Here is a pic of the pieces sewn together CORRECTLY! Once that was accomplished I stuffed it with Polyester Fiberfill and hand stitched the opening closed.

And the finished product!


Halloween is near, do you have any projects planned? I'd love to hear about them! Thanks for stopping by :)
The first thing I did was cut down a piece of muslin, and using my beloved Gelli plate (from last month's kit) I went to work monoprinting a background design. I don't like "scary" Halloween type of stuff so I thought it would be neat to make this sort of girly and colorful. I used bright colors like Quinacrodone Magenta and other shades of pink, as well as a variety of stencils and Catalyst tools. When I was finished printing the muslin looked like this.
It's important for me to say here that I just used regular acrylic paint on the muslin. I later learned about GAC 900, which when mixed with acrylic paints and heat set makes it very easy to work with on fabric, as well as makes it washable. (Thanks, Martha for the helpful tips!) So this pillow is only for decoration. When the fabric was all dry, I laid down the stencil on the fabric and traced the design with a white fabric pen. However, I quickly realized that the pen wasn't standing out enough on the design so I had to head back to the drawing board on that one!
So after digging around in my stash (and not finding any other colored fabric pens) I decided to stencil the design on instead using black paint. So I grabbed one of the dabbers from the kit and some paint and went to work. I was liking where this was going....
Now to really get to work! I wanted this to have a special touch, so I decided to hand embroider some of the details using colorful threads. I did find this very relaxing and was able to work on it while hanging out with the kids one evening. I really need to get a thimble or something....
Everything was all embroidered and it was time for another crazy trip to Hobby Lobby to find some coordinating fabric. Have I mentioned how unpleasant it is taking a 2 year old and 5 year old fabric shopping? LOL Anyway, I found this really cute fabric.
I won't share with you the epic disaster pics of me sewing the wrong fabric sides together (it's hard to focus when your kids are climbing all over you and pulling on the fabric you're trying to sew!--note to self: wait until bedtime before attempting another sewing project!) Here is a pic of the pieces sewn together CORRECTLY! Once that was accomplished I stuffed it with Polyester Fiberfill and hand stitched the opening closed.
And the finished product!
Halloween is near, do you have any projects planned? I'd love to hear about them! Thanks for stopping by :)
Friday, September 20, 2013
Project Ideas For Your Gelli Plate Prints
So let's take a look at my first project, an altered composition book. I created die-cuts from the art journal background page from the Gelli Plate Print I created in my 1st blog post this month. If you missed it you can find the blog post here AND there is a free download included.
![]() |
| Altered Composition Book |
![]() |
| From a copy of my art journal page I created die-cuts from my Vagabond die cutting system. |
So there you have an altered notebook to keep bits of this and that in. I'm going to use this for keeping favorite quotes in.
I'd like to share a project, an art journal background page, using a print created from another Gelli print and the Arabesque Stencil designed by Nathalie Kalbach.
Completed art journal background page.
If you would like you can
download this background HERE.
Completed art journal page.
Thank you for stopping by and taking the time to join me. I hope you will try Gelli Printing, once you get the hang of it you have another option to create your own backgrounds!!
Saturday, September 7, 2013
Have You Ever Wondered...Gelli Arts Printing Plate Fun
Hello ...Martha Richardson here. Today I would like to share information about GELLI ARTS Gel Printing Plate...a revolutionary printing plate that looks and feels like a gelatin monoprinting plate. It has swept the mixed media artists by storm. I was so excited when Frog Dog Studio put together a Limited Edition Kit for September. If you are on the fence about purchasing this kit I recommend you go ahead and dive in. The kit comes with EVERYTHING you need to get started including a customized Frog Dog Studio Texture Pack!
The September Limited Edition Kit includes:
(1) 8x10 Gelli Arts Gel Printing Plate
(1) Frog Dog Studio Exclusive 6x6 Stencil
(1) Full size Catalyst Silicon Wedge
(1) Speedball Soft Brayer
(1) Frog Dog Studio Texture Pack
(4) 2 oz DecoArt American Acrylic Paints, Sour Apple, Bright Orange, Bright Yellow & Carousel Pink
(5) Foam Rectangles (great for creating your own textures and shapes
(1) Composition Book
(1) Frog Dog Studio Exclusive 6x6 Stencil
(1) Full size Catalyst Silicon Wedge
(1) Speedball Soft Brayer
(1) Frog Dog Studio Texture Pack
(4) 2 oz DecoArt American Acrylic Paints, Sour Apple, Bright Orange, Bright Yellow & Carousel Pink
(5) Foam Rectangles (great for creating your own textures and shapes
(1) Composition Book
Valued at over $65
WHAT IS A GEL PRINTING PLATE?
Gelli Plate Printing…a form of mono-printing using a revolutionary product that creates what is similar to a gelatin mono-printing plate...yet it's durable,
reusable, and stores at room temperature.
Because it's portable, you can use it at home, take it to a workshop,
or even use it outdoors. Flexible and simple to work with, it's always ready for
printing and can easily be cleaned with gel hand sanitizer or soap and water — then
used again and again!
Try it for mixed media art, card making, quilt making and more.
It's also a great, economical choice for beginning printmakers and students.The
Gelli Arts Printing Plate measures 3/8" thick.
There is a incredible amount of information on the internet concerning this technique. I highly recommend that you start here. Everything you need or want to know can be found at http://www.gelliarts.com
GETTING STARTED
http://www.gelliarts.com/pages/what-to-know
FAQ
http://www.gelliarts.com/pages/faq
BLOG
Let's take a look at what I created with my Gelli Arts Printing Plate:
Here are several examples of pages I created during one printing session. Some I am happy with...some not so. I know that each and every page can be used in one way or another.
I'm going to show you how I transformed one page created using the Gelli Arts Printing Plate into an art journal page and how to create copies to use in other projects.
![]() |
| I take my scanned image to an office supply store and have it copied on either 80lb. cover paper or cardstock. |
I have for all the Frog Dog Studio blog readers a free copy of my finished art journal page for your own personal use.
Download Here
Thanks for stopping by and spending time with me...my next blog post will show a project I created with the die cut pieces created from this page.
Subscribe to:
Posts (Atom)