Showing posts with label Gelli Plate. Show all posts

Wednesday, May 21, 2014

May Kit Journal Page with Gelli Plate prints and Stencil Girl:)

Hello again!! 

I'm loving our May kit so here I am up again with my next project...a spread in my 
Gratitude Journal.

I'm so grateful for good friends...friends that know all your flaws and love you just the same:)


For this project, I used 

Oil Pastels
Paper Artsy Fresco Finish Paint (beach hut) 
Stampendous, n*Studio Stamp Set 
Stencil Girl typewriter stencil 
Scarlet Lime pen 
Uni-ball Signo pen (white)
Pitt multi-liner pen (black, XS)
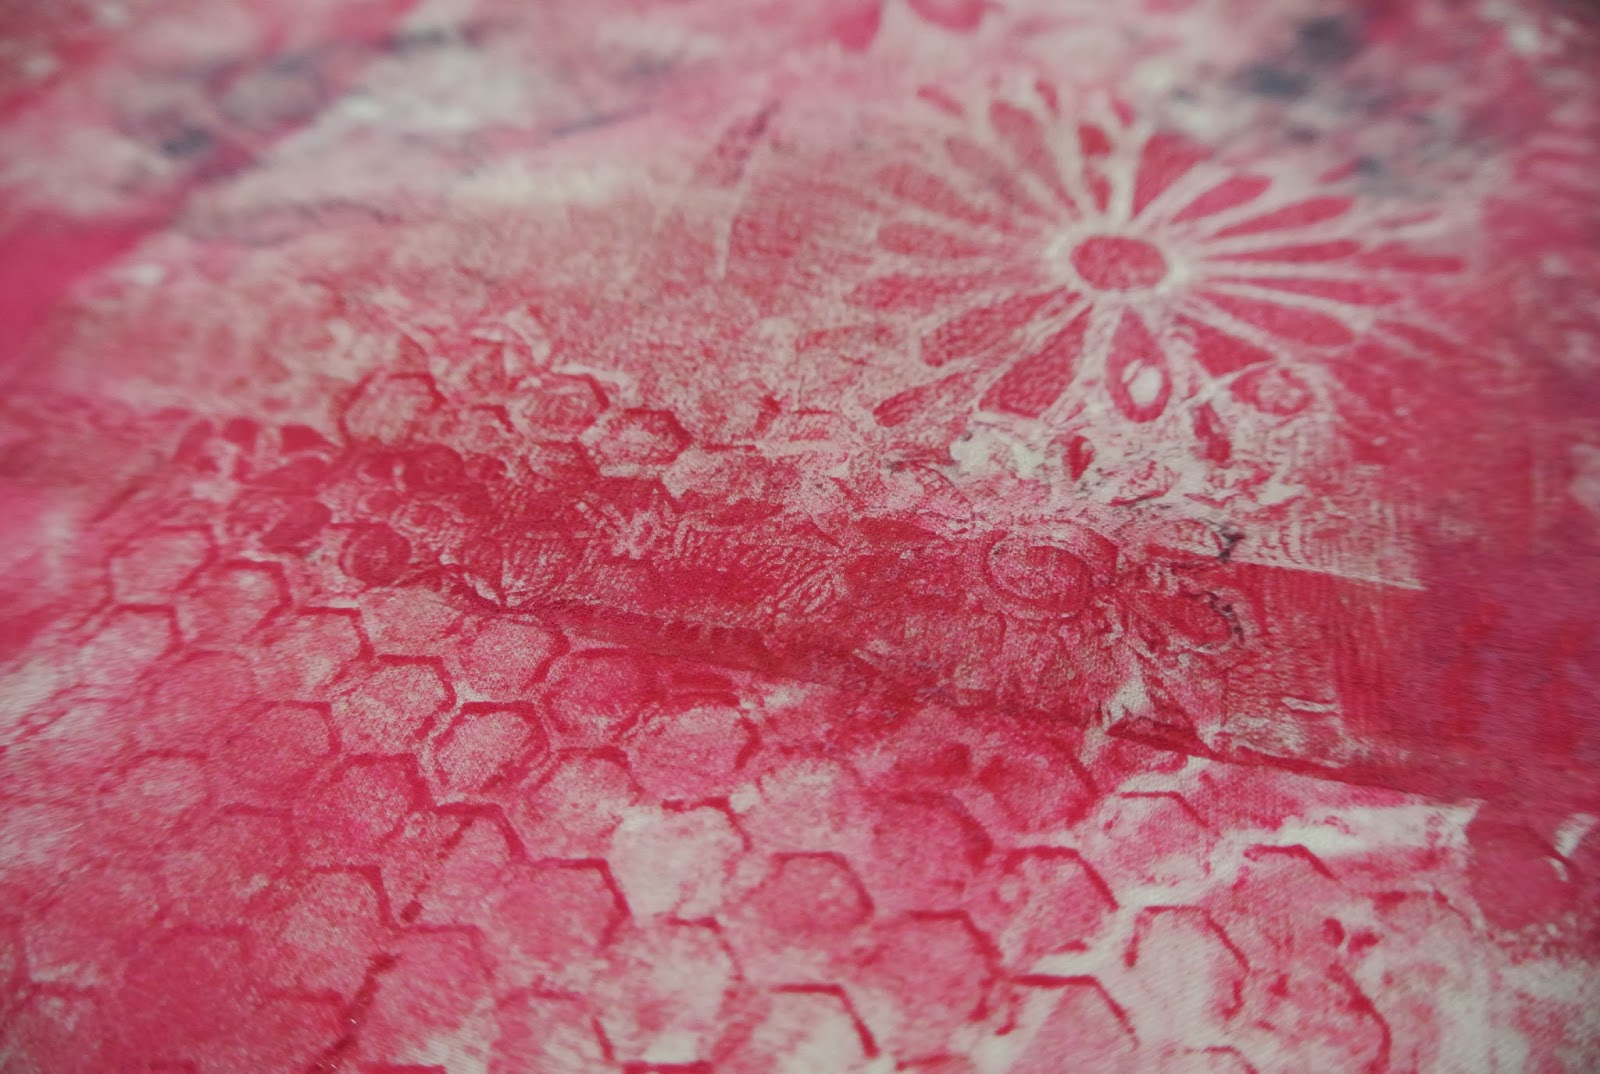
Gelli plate prints (from previous May project)
Super heavy gesso


So, I started by adding blocks of color with the oil pastels.


Next, I brushed on (with a foam brush) the Fresco Finish Paint
It's transparency allows the beautiful color beneath to come through.


I loved using the Fresco paints with my Gelli plate, so I made plenty of prints during my previous card and envelope project this month.  You can see how I created these here.

I tore them into pieces and applied them to the pages with matte medium.


Next, I used super heavy gesso to stencil this cute Stencil Girl typewriter. 


I added bits and pieces of detail with the my three favorite pens...
Uni-ball Signo (white) , Scarlet Lime, and Pitt multi-liner (XS)


It's all in the detail:)

(except for the pencil lines I forgot to erase!)


I used a Brilliance ink pad in moonlight white to apply the "chain link" stamp


Hope you feel inspired to journal with our great May Kit!!

As always,
It's a joy to share with you!

Sue


Monday, May 19, 2014

"Dream" canvas and another simply stencils idea

Hi there! Today I´d like to share with you a little step-by-step tutorial on a canvas I created with the May kit. 

I started with the vellum paper and used several tones (check out the store for more colours) of Fresco Finish paints in combination with The Crafter´s Workshop stencils on my Gelli Plate. I kept on adding different paint colors and stencils over each other and also used one of the stamps by Nathalie Kalbach to create more layers. These are the finished vellum pieces for my canvas.

Then I went along and added some stamp images (N* Studio stamps from the kit) over the prints. I used a dark grey chalk dye ink for this purpose. 

Then I cut the pieces in half (I am going to use the other half of the gelli prints on another project later) and teared the vellum paper edges for a more grungy look.
I have to confess that I was so into creating at this point, that I forgot to take another picture of what I did next. But it is pretty simple, so I am sure you will get the idea even though I don´t have a photo. I now cut these pieces in half again and rolled them into tiny vellum rolls (I used a regular glue here). Next I took a piece of thin wire and wrapped some of it around each roll for additional detail. Then I left them to dry.
Next I decorated the canvas and first covered it with white gesso, let that layer dry properly and then applied a layer of crackle paste thu a stencil onto the canvas. Then I just let that layer dry a while too. 
Next I applied Fresco Finish paints over the crackle paste. I used "Beach Hut", "Mermaid" and "Guacamole" tones. I used a regular paint brush for applying the paint and when the canvas was all covered I sprayed some water over the surface and then let it dry again. 
After the paint was all dry I grabbed some Lindy´s Stamp Gang color sprays and sprayed teal and green tones over the layer of paint. I let the mists drop/run freely across the canvas as I really like this effect. After this layer was dry, I grabbed some golden iZink and white Liquitex Ink and did the same with those. I love the droplet look and the white and gold inks add a really nice contrast to the background. 
Next I just stamped some black patterns - using on of the N* Studio stamps (from the kit) - onto the background around the area where my vellum rolls would later be. There are also some black ink splatters here and there. I made those with Glimmer Glaze. Then I just glued the vellum rolls down onto the canvas and added the decoration. This is how the finished canvas looks like:

and here are some close-up photos for you:


I hope you have enjoyed this little step-by-step. The stencils I used for the Gelli Plate prints are by The Crafter´s Workshop, just in case you were wondering. The embellishments are all from previous Frog Dog Studio kits.

Have fun with your kit!!!
xoxo, Sanna

Wednesday, May 7, 2014

Just My Type--Gelli Printing and Stenciling on Vellum

Good morning everyone! Today I am sharing a tutorial with you on how to create an art journal page using your Gelli plate and some of the fun May Frog Dog kit items.

To begin, I put down some of the paint from the kit onto my Gelli plate and spread it around with my brayer onto a sheet of the vellum from the notebook found in the kit. I added a few other complimentary shades of paint from my stash.


Next, I laid down the super cute typewriter stencil from the kit and brayered the blue paint from the kit over the top.


I added a little bit of the liquid chalk from the kit to the page. This stuff is seriously cool!!


I found this cute little quote stamp in my stash and stamped that on with black StayZ On ink.


Next I added some of the spray ink to the page and let it run and drip.


While that was drying I began to prep a page in my art journal using some stencils and paints to create a few layers.


I added some stamping to the vellum page and the journal background page using the Nat Kalbach stamps from the kit. I also added some pink Ranger Distress Paint to add some more color. I really like the pastel colors in the kit.


Finally, I glued the vellum sheet to the art journal page. Then, I added some journaling to the side. Here is the finished page:

Friday, December 27, 2013

Gelli Prints + Viva Modeling Creme= Happy Holidays!!

Good morning! Today I wanted to share my tutorial on how to make a piece of holiday home decor using products from the December Frog Dog Studio kit.

To begin this project, I prepped the 6 x 6 sticky backed canvas from the kit using Silks, spray ink with a stencil, and alcohol inks.


Since I got my Gelli plate a few months ago, I've been addicted to making prints and hoarding them. For this project, I thought it would be fun to use them with a holiday spin. I selected a few prints and cut them into strips to form a Christmas tree. I attached them to the canvas with matte medium.


Since it's the holidays, I thought I would add some sparkle by covering the Gelli print Christmas tree with Viva Decor Glitter paste. When that was done, I did some shading around the tree with a grey Copic marker and then used some letter stamps and StayZ on ink to add the sentiment.


The next step was to create the larger canvas background. Using a 12 x 12 canvas board (which I really recommend for mixed media, as it's a harder surface and is easier to work on than a stretched canvas), I laid down a Heidi Swapp sunburst stencil and gently applied the pearlescent Viva Modeling Creme. The effect was really beautiful!


To finish the piece, I peeled off the sticky backed canvas with the Christmas tree and stuck it to the larger canvas in the middle of the sunburst. I also added some fun metallic sequin type embellishments to the tree for ornaments. They really shine!


And the finished product:

Tuesday, October 22, 2013

Cozy Up With This Day of the Dead Pillow!--Using the October Limited Edition Kit

Good day, friends! I wanted to share with you another idea on how to use some of the materials from the October Limited Edition kit. I have to tell ya'll that I have had a blast creating with this kit :) Now I'm not much of a seamstress, or sewing person, or whatever you would call that, but every once in a while I get the strong urge to sew something. So I thought it would be fun to create a pillow using the super cool Day of the Dead stencil from the kit.

The first thing I did was cut down a piece of muslin, and using my beloved Gelli plate (from last month's kit) I went to work monoprinting a background design. I don't like "scary" Halloween type of stuff so I thought it would be neat to make this sort of girly and colorful. I used bright colors like Quinacrodone Magenta and other shades of pink, as well as a variety of stencils and Catalyst tools. When I was finished printing the muslin looked like this.


It's important for me to say here that I just used regular acrylic paint on the muslin. I later learned about GAC 900, which when mixed with acrylic paints and heat set makes it very easy to work with on fabric, as well as makes it washable. (Thanks, Martha for the helpful tips!) So this pillow is only for decoration. When the fabric was all dry, I laid down the stencil on the fabric and traced the design with a white fabric pen. However, I quickly realized that the pen wasn't standing out enough on the design so I had to head back to the drawing board on that one!


So after digging around in my stash (and not finding any other colored fabric pens) I decided to stencil the design on instead using black paint. So I grabbed one of the dabbers from the kit and some paint and went to work. I was liking where this was going....


Now to really get to work! I wanted this to have a special touch, so I decided to hand embroider some of the details using colorful threads. I did find this very relaxing and was able to work on it while hanging out with the kids one evening. I really need to get a thimble or something....


Everything was all embroidered and it was time for another crazy trip to Hobby Lobby to find some coordinating fabric. Have I mentioned how unpleasant it is taking a 2 year old and 5 year old fabric shopping? LOL Anyway, I found this really cute fabric.


I won't share with you the epic disaster pics of me sewing the wrong fabric sides together (it's hard to focus when your kids are climbing all over you and pulling on the fabric you're trying to sew!--note to self: wait until bedtime before attempting another sewing project!) Here is a pic of the pieces sewn together CORRECTLY! Once that was accomplished I stuffed it with Polyester Fiberfill and hand stitched the opening closed.


And the finished product!


Halloween is near, do you have any projects planned? I'd love to hear about them! Thanks for stopping by :)