
Yes, it's totally wearable. Hey, nothing like handmade jewelry to put a pep in your step, right? Ha!


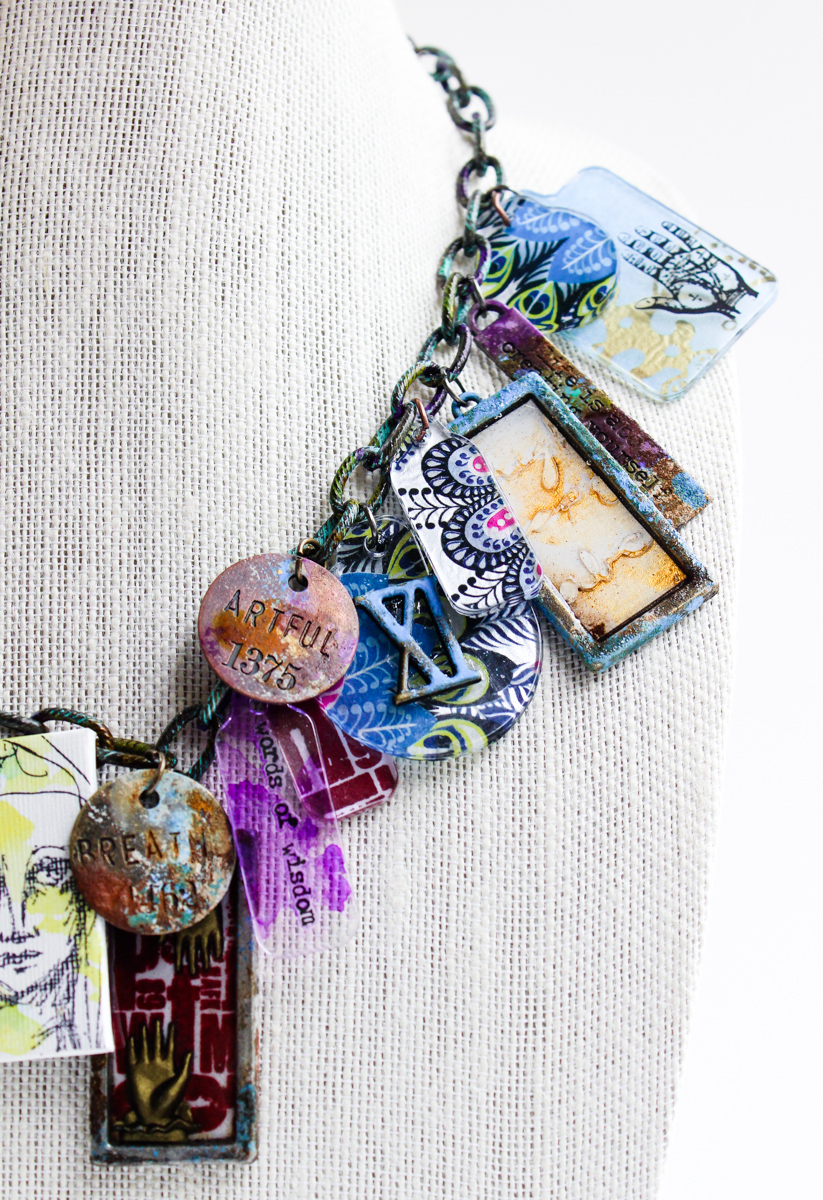

I absolutely fell in LOVE with the April Mixed Media Kit because everything coordinated so well together (again this month as I now say this every month, ha!) in such beautiful harmony.

Those tissue papers are just perfect for framing and to.die.for in rich colors of blue, silver, and reds. I was a fan of Staz-On before but with these colors, I'm now a bigger sucker/

The April Add-On kit with Amazing Crafting Products is NO exception, definitely a must-have to finish off some rather rad art creations. Definitely grab it up too!

I've put together a "behind-the-scenes" video tutorial for you on the Frog Dog Studio YouTube Channel and my Life. Paper & Soul YouTube Channel.
Enjoy!
Check out the full supply list later today on my blog here.
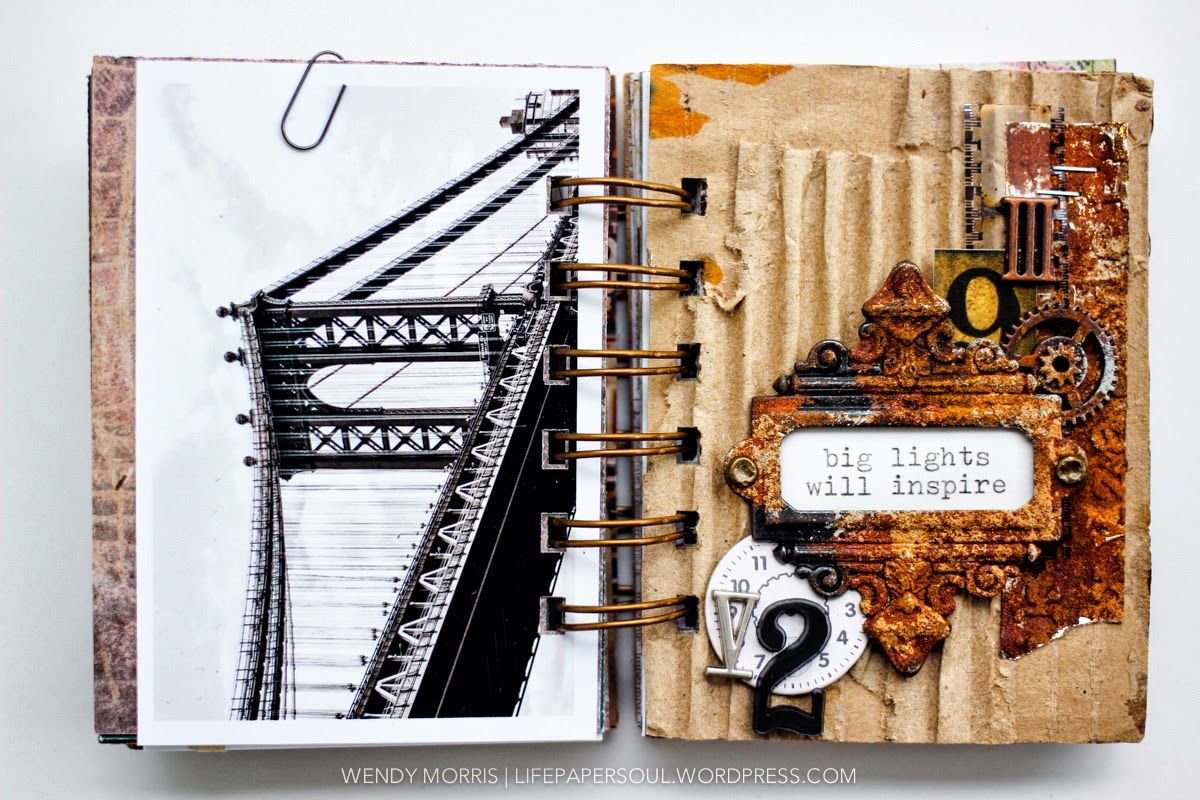
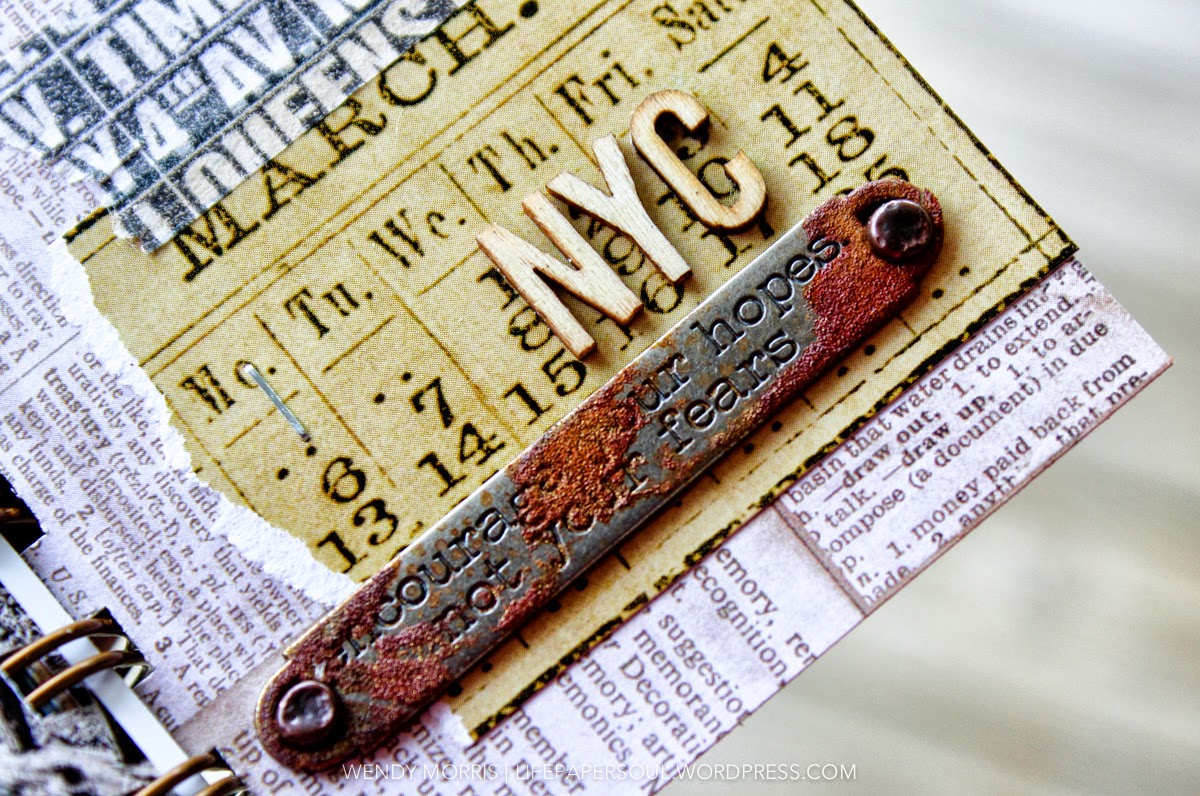
Hope you enjoyed my project today!
xo | Wendy


