
I started by collaging some of the book paper onto the canvas board and covering it with the orange Magicals and Lindy's spray ink. I also went around the edges of the board with the purple Magicals. Then I added the borders with the Dylusions stamps and black Stayz On ink.


In the next step, I used the stencil to create a mask. I laid the stencil down on white paper and traced around the edge, then cut the image out and laid it down on the canvas board and traced around it with a white gel pen. I did this so that I could paint the entire skull white, then use the stencil on top of it later.


I painted the skull area with the white Magicals, then laid down the stencil and loosely painted in the details with the purple. I also added the green Magicals to the Dylusion stamp border.


I added some detail and texture here by mixing up the orange Magicals with some Viva Glitter paste. I also used a white gel pen to outline some of the areas.


I wanted the piece to have some more dimension, so I added some shading using Distress Ink and a gray Copic marker (which by the way is my go-to for subtle shading--it works really great!)


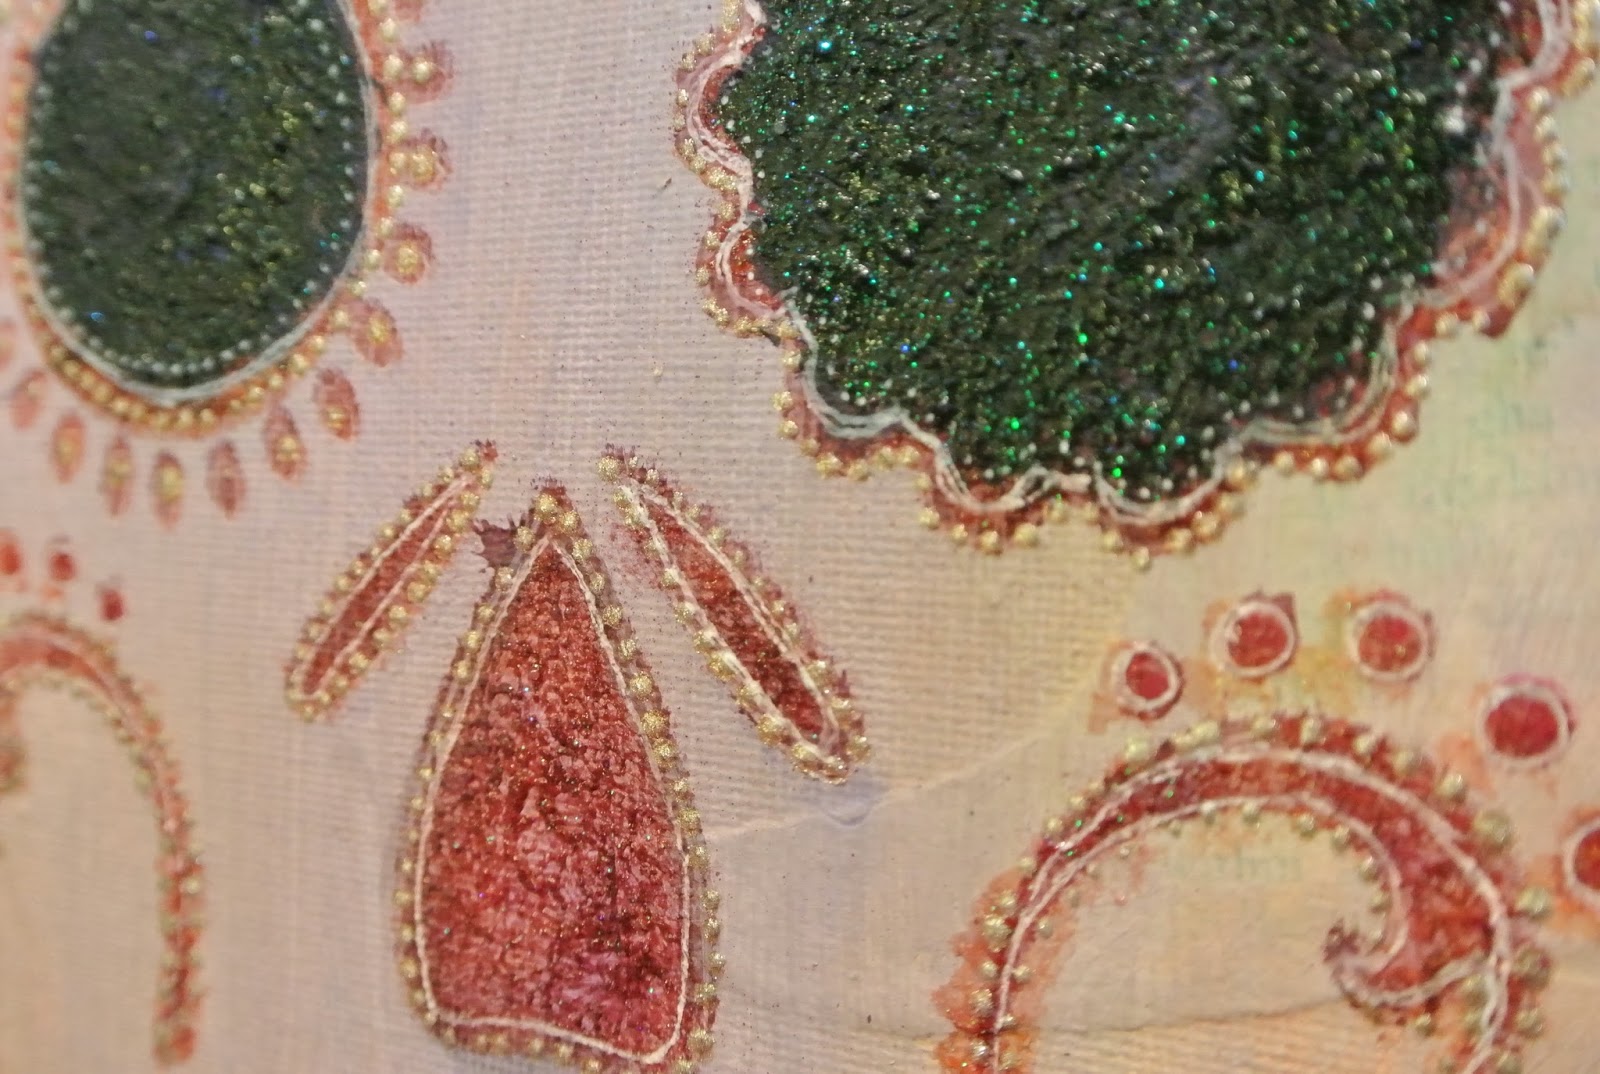
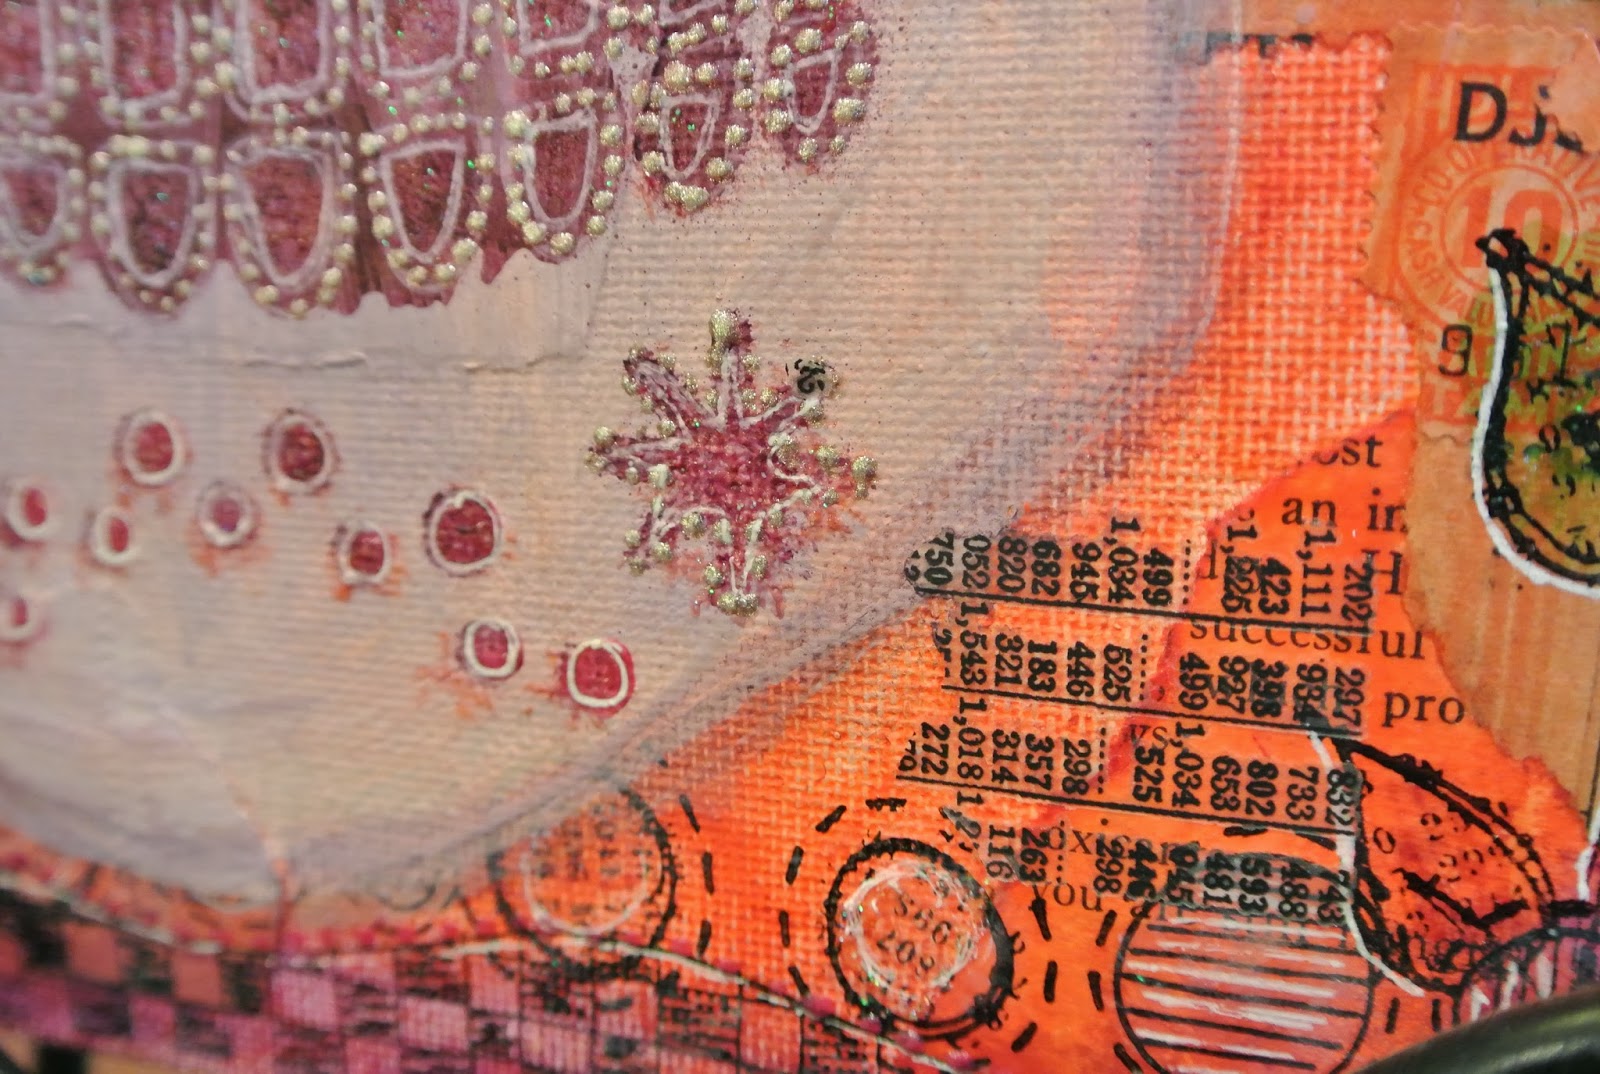
At this point, I realized the piece felt a bit off so I decided to paint the eyes with the black Magicals. I also mixed up some of the Viva Glitter paste and added it in because really, who doesn't like a blinged out skull? :) This is also where more texture comes into play. I used a silver Viva Decor Pearl Pen to add these tiny little raised detail dots all around the features of the skull.


For the last step, I added the Tim Holtz rubons all over the edges of the piece. I love how rubons add texture and interest to the background.

And here is the finished product:

And a few close ups:


Thanks for stopping by!

No comments:
Post a Comment