This project it just the "tip of the iceberg" when it comes to using all of the wonderful products found in our April Kit. The main element in this vintage inspired necklace are the Tim Holtz Fragments (included in this month's kit) along with my grandaughter of course:)
I first decided which fragment would best fit the photo I wanted to use. Using the photo software I have called Aperture, I was able to print the size I needed... 1.25" X 2" I also used the Sepia effect for the color tint.
Along with the photo charm I wanted to add some word charms.
I used a collection of dictionary words purchased and downloaded from etsy
Click on above pic for source.
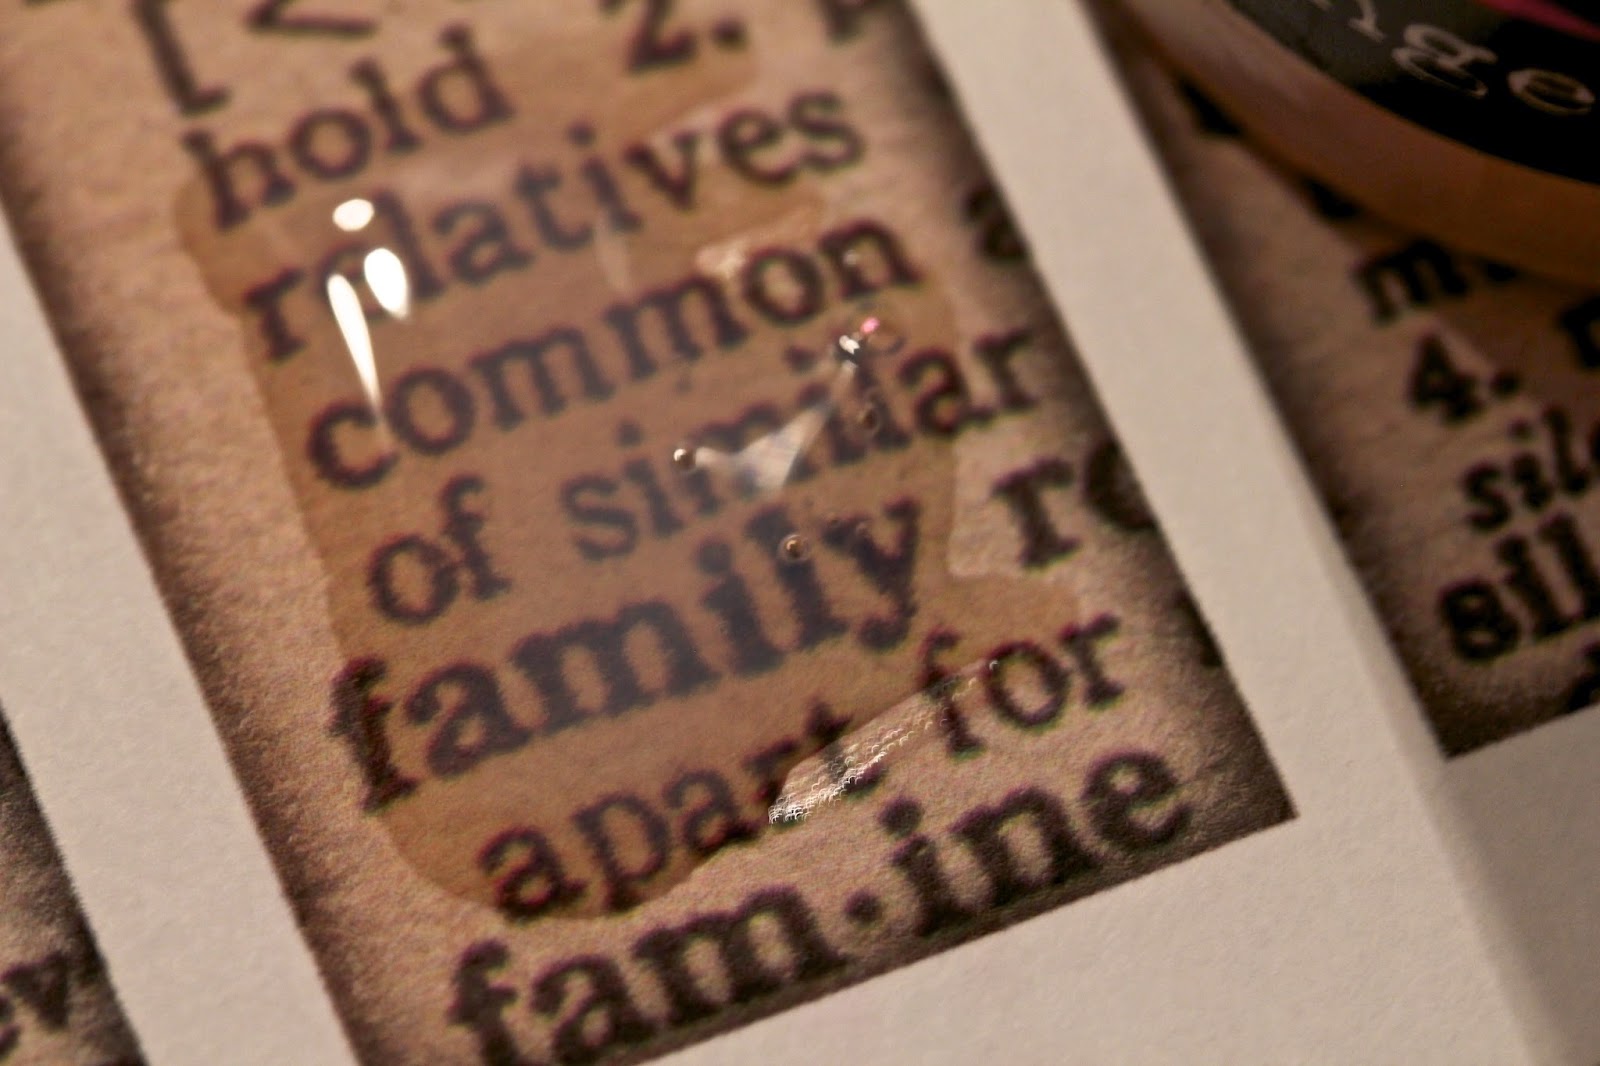
Once I found a few fragment sizes that worked well with the photo piece, I trimmed the dictionary words and adhered them to the fragments using glossy accents. (I had this from a former kit)
Thinly spread a bit of glossy accents onto the dictionary word, then gently press the fragment on top, allowing it some time to dry. (it doesn't take very long with a thin coat...15-20 min)
Once the fragment is adhered to the word page, and the glossy accent is dry, you can trim around the fragment with a pair of scissors.
I added an old book page to the back of each fragment, so that if it flips over while I'm wearing it, it will look finished on both sides.
I coated the backs with mod podge to keep them protected and sealed.
In the picture above, I wanted to show you the "bead cap" I added to the photo fragment
to give it a bit more detail. (Vintaj brand) I used glossy accents again to attach.
You can see above, that I also added a few charms to each fragment.
To put it all together I used a piece of torn muslin and 2 different Vintaj chains.
For the muslin, I snipped an end of the muslin, about 1/4- 1/2 inch from the edge.
(see below)
Next, I just pulled, ripping it all the way off.
Make sure you have a long enough piece to allow the charms to hang where you want them to fall on your chest with enough to tie the pieces together.
I wanted to incorporate a little more brown into the necklace so I added wooden beads
I had in my "stash."
12x4mm Earth Multi Wafer Wood Beads
sku# 930107
Traditions
Earth Multi
12mm x 4mm
40 Pieces
(these beads came from hobby lobby)
I spaced them out every few inches.
These are the chains used below.

To add the chain, I pulled the muslin through one jump ring, and then attached the finer gauged chain to that jump ring with another ring the same size.
(placing the jump ring above the wooden bead holds it in place, keeping it from sliding)
I repeated this for both ends of the chain.
To add the heavier chain, I used a jump ring to attach it to the finer gauge chain, about 2 inches below the place where the smaller chain is attached to the muslin. This created the look of 2 different lengths of chain even though they were both 24 inches long. I wanted this necklace to hang quite low.
The last step was to attach each fragment piece and charm with a jump ring to the larger chain.
Thanks so much for reading!
Hope you feel inspired to create something beautiful with our Amazing April kit!
It's a joy to share with you,
sue


LOVE the necklace! And your tutorial rocks! Thanks for sharing all these details--I will definitely try this!
ReplyDeleteThanks Toni!! I'm so glad your going to try it! Show and tell on our Frog Dog Facebook Page!
ReplyDelete