
To begin, I covered one of the large wooden panels with a cool gear themed edge with gesso and let it dry. Then, I used some red acrylic ink to lightly paint the background. A light dusting of Tim Holtz Distress Glitter in pink was also added while the ink was still wet.

Next, I used the Pan Pastels from the kit and worked them into the background, as well as added some color to several of the gear themed die cuts. I also covered one of their chipboard keys with gold Stickles for some sparkle :)


For the final touch on the background, I used the large gear laser cut page as a stencil and sprayed some Dylusions spray ink in Postbox Red.


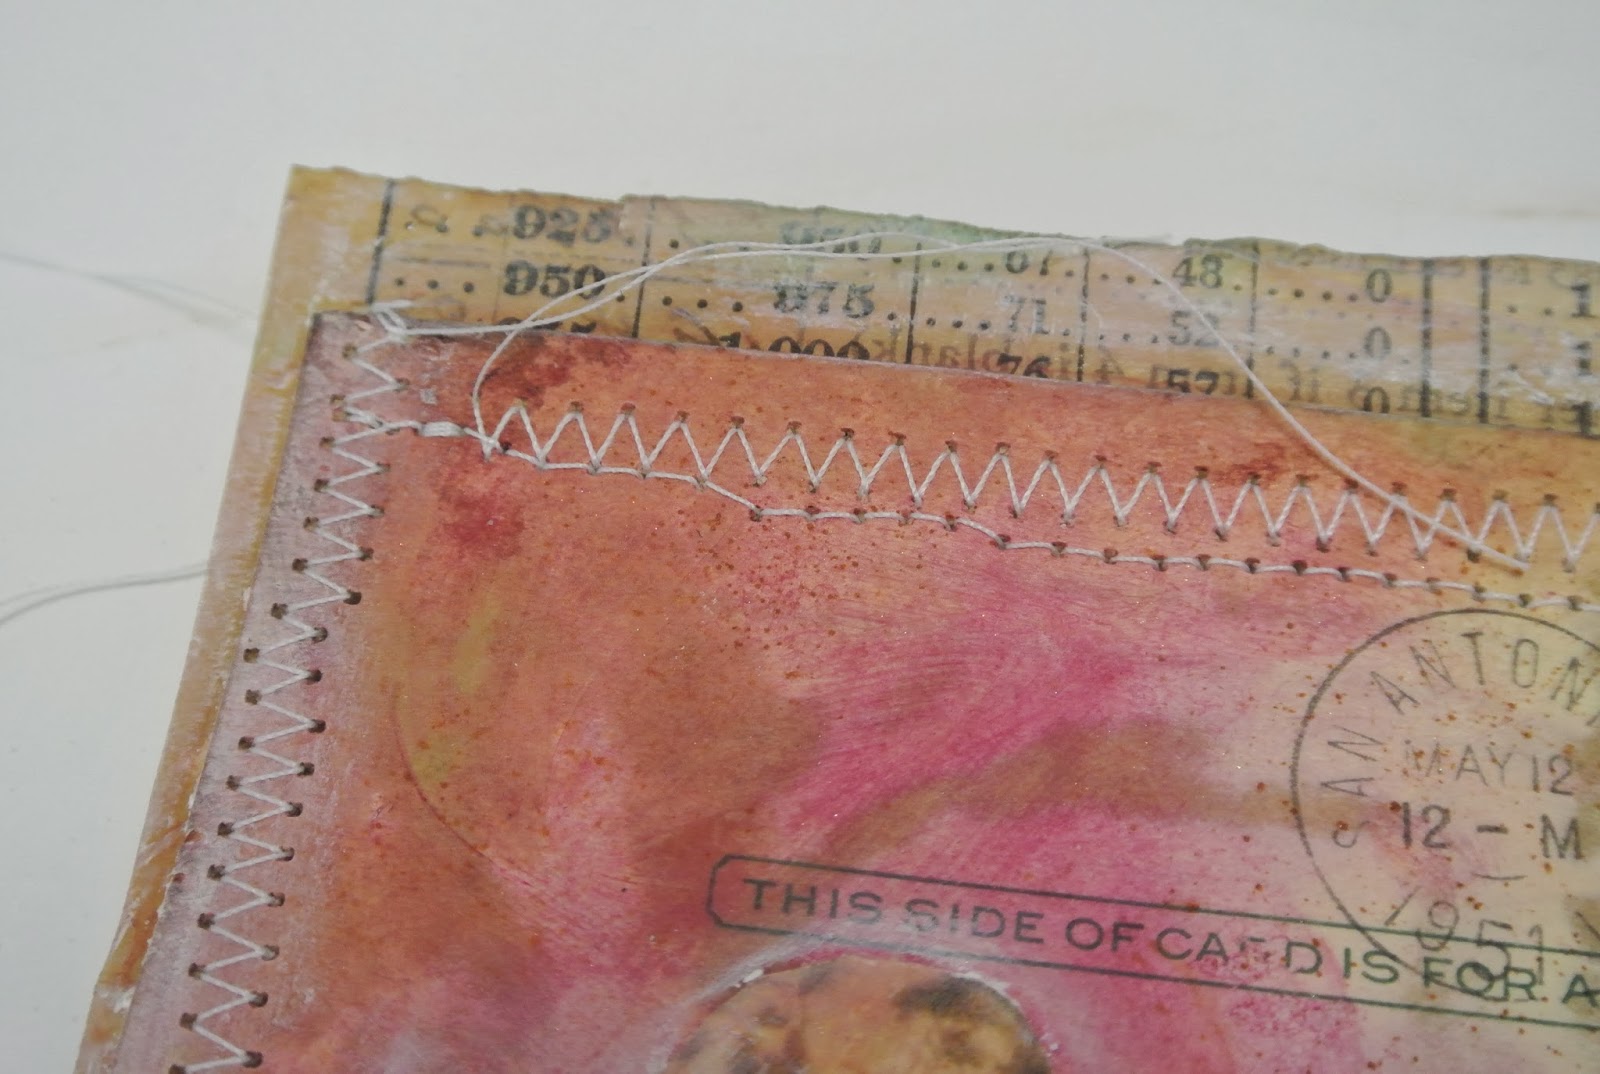
A few weeks ago, I covered several pieces of vintage papers with clear resin from Amazing Crafting Products. TEXTURE TIP: I love the clear resin on vintage paper, especially the older thin papers. It adds a transparent quality that is really interesting. I decided to use some of these in this project, along with some clip art from the Frog Dog kit. I blended in some of the Pan Pastels to add some color, then collaged the pieces together and added some stitching around the edges.


On the collage I also used one of the Sin City Stamps and some Versamark ink. Then I used Lindy's embossing powder to bring out the design and add a smooth texture.

I followed up by edging all of the pieces with the Gelatos from the kit to give it an even more distressed look. Then I adhered the mini collage to the large board and added several of the wooden gear pieces and the cutouts that I had colored before with the Pan Pastels. I added a piece of rosette trim that I found in my stash, one of the stick pins from the kit, and a few other little bits from my stash to complete the project. Here is the final result:

And a few close ups:


fun project, thanks for check out SinCity Stamps...
ReplyDeleteThank you!
ReplyDelete