This is one of the many projects I was able to create with our December Kit that was PACKED FULL of great products, including LuminArte Silks.
Here is the basic Salt Dough recipe:
4 C Flour
1 C Salt
1 1/2 C Warm water
(decrease the water slightly if using paint *see below)
1/3 C White acrylic paint (optional)
(decrease the water slightly if using paint *see below)
1/3 C White acrylic paint (optional)
*For some of the ornaments you will see below, I used Acrylic Paint to "brighten up" the dough.
If you are going to paint or stain the ornament, you don't have to add white paint.
(I used about 1/3 C white paint, decreasing the water added by about 1/3-1/2 C)
1.) Combine ingredients in a large bowl, until it begins to “come together”
(mix dough with a large serving spoon, spatula, or your hands -I use my hands)
(mix dough with a large serving spoon, spatula, or your hands -I use my hands)
2.) OPTIONAL: Add the acrylic paint. Keep kneading in the bowl, until the paint is incorporated. If you're going to use the Luminarte SILKS ACRYLIC GLAZE, I think the stamped image stands out more effectively if you add the white paint to the dough. It adds a bit more contrast.
3.) Turn the dough out onto a floured surface and continue to knead, until it becomes fairly smooth and uniform in color. If it feels too sticky, you can add a little more flour.
4.) Coat a rolling pin with flour and Roll out the dough on a floured surface. Roll to about 1/8 inch in thickness.
5.) Use cookie cutters or biscuit cutters for shapes.
6.) Using a small metal spatula, transfer the shapes to a parchment lined cookie sheet, placing them about and inch apart.
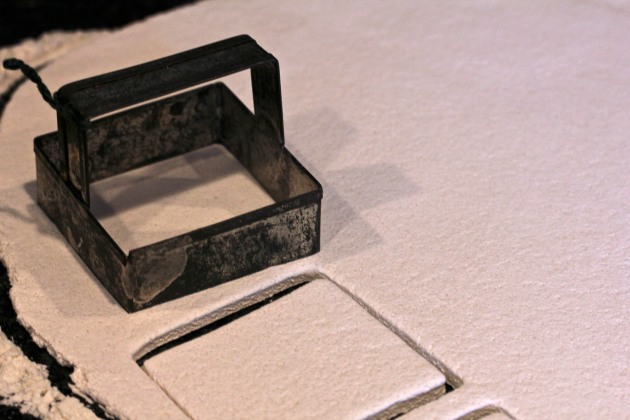
Below is a vintage cutter I found at an antique store, I love creating family heirlooms using something with such history:)
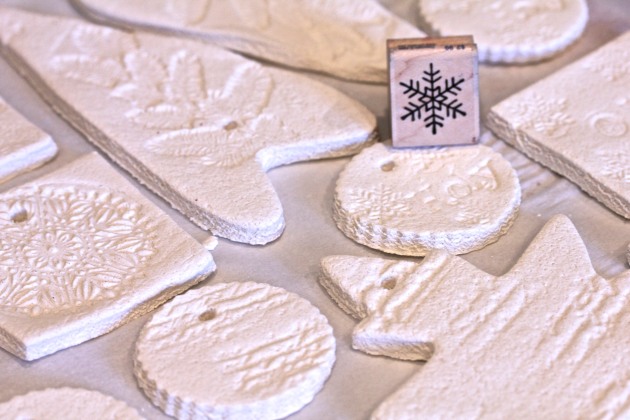
7.) Stamp the dough.
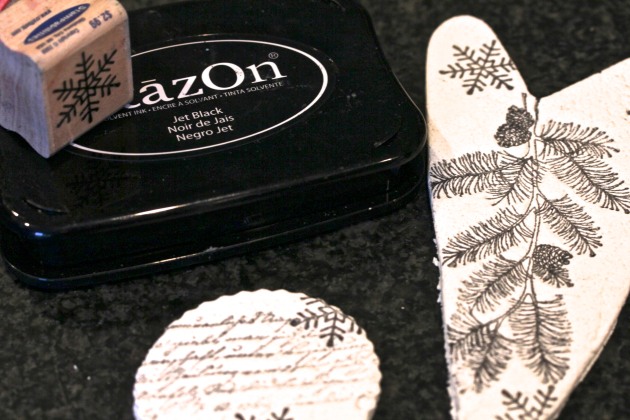
I did a “white” batch with black ink and one without. (Just the stamp impressions) The "inkless" ornaments are what I finished with the SILKS from our December Kit.
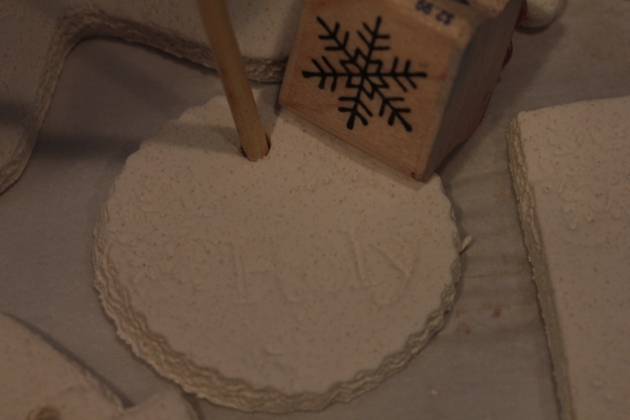
Below, you can see I used a bamboo skewer to create a hole for the ribbon before they went into the oven. You can use anything round with a point, even a pencil.
Bake at 200-250 degrees for 4-6 hours.
PLEASE DON’T FORGET TO POKE YOUR RIBBON HOLES!!
It is best to use a permanent ink like StazOn.
For the black, ink up your stamp, and then gently press into the pre-baked dough.
At the time I did the batch above, I did not have my AMAZING FROG DOG KIT yet, but Tina put a few great stamps in the kit that would be perfect for these!
(if you look at the pic above, you can see the edges look a little rough…a light file with an emery board, after baking, smooths the edges right up!)
They are done, once they become completely hard. If you have time, a lower temp and longer bake time, produces the best results. (less “puffing” and warping)
I like to use a 200-250 degree oven for 4-6 hours
Once baked and cooled, I rubbed on the Luminarte Silk in carmen with a drug store sponge make-up applicator. I filed off the rough edges with an emery board and sanded off a little bit of the paint to give it an aged appearance. When you add the Silks glaze, make sure to go lightly over the stamped image so that some of the white shows through. Add a ribbon and a metal hook and you're done!
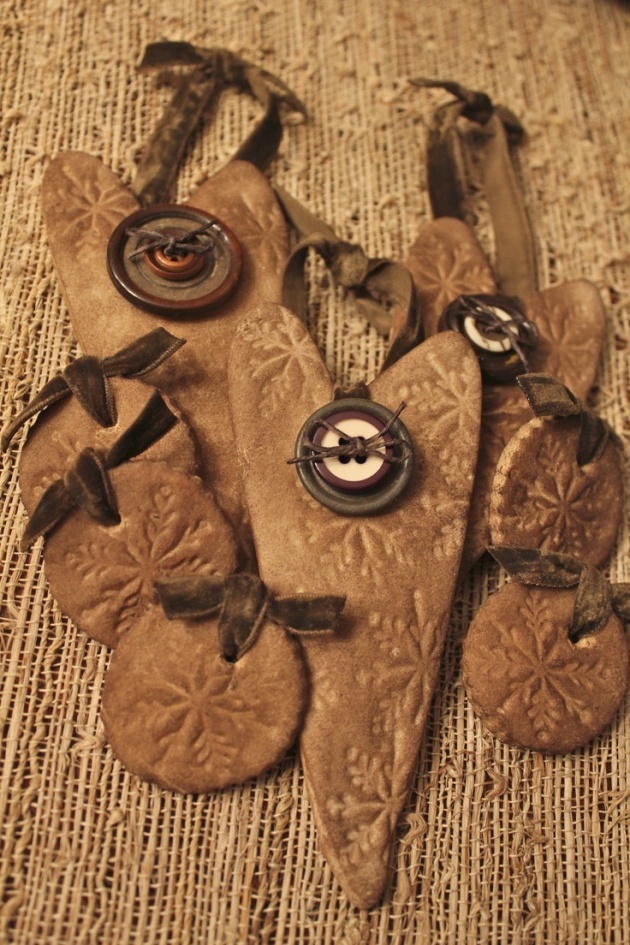
The batch above was made WITHOUT white PAINT, and then stained
with Tim Holtz Distress Stain in walnut.
Handmade ornaments are one of our family traditions. It's fun to recall a special ornament made each year for the season. They make a great gift with a personal touch.
Hope you feel inspired to start an ornament tradition in your family.
It's a joy to create and share with you,
sue



No comments:
Post a Comment