


I LOVE OUR OCTOBER KIT!!!
In August, I attended the CREATE Mixed Media RETREAT in Chicago.
WOW...so many talented artists sharing their work and teaching amazing classes - from Quilting to Metal Work. I loved every class I attended, but Ingrid Dijkers is definitely the inspiration for my Book binding project this month. If you're interested in seeing her work you can find her here.
Her journals should surely be on display in a museum:)
I received a "goody Bag" at the Create retreat and in it, was a package of chipboard.
There were 3 - 8X8 sheets.... 2 white, 1 black...
There were 3 - 8X8 sheets.... 2 white, 1 black...
perfect for the covers of my journal.
***If you don't have chipboard, cereal boxes work well, just cut to size.
***If you don't have chipboard, cereal boxes work well, just cut to size.
I began by creating the front and back covers.
I started in the center of the 8 x 8 chipboard and added 7 holes 1 inch apart. (1/4" from the edge)

-with my hand dandy crop-o-dile.
(You could use a paper piercer or an awl)
I used the smallest hole setting in my crop-o-dile, perfect for the waxed linen thread that will bind the book.
(You could use a paper piercer or an awl)
I used the smallest hole setting in my crop-o-dile, perfect for the waxed linen thread that will bind the book.

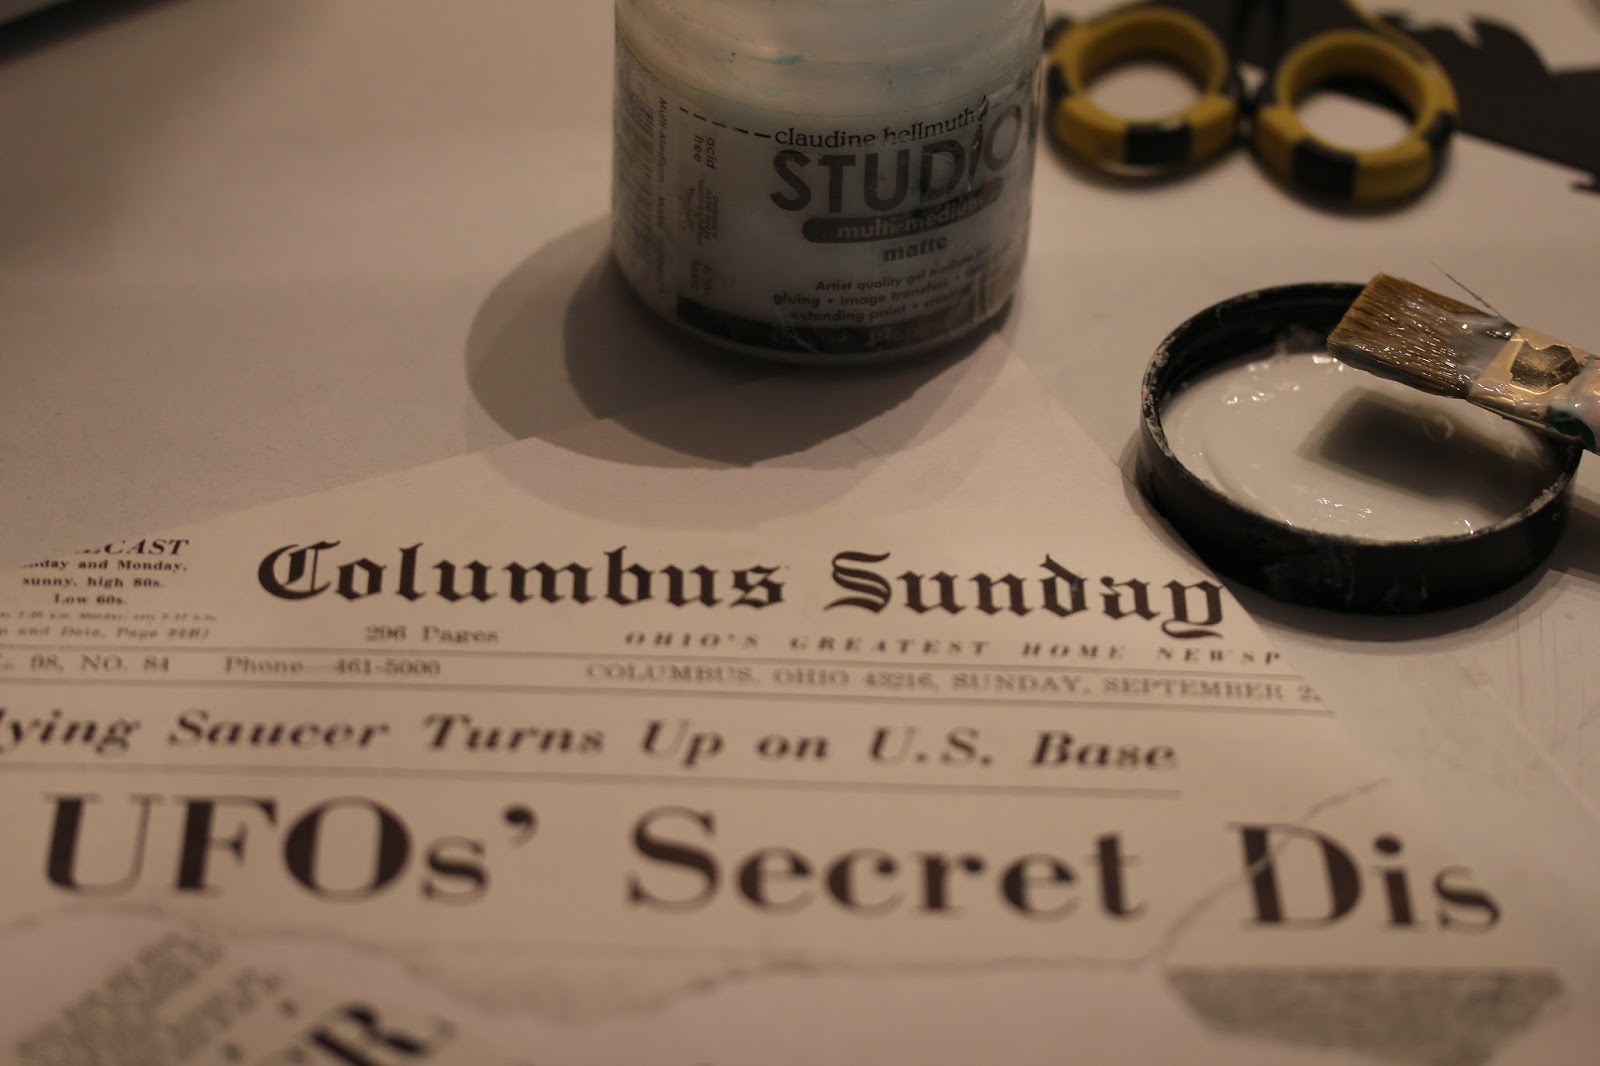
I used matte medium to cover the outside and inside of the front cover with torn pieces of the Newspaper Ephemera Sheet from our kit.
the Wendy Vecchi Art Part 'Residences Set' (houses) in our kit will add character and dimension to the cover...
along with the Exclusive Clay Frames from My Clever Creations for the windows.

I cut through the cover so that you could look through the window to the pages inside.

I decided where I wanted to place the house on the cover, traced the inside of the house window, and cut that piece out of the cover with a utility knife.
In the picture above, you can see that I used the “cut-out” from the window to make shutters...I covered them with the newsprint too.
In the picture above, you can see that I used the “cut-out” from the window to make shutters...I covered them with the newsprint too.
Before going on to more cover details, I cut out the pages for the inside journaling.
I decided to use a heavy watercolor paper, knowing that I wanted to "play" with color on the pages -Using the water color paper would allow me to try some of my new Lindy's stamp gang products, which come to life with warm water.
I like the weight of this paper, especially for a bound book, but you could use card stock too.
I like the weight of this paper, especially for a bound book, but you could use card stock too.

I used a pencil to outline the pages ( 7 3/4" square )
-a bit smaller than the cover dimensions.
-a bit smaller than the cover dimensions.
I wanted a "torn" look...so, I folded the paper on the pencil lines, using a bone folder.
I then rested a metal ruler on the pencil line, while I "ripped" the page "pulling toward the ruler" with my hands.

I chose to rip 7 pages, creating 12 interior pages.
(front & BACK)
(front & BACK)
Next, I went to work on adding color and detail to my cover.

I painted the chip board house and roof with black gesso...making sure to get the sides and inside of window.

Next, I pulled out the Frog Dog Original Stencil,
along with the
Studio 480 Wendy Vecchi Embossing Paste.
along with the
Studio 480 Wendy Vecchi Embossing Paste.
This embossing paste goes on so SMOOOOOOTHLY...it is a dream compared to modeling compound:)
I let the paste dry while I worked on some other pieces

It's hard to put into words how I feel about Lindys stamp Gang Moon Shadow inks...It's like applying a multitude of color with one product.
What you see above is one color...Buccaneer Bay blue
BELOW ARE SOME COLOR SAMPLES...YUM

NEXT I ADDED TORN PIECES OF SCRAPBOOK PAPER WITH MATTE MEDIUM.

When the house was dry (after I applied the embossing paste, I used black gesso
(you can use any black acrylic paint to cover)
(you can use any black acrylic paint to cover)
Next, I inked the house with an embossing pad and then added the Lindy's embossing powders in Midnight Gold and Midnight Turquoise activating with a heat gun.

I loved the way it turned out, but the colors ended up too similar to the cover background, so I layered black acrylic paint on top of this later.

I adore these cute little frames and I used 2 of them after painting them with black acrylic paint.
I added one to the house on the cover
and glued the other to a page inside, after adding an image behind it.

I found a "sister witch" image I love here...
printed it ; then covered it with glossy accents to
protect it and add dimension.
printed it ; then covered it with glossy accents to
protect it and add dimension.
After cutting through the cover and first pages, I added the 2nd frame with the image behind it, so that when you looked through the cover window you could see the "sisters."


Above photo is the back side of the Front page. I "piped" extra hot glue along the cut area to give it a more finished look. I painted it black and then added the brass details as a frame.
-I'm not even sure what these four brasss pieces are! I picked the up in a "junk pile" at a vintage art findings table at CREATE.

I had this old "watch part" in my "stash."
(you can find treasures like this at flee markets and antique malls for a dollar or less)
Using a copic marker in yellow, I added color to the "Moon."
The bat below was done with the Black Modeling Film.
I drew the Bat with a white pen & cut it out,
What cool stuff! Heat it up, and you can bend it
to add dimension and interest.

I used part of the German Dresen Foil Trim
(from our kit) for the eyes.

to add a background color to the watercolor pages, I used Lindy's stamp Gang's Moon shadow ink in buccaneer bay blue.
This color is soooooooooooo amazing! I used up my jar in a few days, because I used it on so many projects!!!!
Once the covers were finished (I used a piece of black chipboard for the back cover) and the background color was added to the pages, the journal was ready to be bound.
Below is a close up of the binding "stitch" and beads that I added.

The stitch is easy, but it is essential to use the right thread.
( Irish waxed linen)
You can actually purchase this at Michaels, but I found a supplier online that has a nice variety of waxed linen and also carries Davie board (cut to order for books)
www.hollanders.com

Above is the "stitch" up close...if you would like further instructions or have questions about this, please email me!!!
(riversuefood@gmail.com)
the waxed linen is so easy to work with and adds a special touch to the finished journal.

You can see in the photo above that I added a few rub ons to the cover as well as some small painted circles,
done with the eraser end of a pencil.
(Advantus Idea-Ology Remnant Rub-Ons)
The fence was made believe it or not, with old plastic grocery bags, ironed & painted...
Here's how below
I painted mine brown. I had these on hand,
waiting for just the right project!
I couldn't resist adding the perfect finishing touch to my strung beads...
the Metal Spider Web Charm from our Kit.
I've finished the covers of the journal, but will add more pictures, recipes and sentiments
in the months and years to come!
It will be a beautiful and memorable keepsake for my
Granddaughter some day:)
She has already had fun looking at it!
Here are a few more pictures


Above is a family favorite fall cookie recipe
(along with a few witches brews)
You can find the witch recipe cards here.

Above is the View Master Reel from our Kit...
It's my FAVORITE element in this book!!

the pages were all colored with
Lindys stamp Gang Moon Shadow inks...
I'll say it again...
It's like applying a multitude of color with one product.
Buccaneer Bay blue
The scrap pieces above were cut out, glued and outlined with a black derwent inktense pencil...
a little bit of water on a small brush expands the color and gives great dimension and shadow around each piece.
a little bit of water on a small brush expands the color and gives great dimension and shadow around each piece.
this etsy shop


I know this is a super long post!
(thanks if you hung in there to read it all!!)
You can probably tell I'm a little crazy for these
hand bound journals & our October Kit...
If something catches your eye or you'd like more details please contact me!
I'D LOVE TO CONNECT WITH YOU & ANSWER ANY QUESTIONS:)
OUR OCTOBER KIT provided HOURS of creative FUN for me, and I'm sure it will for you too!
HONK IF YOU LOVE FROG DOG!
As always, it is a joy to share with you!!
Thanks for stopping by:)
Sue

gorgeous!!!!
ReplyDeleteWow sue, that is just fantastical! So inspiring, thank you! :o)
ReplyDeleteThank you Sanna & Annie! ALWAYS brightens my day to hear such kind words:)
ReplyDelete